Home > Article > Web Front-end > Teach you how to use PS feathering to create a transparent bubble effect (5 steps in total)
In the previous article "PS Beginner's Article: How to Add Transparent Glass Text Effect to Background Materials (Sharing)", I introduced you to a quick technique, how to use PS to make transparent Method for glass lettering effect. The following article will share with you how to use PS feathering to create a transparent bubble effect. The method is very simple and suitable for novices to learn. Let’s take a look.

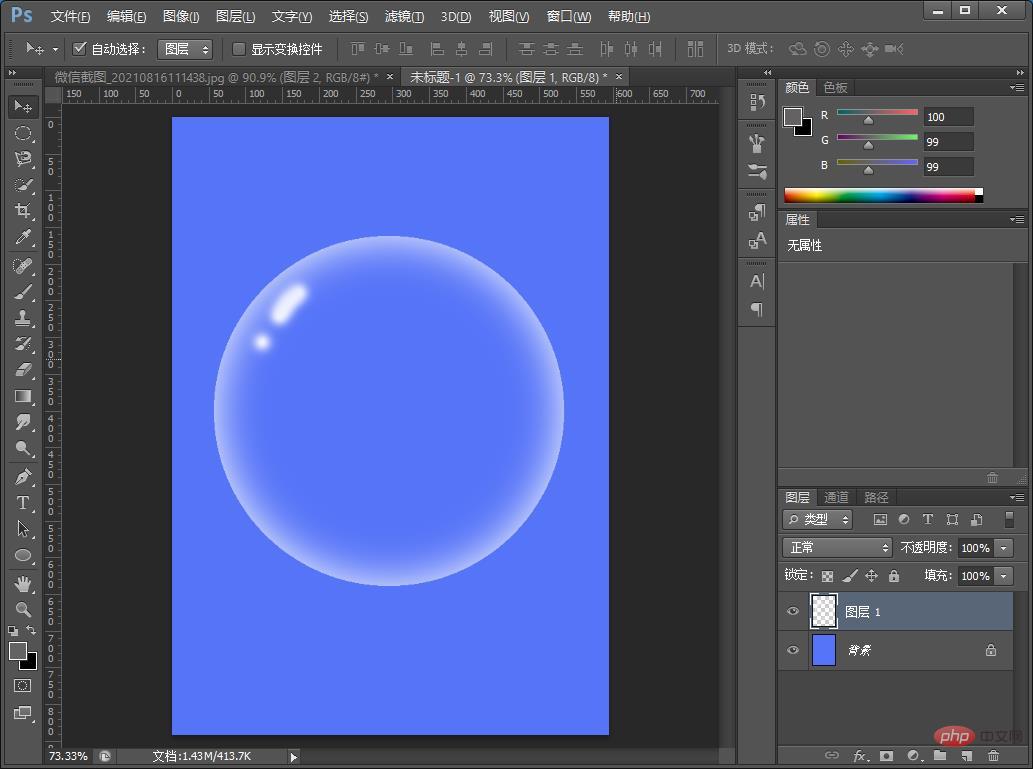
The transparent bubble effect picture is as follows

1. Open ps, create a new document, create a new layer and then use a rectangle to draw a circle and fill it with white.
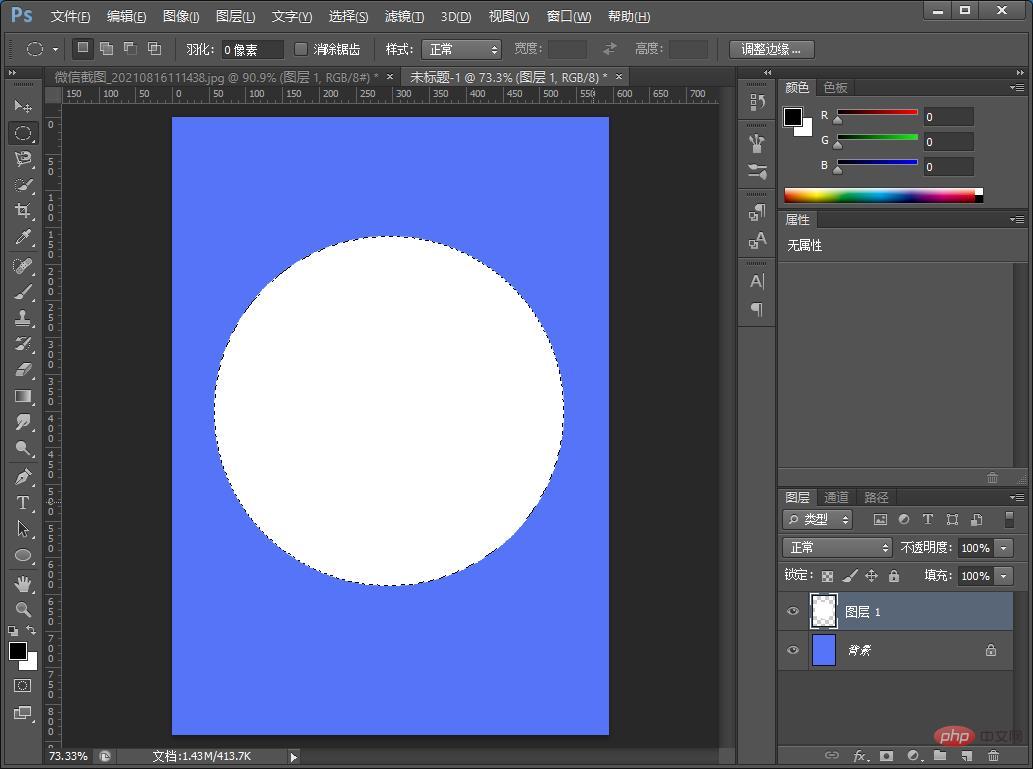
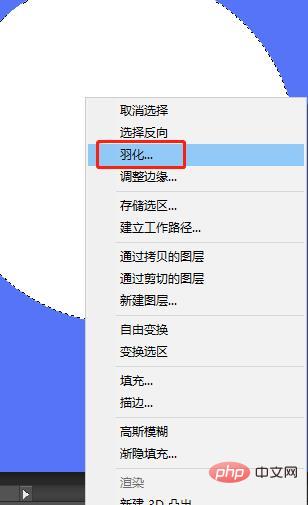
#2. Left-click Feather with the mouse and set the value to 30.
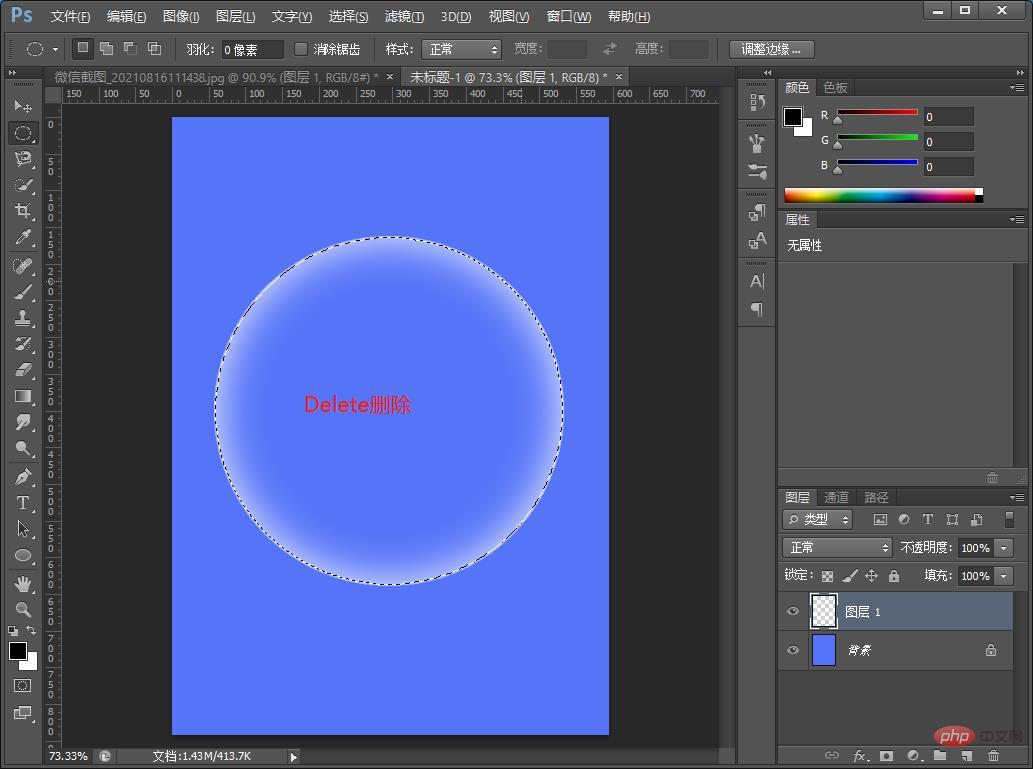
#3. Press Delete after feathering.
#4. Use the brush tool to draw the highlight area in the bubble.
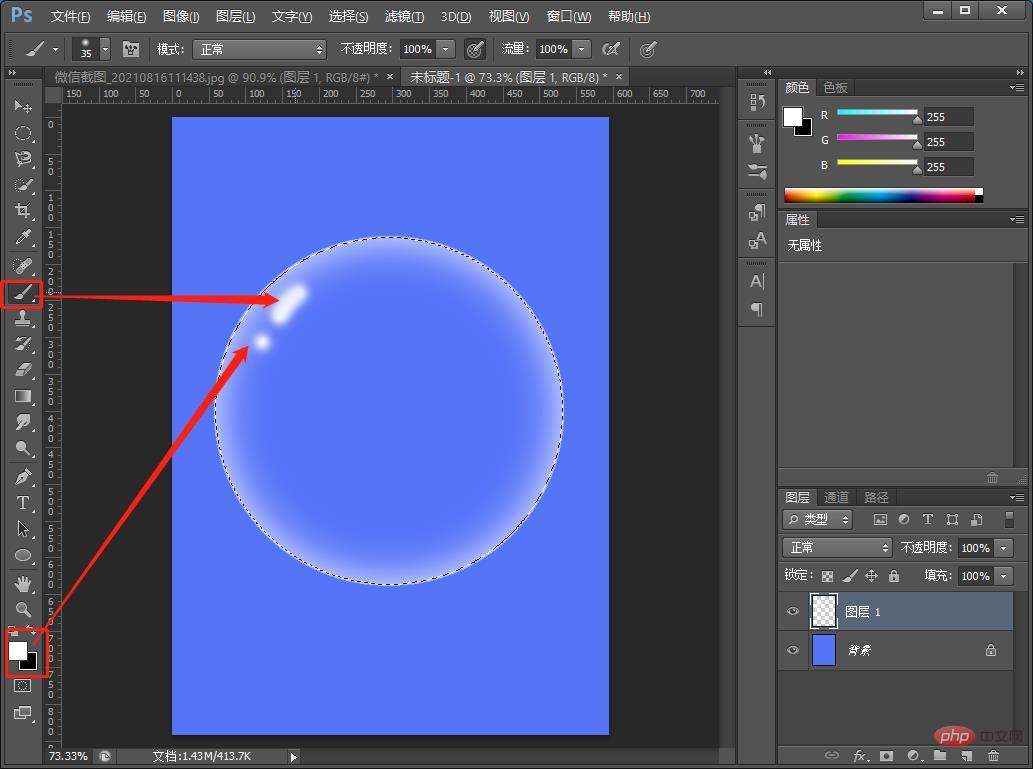
5. Press Ctrl D to cancel the selection and the effect is completed.
Recommended learning: PS video tutorial
The above is the detailed content of Teach you how to use PS feathering to create a transparent bubble effect (5 steps in total). For more information, please follow other related articles on the PHP Chinese website!