Home > Article > Web Front-end > How to batch process image size in PS

How to batch process image sizes in ps?
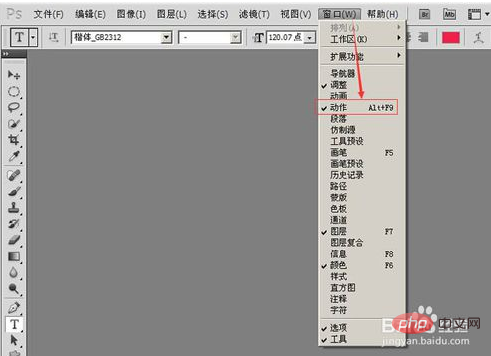
First open our PS software and click on the window to bring up the "action" command.
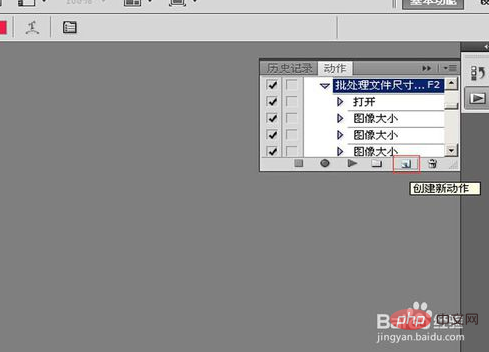
Then click the "Create New Action" command
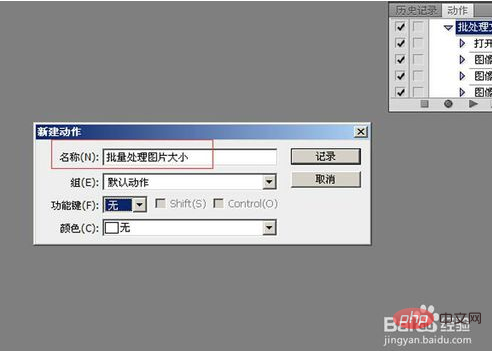
Name the new action "Batch Process Image Size", Then click record.
Then we open a picture in the folder that we need to change the size of.
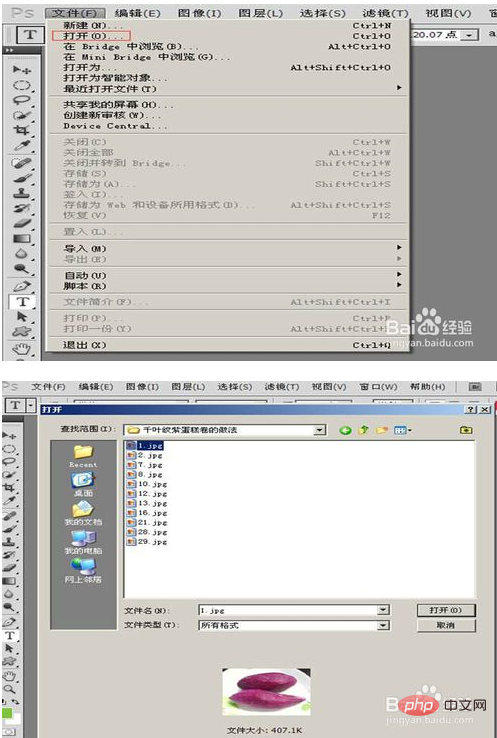
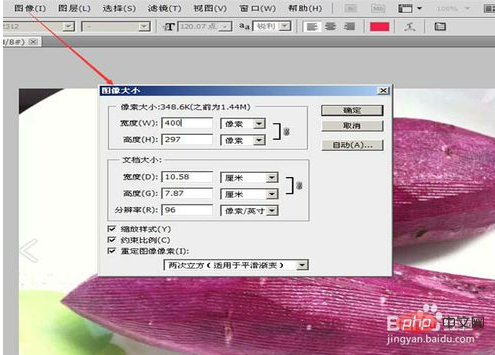
Click on the image, select the "Image Size" command, modify the width and height of the image we need, and click OK.
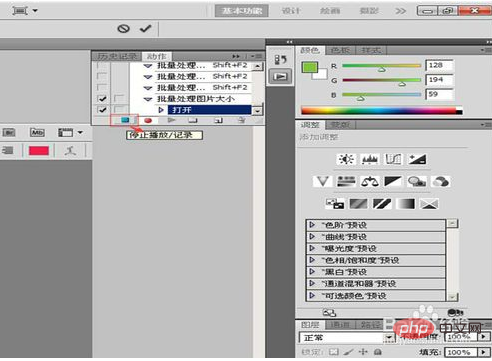
After fixing the size, click the small blue square "Stop Recording" button in the action.
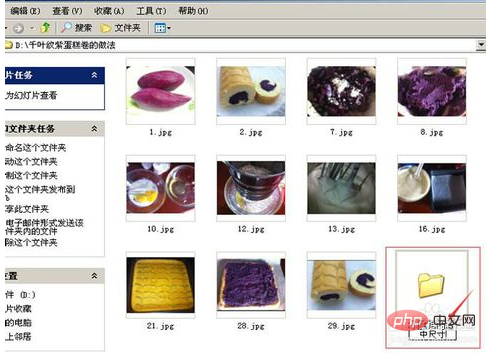
In the picture folder we need to modify, create a new folder that will store the pictures with the modified size.
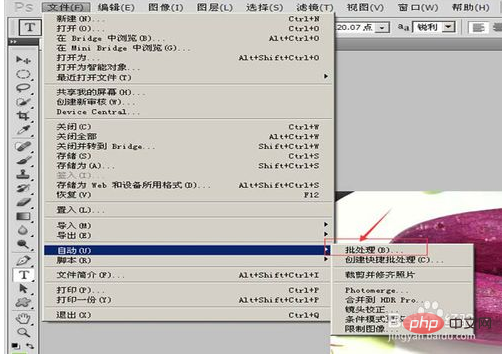
Then click File-Automatic-Batch Command.
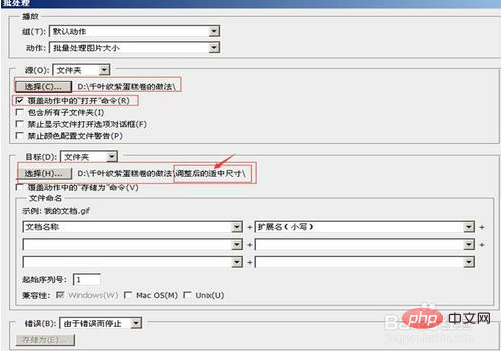
The batch processing dialog box pops up, select our own new "Batch Processing File Size" as the action, select the folder where the image size needs to be modified as the source, and check the overwrite action. "Open" command. Select the target folder where we will store the resized images. Then click the OK button.
The above is the detailed content of How to batch process image size in PS. For more information, please follow other related articles on the PHP Chinese website!