Home > Article > Web Front-end > How to put ps cutout picture into another one

How to put a ps cutout picture into another one?
1. Take the cutout picture as an example, use an online picture editor to cut out part of the picture onto another picture;

2. Select the Magnetic Lasso tool in the toolbox on the left, then click the left mouse button to determine the starting point. Then, move the mouse along the edge of the image. The software will automatically identify the desired range and generate the corresponding path. , ultimately forming a closed path;
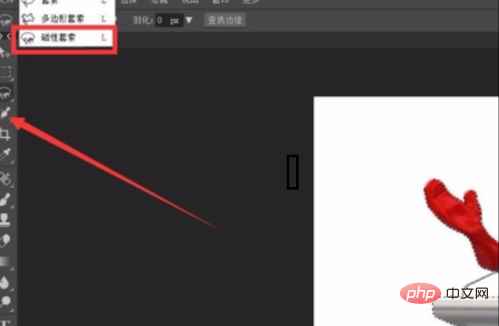
3. Execute: Ctrl J to copy the layer, then hide the background layer, and you can see the material that has been deducted;

4. Then click on the file to open another picture;
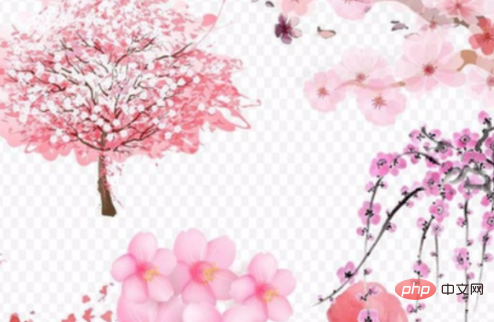
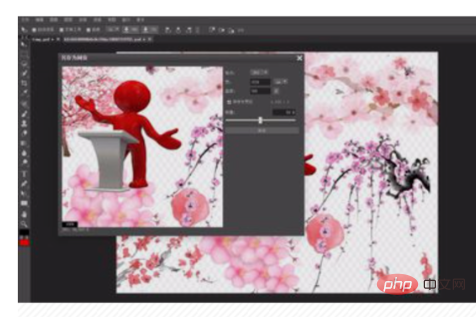
5. Return to the material picture and use move Tool, drag the material directly into another picture;

6. Execute: Ctrl Alt T to change the size of the material and adjust the material to the appropriate position;

#7. After the picture editing is completed, you can "File - Export As" and then select the picture format to save locally.
The above is the detailed content of How to put ps cutout picture into another one. For more information, please follow other related articles on the PHP Chinese website!