Home > Article > Web Front-end > How to use the perspective crop tool in ps

How to use the perspective crop tool in ps?
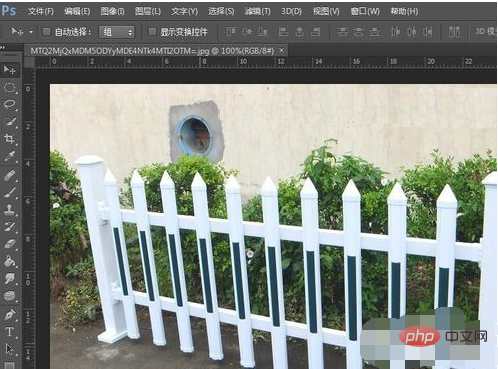
Open the ps software, click the left mouse button on the picture we need to adjust, and drag it directly into the ps software.
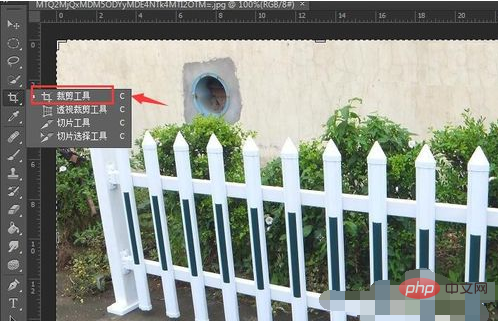
We find the cropping tool in the toolbar on the left. Right-click and you will find that the second tool is the perspective cropping tool. Its shortcut key is shift C key.
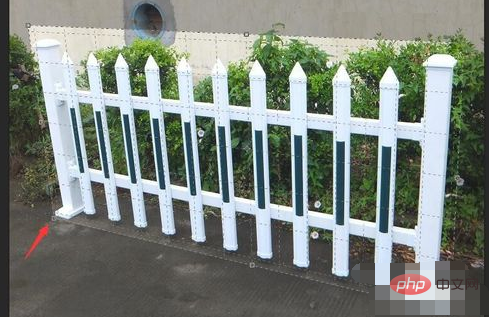
After selecting, here we choose to adjust the fence, click and hold the mouse until the entire fence is selected. , and then you will find that the grid and hair points will appear in the selected area. At this time, click the left mouse button to adjust to the appropriate position.
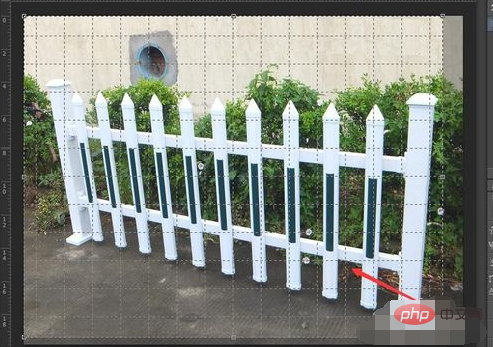
Another method is to select the perspective cropping tool, click directly to select the fence we need, and then make simple adjustments.
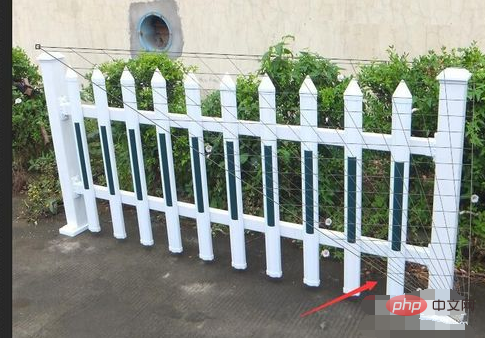
After adjustment, as shown in the picture below, we find that we have selected the fence at this time.
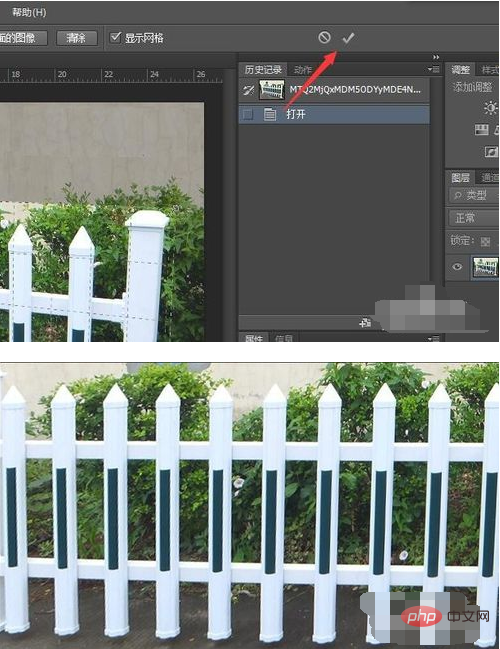
Finally click on the check mark above us, and you will find that the fence we have adjusted is presented in a regular manner.
The above is the detailed content of How to use the perspective crop tool in ps. For more information, please follow other related articles on the PHP Chinese website!