Home > Article > Web Front-end > How to change faces in photos in PS

How to change the face in photos in PS?
1. Create a new layer and copy the character
Create a new document and copy the original image and the face-changing material to the layer.
Picture:
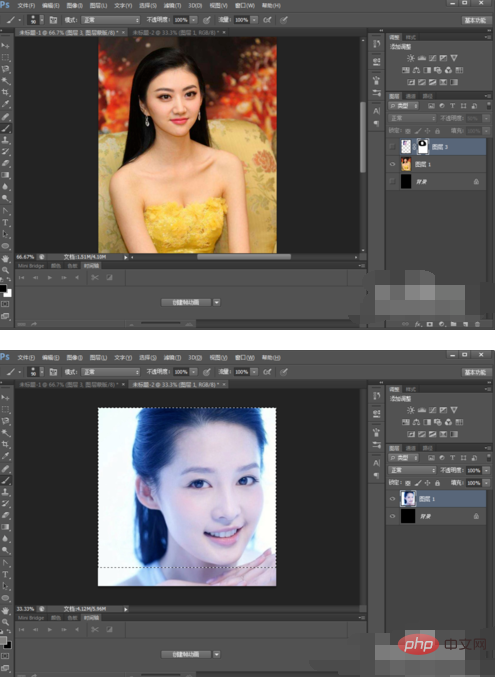
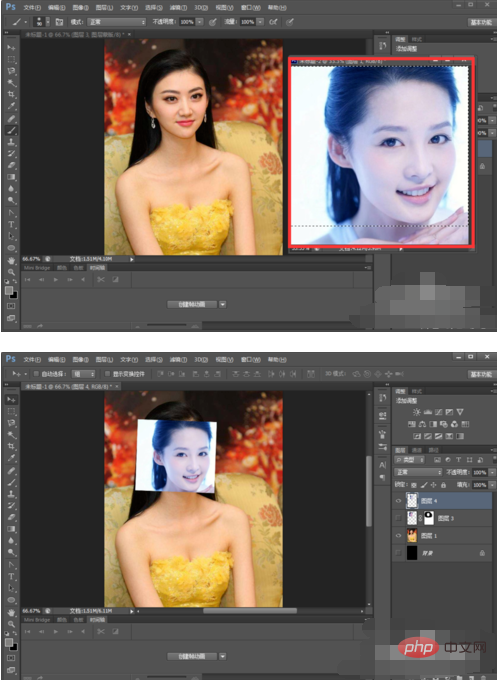
2. Copy the face
Use the rectangular marquee tool to select the face in the second picture , and press Ctrl C to copy, then paste into the original image, adjusting the size and position appropriately.
As shown:
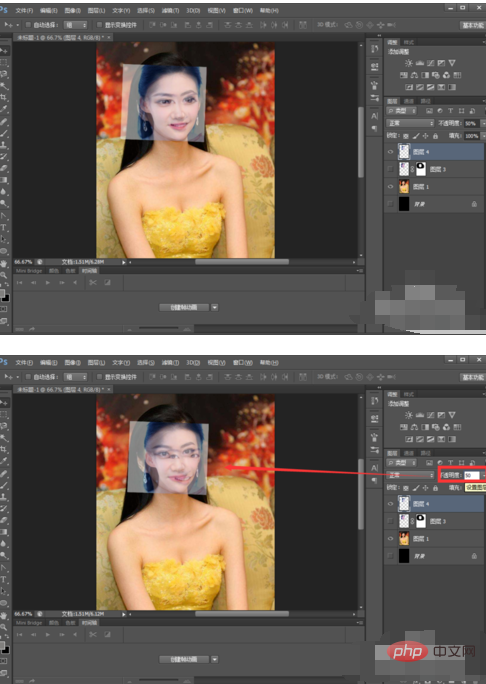
3. Reduce the transparency
Adjust the opacity of the copied face to 50%, and adjust the face Move to the face in the original picture and overlap the two faces.
As shown:
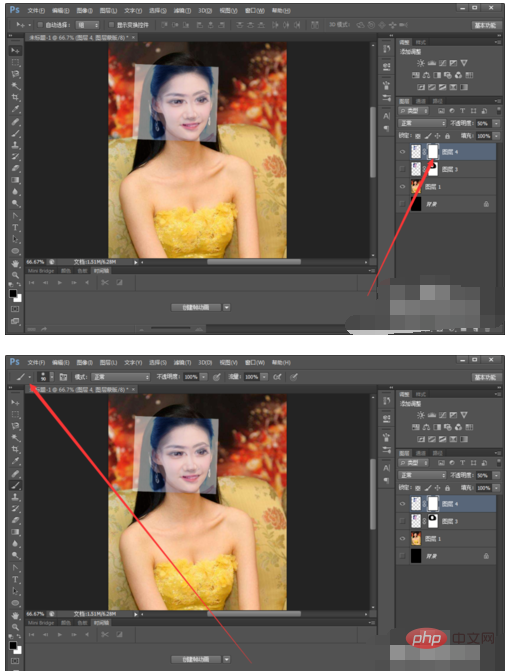
4. Add a mask
Add a mask and use the brush tool to erase parts other than the face. Set the brush hardness to 0 and erase.
As shown:
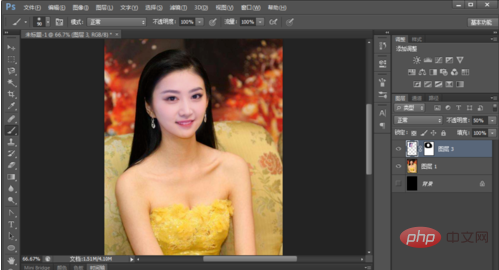
5. Color difference adjustment
The next step is to adjust the color repeatedly. Make it blend perfectly.
As shown in the picture:
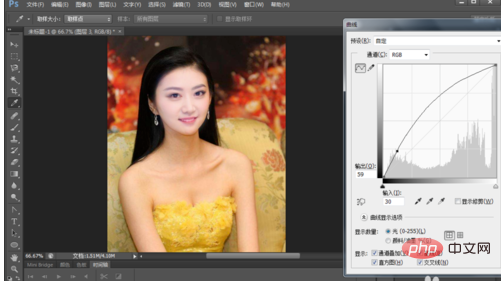
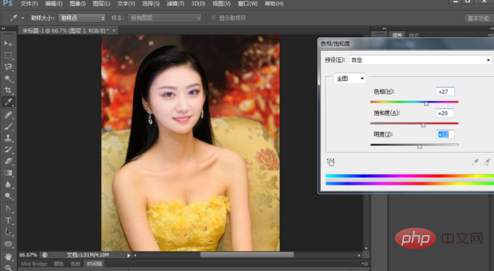
6. Adjust the saturation
Adjust the saturation and blend it. It will look the same without changing. There are traces on the face.
As shown:
The above is the detailed content of How to change faces in photos in PS. For more information, please follow other related articles on the PHP Chinese website!