Home > Article > Web Front-end > How to assemble pictures in ps software
How to splice pictures with ps software: First open the PS software and import a picture that needs to be spliced; then select "Image - Canvas Size", and after modifying the canvas size, pull three auxiliary lines; then add Another picture; finally overlap and splice according to the restrictions of the auxiliary lines.

How to stitch pictures using ps software:
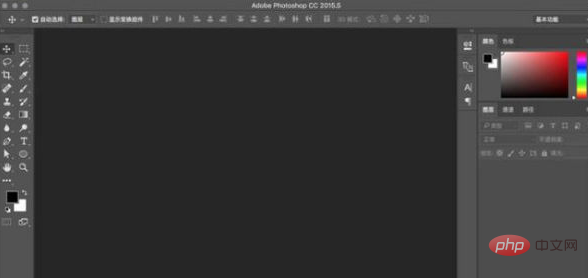
1. Open the PS software and enter the main interface.
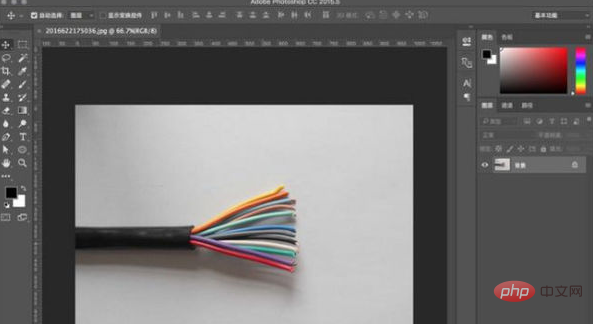
#2. Import a picture that needs to be spliced.
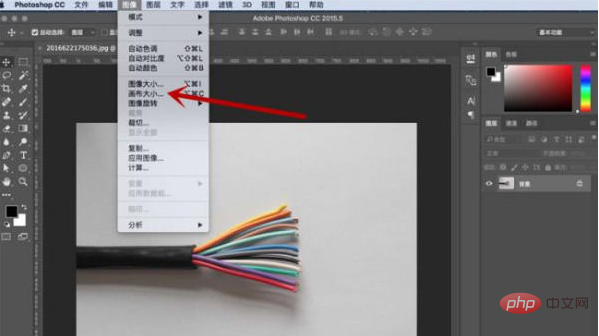
3. In the upper menu bar, select "Image - Canvas Size",
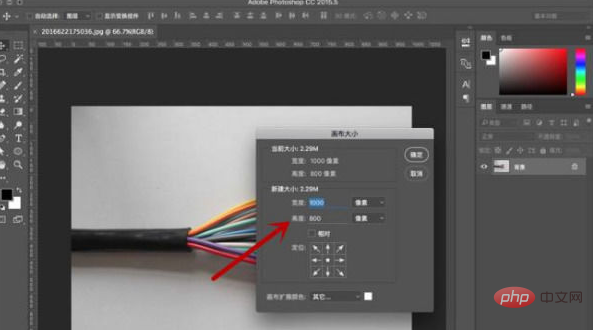
4. In the pop-up In the box, the width does not need to be modified, and the height should be increased appropriately.
#5. After modifying the size of the canvas, pull three auxiliary lines and place them on both sides and top of the canvas to align them.
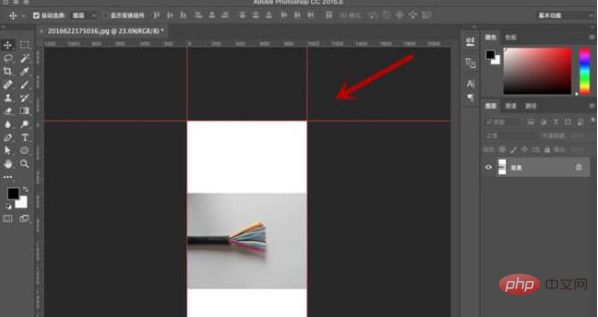
#6. Move the picture to the appropriate position at the top.
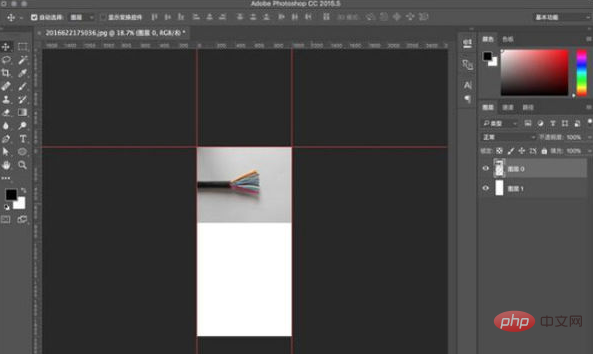
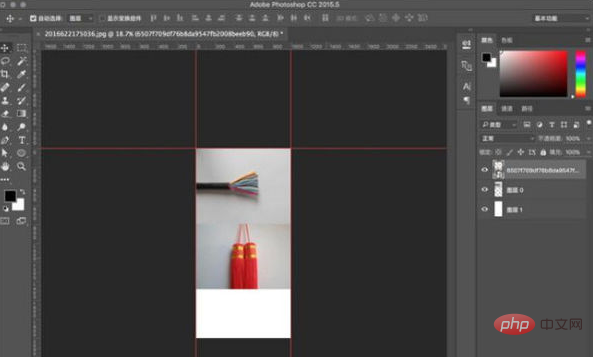
#7. Then add another picture and overlap it according to the restrictions of the auxiliary lines.
#8. Select "Crop Tool" in the left toolbar to enter crop mode.
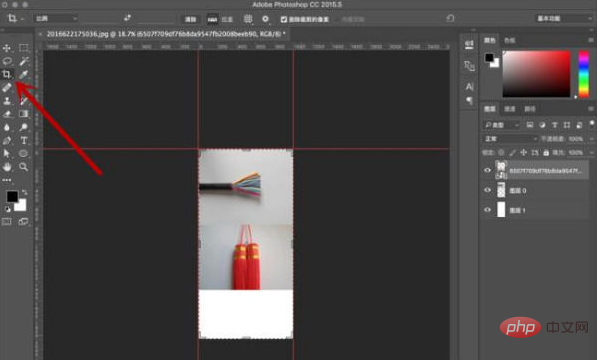
#9. Move the lower height limit bar up to the appropriate position and press the Enter key to confirm the cropping.
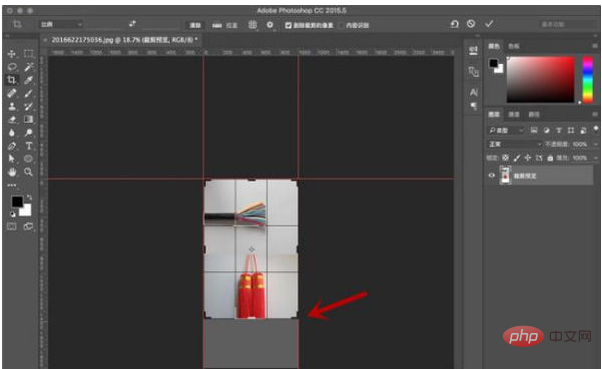
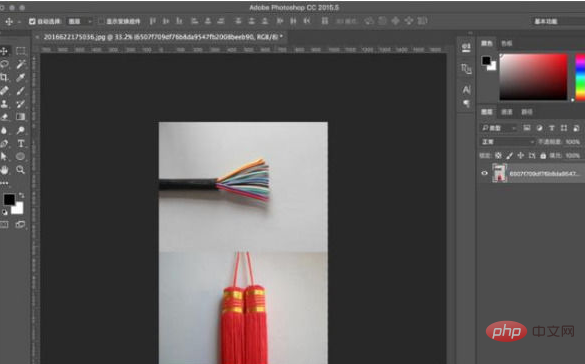
#10. After the cropping is completed, select the two image layers and press Ctrl E to combine to complete the operation.
The above is the detailed content of How to assemble pictures in ps software. For more information, please follow other related articles on the PHP Chinese website!