
Home > Article > Backend Development > Installation and configuration examples of Nginx under Windows

1. What is Nginx
Nginx is a lightweight web server and a reverse proxy server
2. What can Nginx do?
① Can directly support Rails and PHP programs
② Can be used as an HTTP reverse proxy server
③ As a load balancing server
④ As a mail proxy server
⑤Help realize the separation of dynamic and static front-end
3.Nginx features
High stability
High performance
Low resource usage
Rich functions
Modular structure
Support hot deployment
1. Download: http://nginx.org/download/nginx-1.10.2.zip
2. Decompress
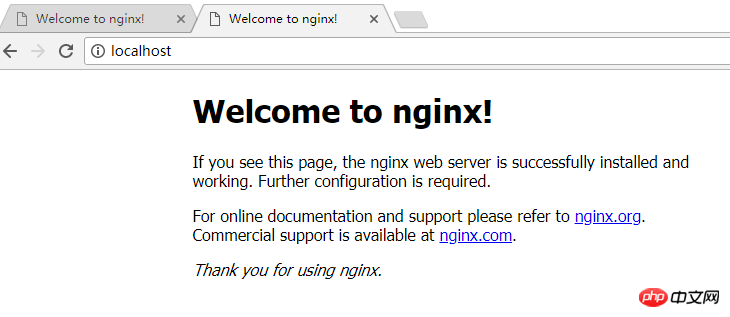
3. Run nginx.exe: run by double-clicking the icon or cmd command line
1. Test configuration file
nginx.exe under the installation path -t
2. Start command
nginx.exe under the installation path
3. Stop command
nginx.exe under the installation path -s stop,
Or: nginx.exe -s quit
4. Restart command
nginx.exe under the installation path - s reload
5. View process command
ps -ef |grep nginx
6. Smooth restart
kill -HUP [Nginx main process number ( That is, check the PID found by the process command)】
7. Increase firewall access permissions
①sudo vim /etc/sysconfig/iptables
②-A INPUT -p tcp -m state – state NEW
-m tcp –dport 80 -j ACCEPT
③Save and exit
④Restart the firewall sudo service iptables restart
Configuration steps:
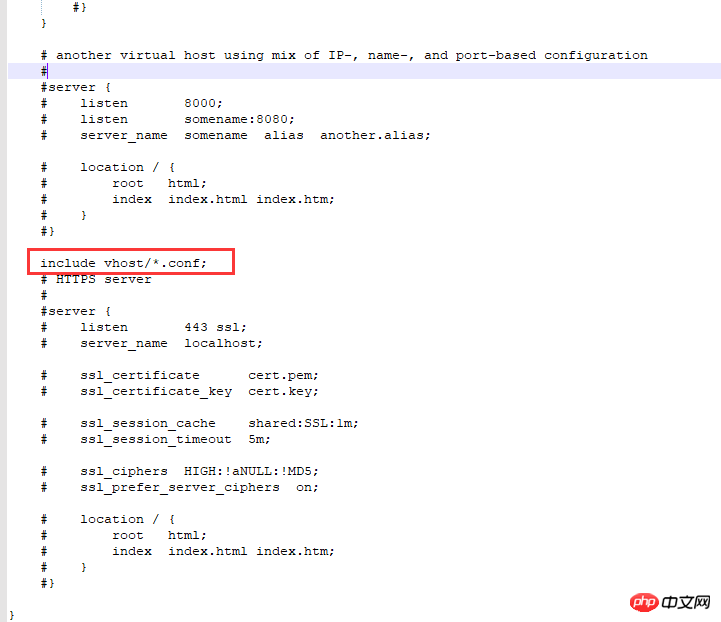
1. Edit sudo vim /usr/local/nginx/conf/nginx.conf
①Add include vhost/*.conf;
②Save and exit
2. Create a new vhost folder in the /usr/local/nginx/conf/ directory:
That is: /user/local/nginx/conf/vhost
3. Create a domain name forwarding configuration File
image.hcxjingdong.com.conf:转向目录的反向代理:
server {
    listen 80;
    autoindex off;
    server_name image.hcxjingdong.com;
    access_log c: /access.log combined; index index.html index.htm index.jsp index.php; #error_page 404 /
    404. html;
    if ($query_string~ * ".*[\;'\].*") {
        return 404;
    }
    location~/(mmall_fe|mmall_admin_fe)/dist / view /* {
        deny all;
    }
    location / {
        root C:\ftpfile\img;
        add_header Access-Control-Allow-Origin *;
        }
    }


tomcat.hcxjingdong.com.conf:转向端口的反向代理:
server {
    listen 80;
    autoindex on;
    server_name tomcat.hcxjingdong.com;
    access_log c: /access.log combined; index index.html index.htm index.jsp index.php; #error_page 404 /
    404. html;
    if ($query_string~ * ".*[\;'\].*") {
        return 404;
    }
    location / {
            proxy_pass http: //127.0.0.1:8080;
            add_header Access-Control-Allow-Origin *;
            }
    }
4. Startup (restart) verification
①Startup:
{nginx}/sbin/nginx -s reload
Note: ${ nginx} represents the path installed in the system, for example: /usr/local/nginx
5. Access verification
Use the default port 80 for access verification: http://localhost: 80 or http://127.0.0.1:80
6. Point to port
http forwarding
server{
    listen 80;
    autoindex off;
    server_name learning.hcxjingdong.com;
    access_log c:/access.log combined;
    index index.html index.htm index.jsp index.php;
    #error_page 404 /404.html;
    if ( $query_string ~* ".*[\;'\].*" ){
        return 404;
    }
    location / {
        proxy_pass http://127.0.0.1:81/learning;
        add_header Access-Control-Allow-Origin *;
    }
}
listen 80: listen to port 80;
autoindex off: whether Create an index directory for the homepage;
When nginx receives a request for image.hcxjingdong.com (second-level domain name), it forwards it to: http://127.0.0.1:81/learning directory
7. Point to the directory
Online image server, the front-end deployment server provided for the front end is through the reverse proxy pointing to the directory
server{
    listen 80;
    autoindex off;
    server_name img.hcxjingdong.com;
    access_log c:/access.log combined;
    index index.html index.htm index.jsp index.php;
    #root /product/front/;
    #error_page 404 /404.html;
    if ( $query_string ~* ".*[\;'\].*" ){
        return 404;
    }
    location ~ /(hcxjingdong_fe|hcxmall_admin_fe)/dist/view/* {
        deny all;
    }
    location / {
        root \product\ftpfile\img;
        add_header Access-Control-Allow-Origin *;
    }
}
root /product/ftpfile/img:
root points directly The img folder under the ftpfile under the product folder of the hard disk system directory;
That is, when accessing img.hcxjingdong.com, it directly points to the folder
8. Test verification

You can configure domain name forwarding, but please be sure to configure the host and make the host effective. After the setting is completed, restart the browser
Configuration under Windows:
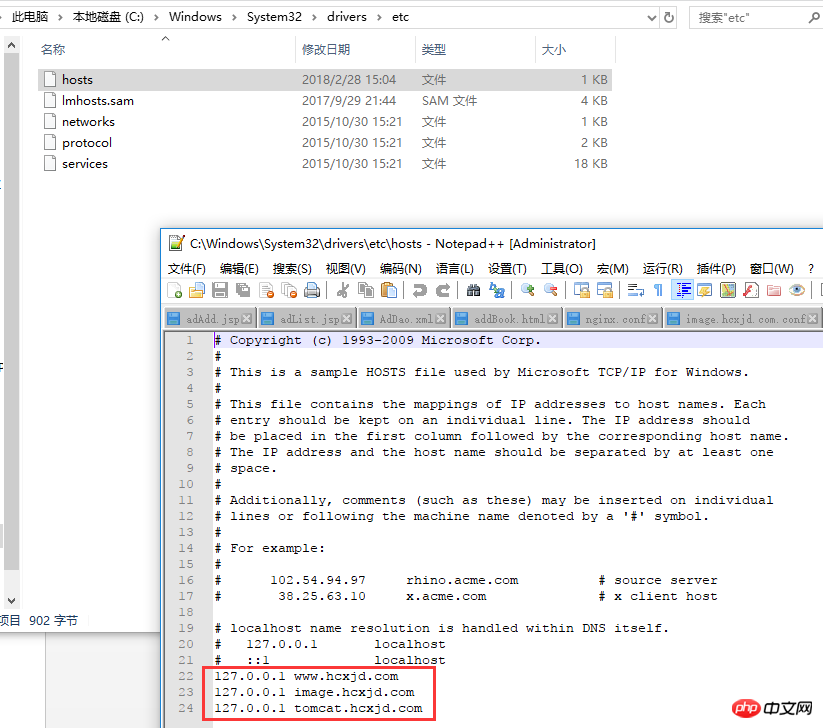
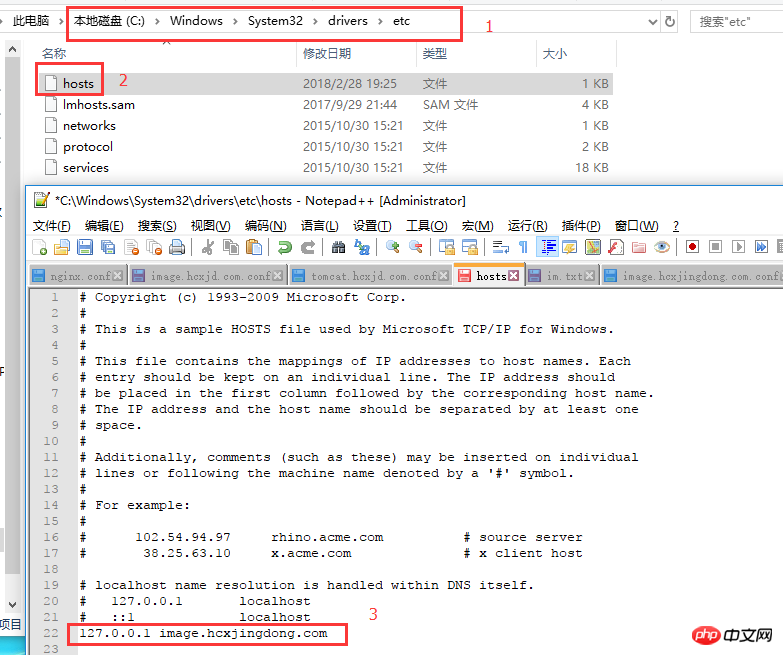
①Enter c:\Windows\System32\drivers\etc
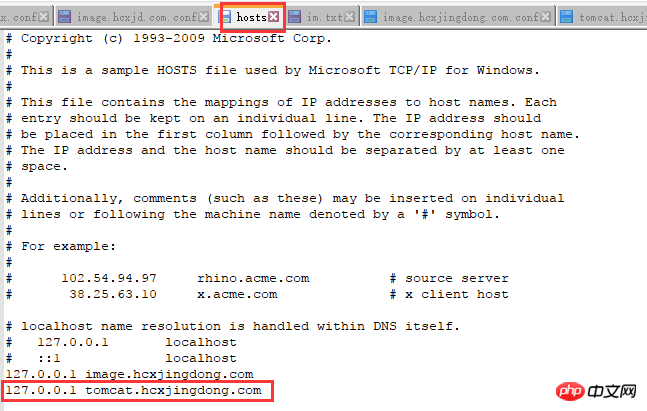
②Open the hosts file with Notepad
③Add the corresponding domain name and IP
④Save and exit
For example:
10.211.55.6 image.hcx.com
10.211.55.6 s.hcx.com
Configure hosts:
c:\Windows\System32\drivers\etc
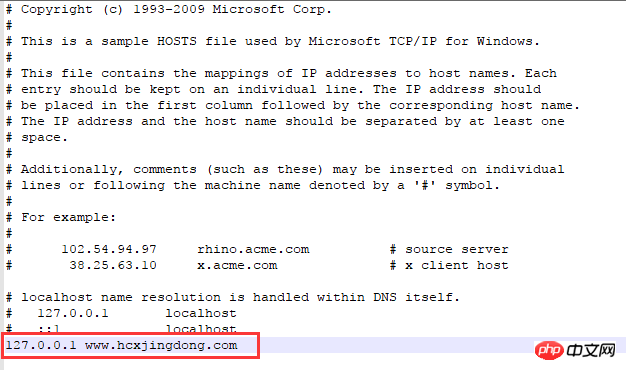
Use a browser to visit www.hcxjingdong.com
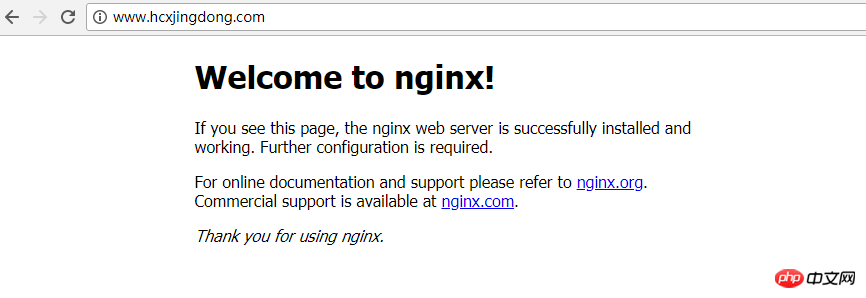
Including local access to http://localhost:
Configuration directory forwarding
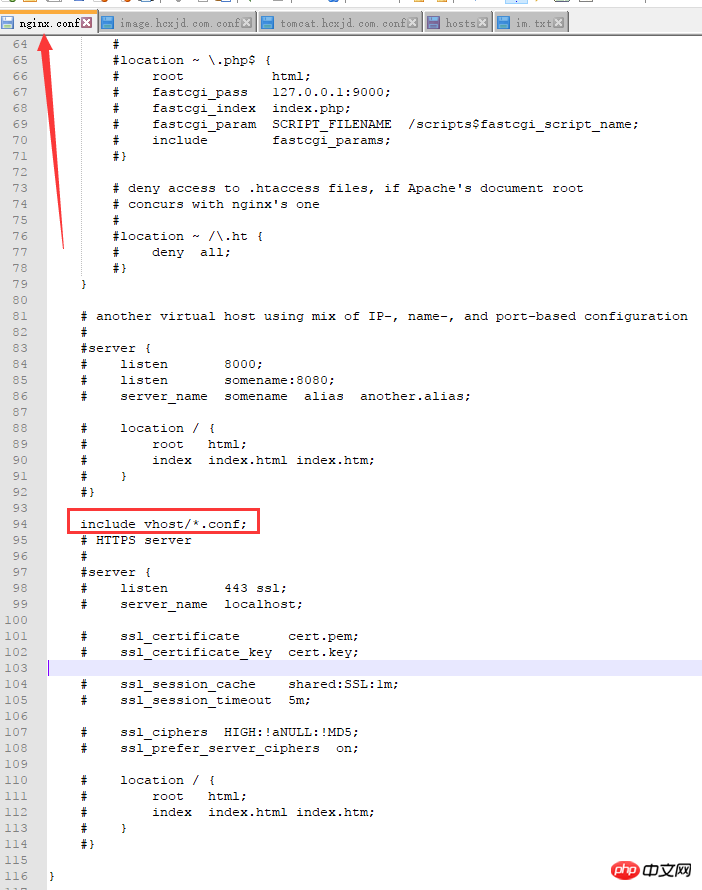
1. Enter nginx.conf (main configuration of nginx):
Add: include vhost/*.conf;
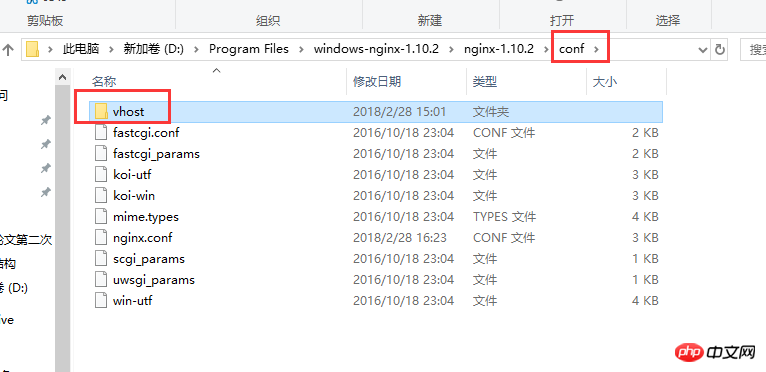
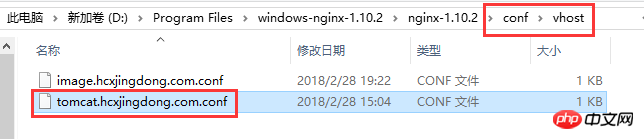
2. Follow this path to create this folder:
Create the vhost folder under the conf folder
3. Create the file in the vhost folder: image.hcxjingdong.com.conf

document content:
server{
    listen 80;
    autoindex off;
    server_name image.hcxjingdong.com;
    access_log c:/access.log combined;
    index index.html index.htm index.jsp index.php;
    #error_page 404 /404.html;
    if ( $query_string ~* ".*[\;'\].*" ){
        return 404;
    }

    location ~ /(hcxmall_fe|hcxmall_admin_fe)/dist/view/* {
        deny all;
    }

    location / {
        root C:\ftpfile\img;
        add_header Access-Control-Allow-Origin *;
    }
}
到C:\ftpfile\img目录下存放图片以便访问
4.修改本机的host,让本机的nginx配合到image.hcxjingdong.com域名
去到C:\Windows\System32\drivers\etc目录下修改hosts文件:
5.重启nginx:
进入到nginx目录执行命令:
①nginx.exe -t:验证配置文件是否正确
②nginx.exe -s reload:重启nginx

6.访问域名(image.hcxjingdong.com)验证图片是否生效:
测试host是否生效:image.hcxjingdong.com
测试图片是否生效:http://image.hcxjingdong.com/hcx.jpg

配置ip端口的转发
1.在conf下的vhost下创建:tomcat.hcxjingdong.com.conf
使用tomcat域名进行ip端口转发,转发到tomcat服务上
tomcat.hcxjingdong.com.conf:
server{
    listen 80;
    autoindex off;
    server_name tomcat.hcxjingdong.com;
    access_log c:/access.log combined;
    index index.html index.htm index.jsp index.php;
    #error_page 404 /404.html;
    if ( $query_string ~* ".*[\;'\].*" ){
        return 404;
    }
    location / {
        proxy_pass http://127.0.0.1:8080;
        add_header Access-Control-Allow-Origin *;
    }
}
2.配置hosts:
3.启动tomcat
4.重启nginx:nginx.exe -s reload
5.访问http://tomcat.hcxjingdong.com
成功显示tomcat启动页,说明http的转发也成功了。
相关推荐:
The above is the detailed content of Installation and configuration examples of Nginx under Windows. For more information, please follow other related articles on the PHP Chinese website!