

Today, we continue the topic of MySQL, and today we bring you an article on a solution to realize MySQL read-write separation based on Amoeba, so let’s go directly to the topic of today.
| Host name | IP address | Node |
| liuyazhuang152 | 192.168.0.152 | amoeba |
| liuyazhuang153 | 192.168.0.153 | Write library |
| liuyazhuang154 | 192.168.0.154 | Read library |
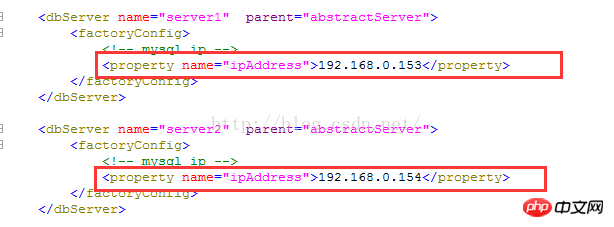
We installed amoeba on 192.168.0.152, and installed mysql on 192.168.0.153 and 192.168.0.154. There is no intersection between these two mysql servers. By configuring amoeba, 192.168. MySQL on 0.153 is configured as a writing database, and MySQL on 192.168.0.154 is configured as a reading database; our client connects to amoeba, and amoeba operates the database. We write data to the corresponding database through amoeba, and use query: The 192.168.0.153 server MySQL has inserted relevant data, but the MySQL server on 192.168.0.154 does not; then, we think that amoeba has helped our program complete the read-write separation function;
Please refer to the blog post "MySQL-CentOS6.5 Compile and Install MySQL5.6.16 Detailed Code Introduction"
We can go to https://sourceforge.net/projects/amoeba/ to download Amoeba. What I downloaded here is amoeba-mysql-binary-2.2 .0.tar.gz
Amoeba is written in Java, so we need our server to configure the Java operating environment. I will not talk about how to configure Java here. Running environment
Since there are no files directly after Amoeba is decompressed, we need to create a folder in advance. I will create a folder under /usr/local: amoeba-mysql-binary-2.2.0
Then enter the following command on the command line
tar -zxvf amoeba-mysql-binary-2.2.0.tar.gz -C /usr/local/amoeba-mysql-binary-2.2.0
Extract Amoeba to the /usr/local/amoeba-mysql-binary-2.2.0 directory. At this time, we have completed the installation.
We go to Amoeba’s conf directory and see the following Configuration file:
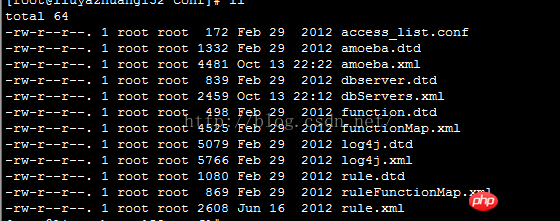
Here we focus on amoeba.xml and dbServers.xml files.
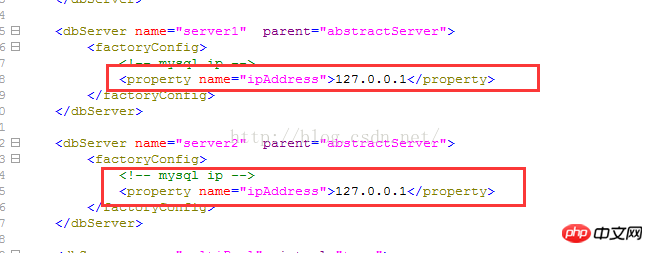
We open the amoeba.xml file and find the following code:
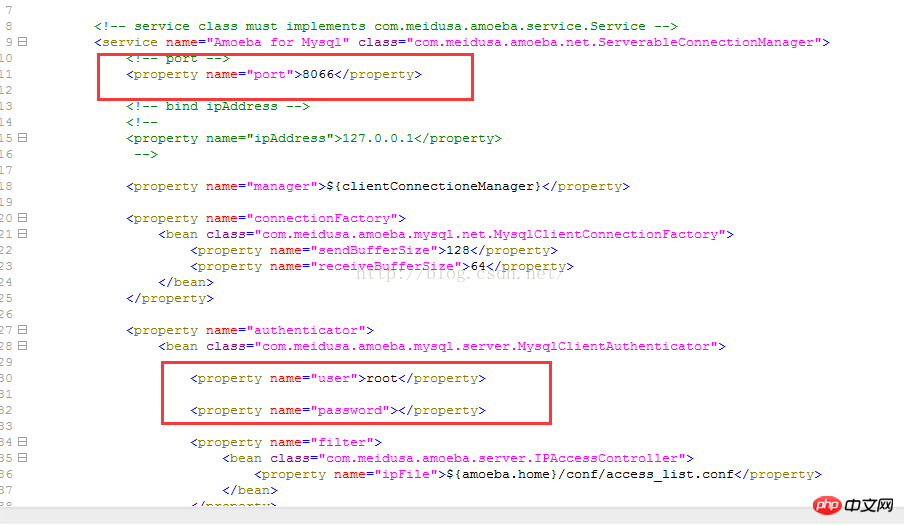
We Configure the user name and password, of which 8066 is the default port of Amoeba. The configured effect is as follows:


comment , the effect is as follows:

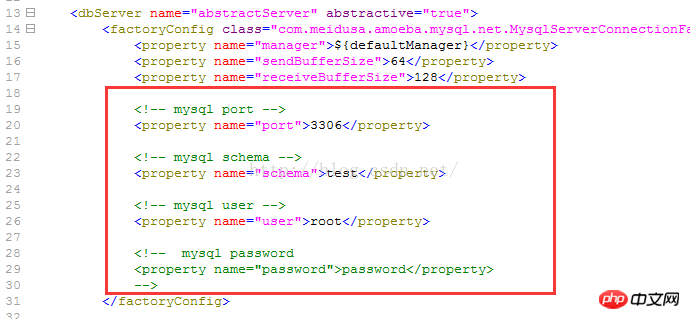
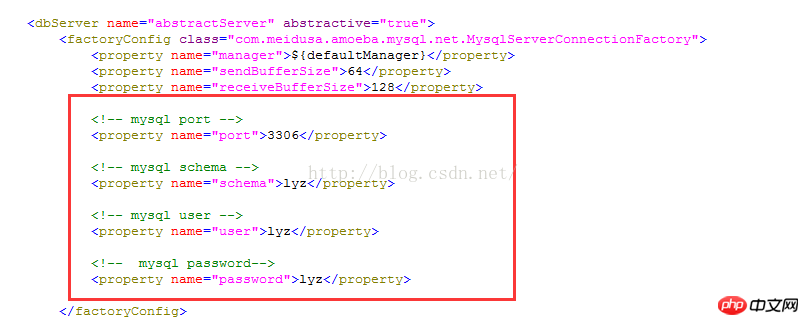
grant all on lyz.* to lyz@192.168.0.152 identified by 'lyz';The username and password here are what we are using The username and password configured in the dbServers.xml file. At this time, MySQL authorization is completed
./amoeba start &Among them, & represents running in the background. At this time, we found that the startup failed: the information is as follows:


此时我们重新输入命令
./amoeba start &

启动成功
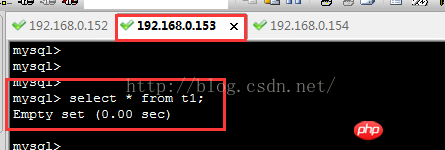
我们先分别查询MySQL数据库表上的相关数据,未通过Amoeba操作数据库的时候,我们是新建的数据库lyz和表t1,此时192.168.0.153和192.168.0.154上MySQL数据表都应该为空,如下图:
我们在192.168.0.152上输入如下命令登录Amoeba,通过Amoeba访问数据库
mysql -h192.168.0.152 -uroot -proot -P 8066
注意:我们这里输入的端口是8066,此端口是Amoeba配置的端口,我们需要登录Amoeba而不是直接登录MySQL
登录成功如下图所示:

此时我们在终端查询数据表数据,显示为空,如下图:

我们在Amoeba服务器终端插入一条数据,如下:

同时,我们在Amoeba上查询数据如下:

数据为空。
我们登录192.168.0.153数据库,查看表数据如下:
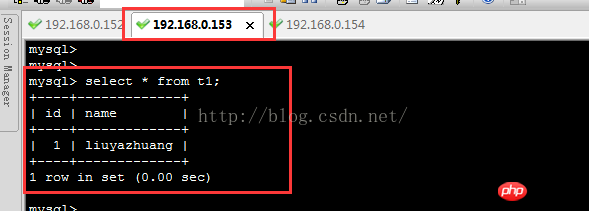
如图,说明Amoeba向192.168.0.153库插入了数据。
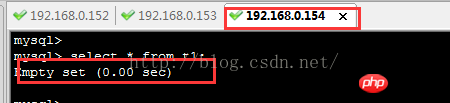
我们在登录192.168.0.154数据库查看数据信息,如下:
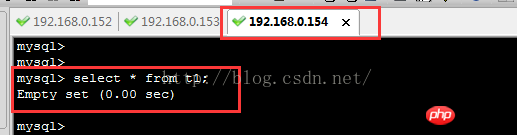
说明Amoeba没有向192.168.0.154库插入数据,并从192.168.0.154库读取数据。
至此,基于Amoeba实现MySQL读写分离全部配置完成。
./amoeba start & 启动amoeba
./amoeba stop  关闭amoeba
The above is the detailed content of MySQL - Detailed explanation of reading and writing separation based on Amoeba (picture and text). For more information, please follow other related articles on the PHP Chinese website!