

This article is for MySQL5.7 installation tutorial under Linux. Other versions may be slightly different and are for reference only.
Step one: Download mysql
##//m.sbmmt.com/xiazai/gongju/ 116
Step 2: Unzip the file
Since I downloaded the file in my local software directory , in order to facilitate management, first move this file to the /usr/local directory
mv /software/mysql-5.7.17-linux-glibc2.5-x86_64.tar /usr/ local
Next go to the moved directory cd /usr/local, and then unzip the tar zxvf mysql-5.7.17-linux-glibc2.5-x86_64.tar
After decompression, you can change the decompressed file name to mysql to facilitate subsequent operations: mv mysql-5.7.17-linux-glibc2.5-x86_64 mysql
Step 3: Configure the startup file
##Go to the directory that was decompressed and renamed mysql and there will be the following files
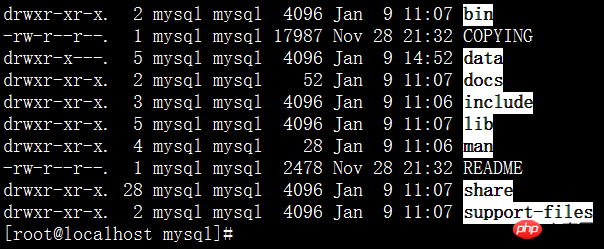
1. Copy my.cnf to /etc/my.cnf (when mysqld starts Automatically read)
cp my-default.cnf /etc/my.cnf
2. Configuration database encoding
vi /etc/my.cnf
[mysql]
default-character-set=utf8
default-storage-engine=INNODB
character_set_server=utf8
Execute the command: cp mysql.server /etc/init.d/mysql (mysql is the service name)
4. Modify /etc/init.d/mysql parameters
vi /etc/init.d/mysql
Give 2 directory locations
basedir=/usr/local/mysql
##datadir=/usr/local/mysql/data
5. For security and convenience, create a special user for operating the database
## 1), groupadd mysql #Create a mysql group
2), useradd -r -g mysql mysql #Create a mysql user and put the user in the mysql group
3), passwd mysql #Set a password for the mysql user
4). Change the owner of the directory /usr/local/mysql chown -R mysql:mysql /usr/local/mysql/
Step 4: Initialize the mysql database
First go to the bin directory of mysql
1.Initialization
./mysqld --initialize --user=mysql --basedir=/usr/local/mysql --datadir=/usr/local/mysql/data
Generate a data directory, indicating that the database has been initialized successfully
And the root user of mysql generates a temporary password: SHNq8Qvd2g>L (it is best to record this temporary password first)
2. Encrypt the database
./mysql_ssl_rsa_setup --datadir=/usr/local/mysql/data
3. Start mysql (in order to prevent the process from being stuck, you can add & after the command to start mysql to indicate that the process is running in the background)
./mysqld_safe --user=mysql &
4. Check ps -ef|grep mysql

If the above process is found, it means the startup is successful. .
Step 5: Enter the client
1. Log in./mysql -uroot -p and press Enter Enter the previous temporary password
2. Change the password
set password=password('new password');
Step 6: Set up remote access
#1. Before remote access, you need to configure the firewall systemctl stop firewalld.service (not recommended, you can configure and open port 3306)
2, authorization
mysql>grant all privileges on *.* to remote access username@'%' identified by 'user password ';
mysql>select host,user from user; [One more remote login user record]
mysql>flush privileges;(Refresh)
Use the remote machine to access at this time
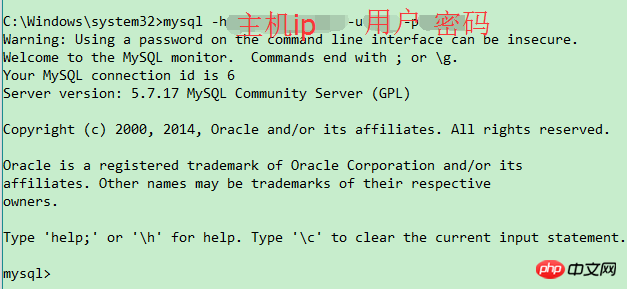
##Parsing: Use mysql -h host ip -u username -p password can be used for remote access
Step 7: Set up auto-start at boot
1. Add service mysql
chkconfig --add mysql [mysqld -install]
2. Set the mysql service to automatic
chkconfig mysql on
3. Restart the viewing process
init 6
ps -ef|grep mysql
Step 8: Configure environment variables
#In order to facilitate operation, it is still necessary to configure environment variables.
vi /etc/profile
export PATH=$JAVA_HOME/bin:/usr/local/mysql/bin:$PATH
Summary: At this point, the basic configuration is basically completed.
Related tutorials:
Tutorial on installing mysql5.7 under windows (picture and text)
Installing MySQL5.7 under CentOS7 Steps (pictures and text)
The above is the detailed content of Tutorial on installing MySQL-5.7 under Linux (picture and text). For more information, please follow other related articles on the PHP Chinese website!