

This article mainly introduces mysql5.7 installation tutorial under windows in detail, which has certain reference value. Interested friends can refer to it
mysql5.7 Installation and configuration methods, compiled and shared with everyone
Download
##Installation
Double-click mysql.msi and follow the prompts to install.Issues that need attention after installation (Key points)
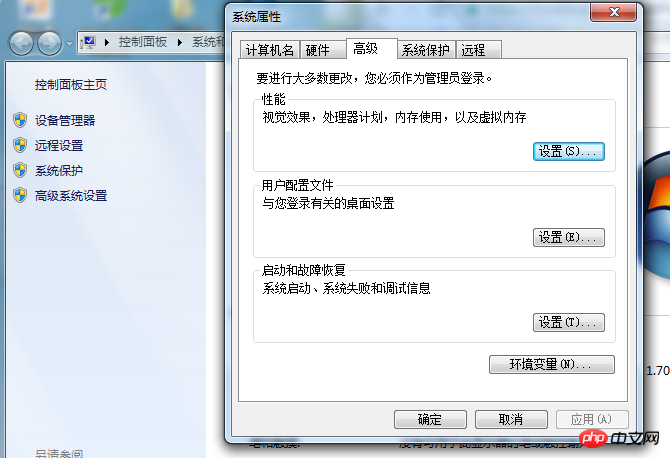
Set the mysql environment environment variable (just let mysql be in any path in cmd Called)1. Right-click the computer and click Properties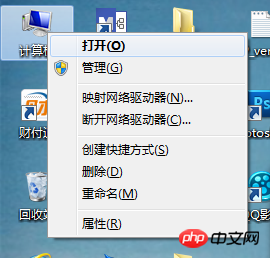
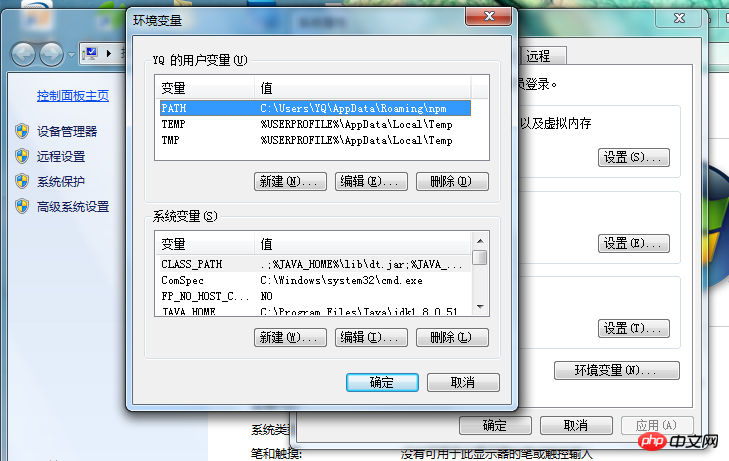
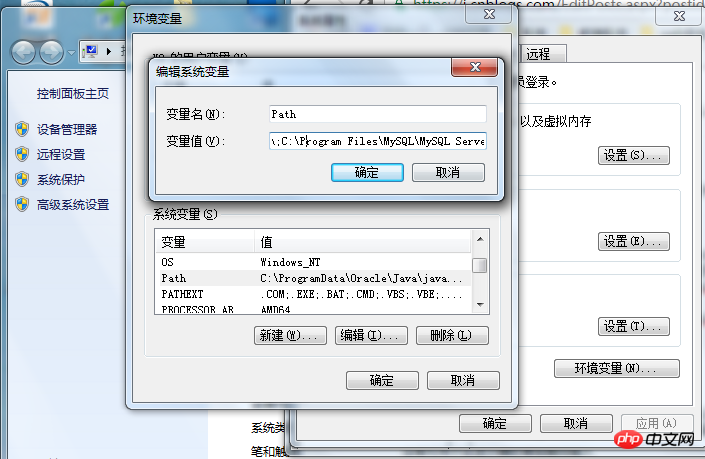
System Variables Settings and click Environment Variables
Initialize mysql
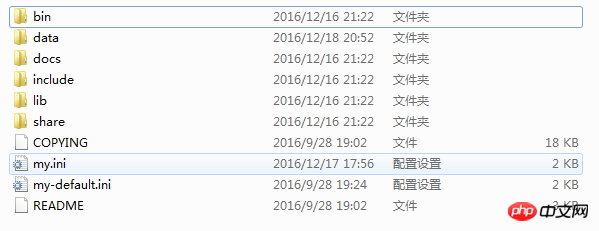
1. After entering mysql5.7 installation The root path (the default installation path is C:\Program Files\MySQL\MySQL Server 5.7, if you have changed it during installation, it will be your changed path), which will be referred to as the root directory later 2, mysql rootDirectory structure is as follows
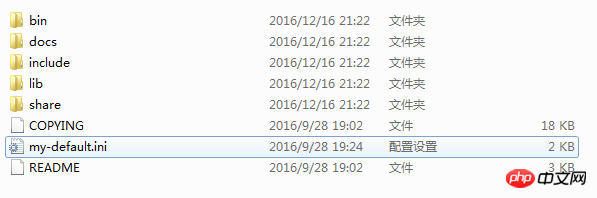
to open the my.ini file, add "skip_grant_tables" at the end of the file content, and save the file. 5. Use cmd to enter the bin folder of the root directory.
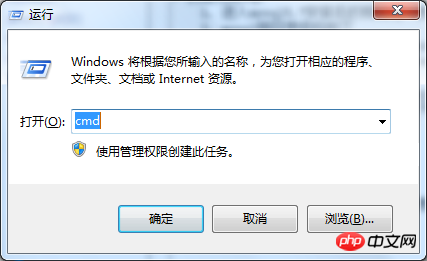
Press the Windows Home key (the key to the left of the alt key in the lower left corner of the keyboard, shaped like "field") + R. After entering cmd, Press the Enter key
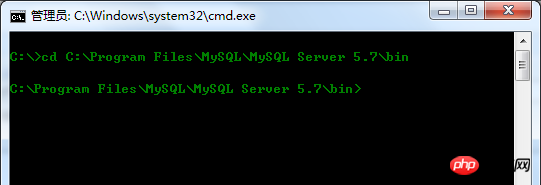
 Input "cd C:\Program Files\MySQL\MySQL Server 5.7**bin**" in the pop-up window and press Enter
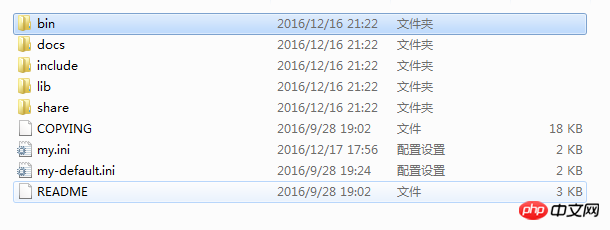
 Enter "mysqld --initialize" and press Enter. The data folder will be generated in the root directory. At this time, mysql initialization is completed. The root directory structure after initialization is completed is as shown below
1. Press the Windows Home key + R (the key to the left of the alt key in the lower left corner of the keyboard, shaped like "Tian" ), after entering cmd, press the Enter key
2. In the pop-up window, enter "cd C:\Program Files\MySQL\MySQL Server 5.7**bin** "Press Enter
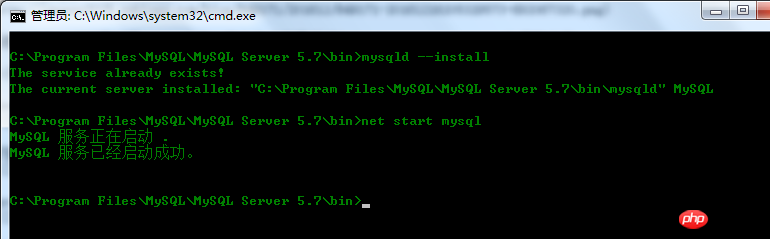
3. Enter "mysqld --install" and press Enter, as shown below (I have registered the service before, so it will prompt that the service has been completed)
 4. Now you can use "net start mysql" in cmd to start the mysql service, and use "net stop mysql" to stop the service. (Need to set the mysql environment variable)
1. My.ini file in the root directory Add "skip_grant_table" at the end, save and exit (it has been done before, you can skip it).
2. Open cmd and enter the following commands in sequence, and press Enter (when prompted to enter a password, just press Enter)
mysql -u root -p;
use mysql;
update user set authentication_string=password("123456") where user="root";
flush privileges;
update user set password_expired="N" where user="root";
3. Delete the "skip_grant_table" added at the end of the my.ini file in the root directory, save and exit, restart mysql, and you can log in with the new password.
Perform the above steps in sequence, and mysql-5.7 can be successfully installed.
Wonderful topic sharing:
Steps to install MySQL5.7 under CentOS7 (pictures and texts)
##Tutorial on installing MySQL-5.7 under Linux ( Pictures and text)
The above is the detailed content of Tutorial on installing mysql5.7 under windows (picture and text). For more information, please follow other related articles on the PHP Chinese website!