Home > Article > Web Front-end > Detailed explanation of unit and E2E testing steps with Angular CLI
This time I will bring you a detailed explanation of the steps for unit and E2E testing with Angular CLI. What are the precautions for unit and E2E testing with Angular CLI? The following is a practical case, let's take a look.
Unit testing.
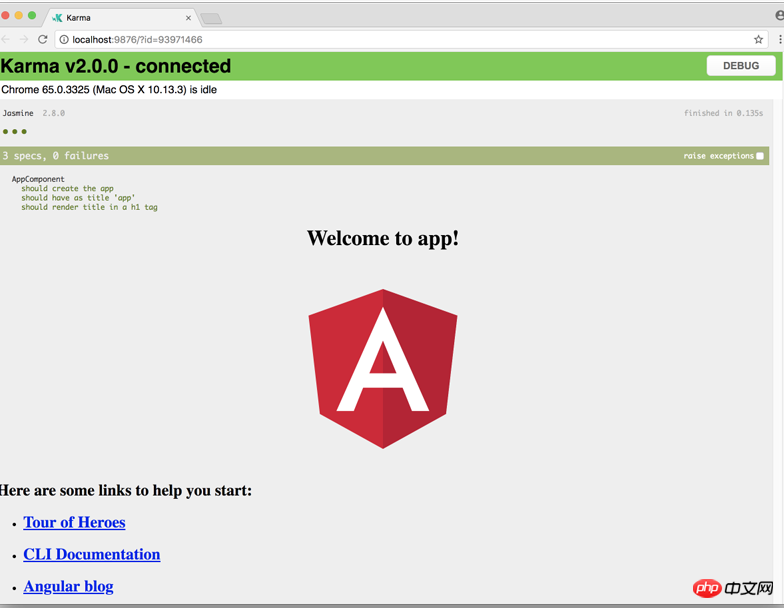
angular cli uses karma for unit testing.First execute ng test --help or ng test -h to view the help.To execute the test, just execute ng test. It will execute all the .spec.ts files in the project.And it also It will detect file changes. If the file changes, then it will re-execute the test.It should be executed in a separate terminal process.First create an angular project with routing:ng new sales --routingAfter creating the project, directly execute the command test:
ng test
ng g c person
ng g c order
ng g m admin --routing
ng g c admin/user
ng g c admin/email
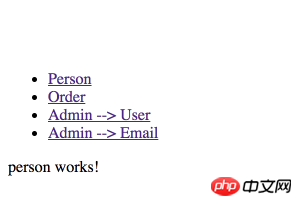
Then configure the routing, and the most important thing is to get this effect:
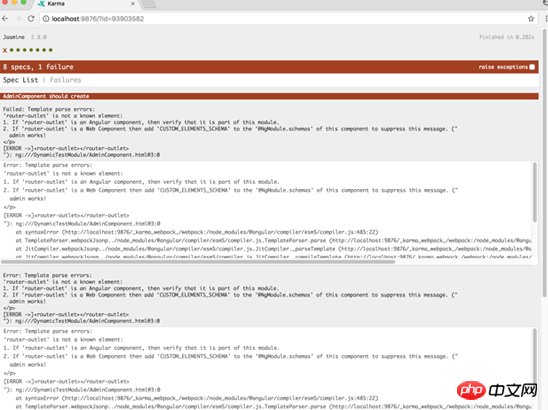
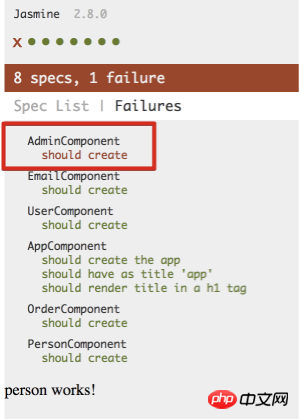
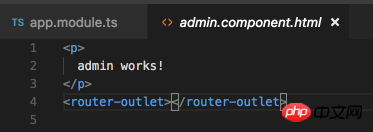
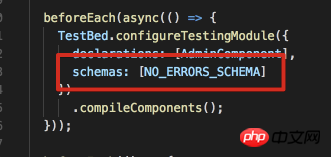
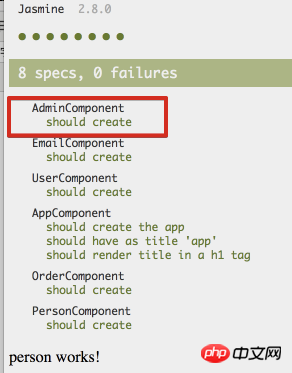 ##NO_ERRORS_SCHEMA tells angular to ignore those unrecognized elements or element attributes.
Use ng test -sr or ng test -w false Execute a single test
Test code coverage:
ng test --cc's report is generated in the /coverage folder by default, but it can be modified by modifying .angular- Modify the properties in cli.json.
The code coverage report is generated below:
ng test -sr -cc
Usually used with the -sr parameter (run a test).
Then Some files will be generated in the coverage folder of the project:
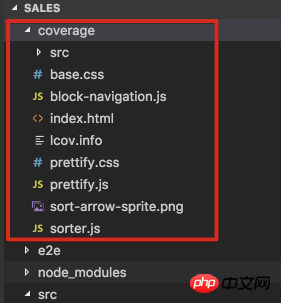 Open index.html directly:
 You can see it Everything is 100%, this is because I didn’t write any code.
Then I added some code in the user component:
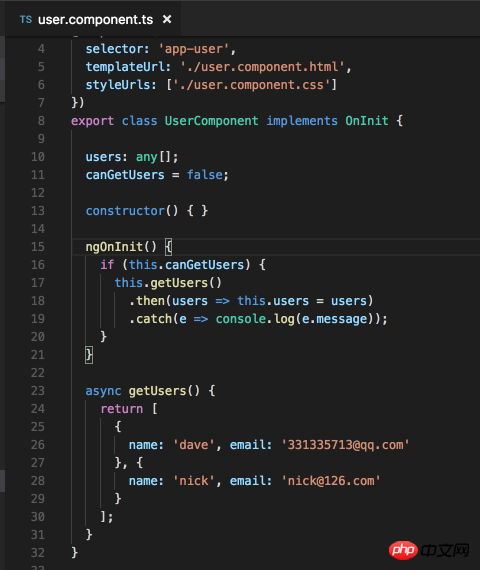
再运行一次 ng test --sr -cc:
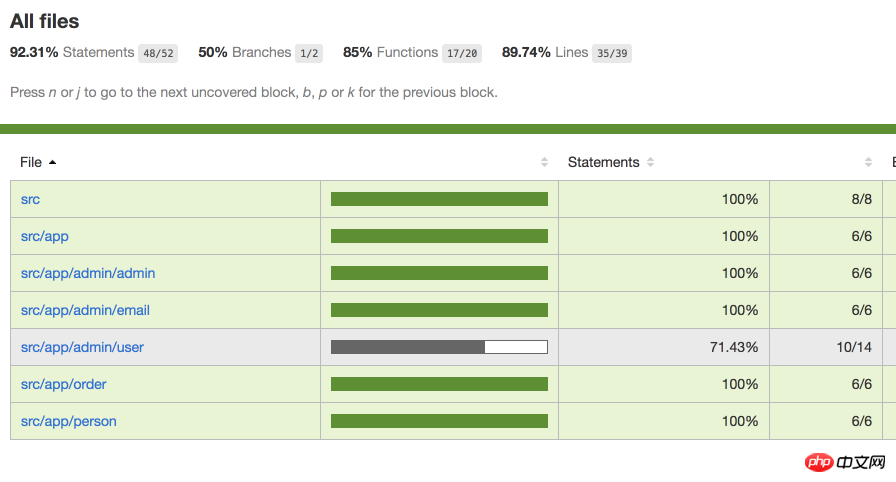
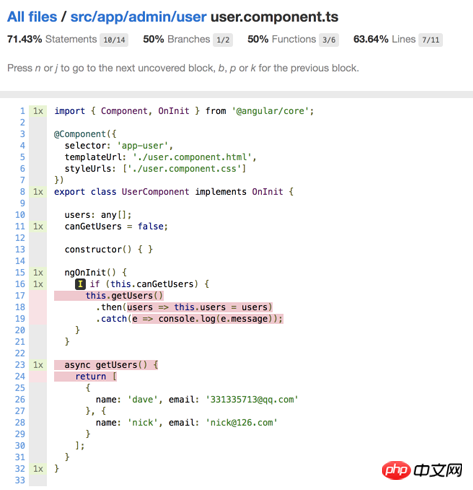
可以看到这部分代码并没有覆盖到.
如果我把代码里到 canGetUsers改为true:
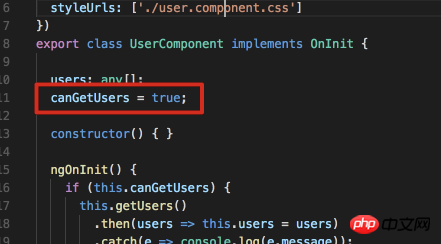
再次执行ng test --sr -cc
可以看到这次代码覆盖率变化了:
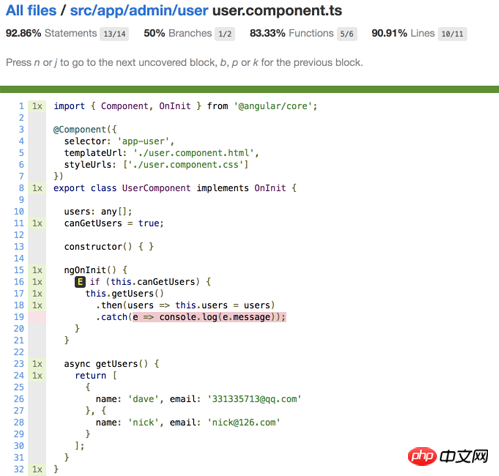
只有catch部分没有覆盖到.
我认为代码覆盖率这个内置功能是非常好的.
Debug单元测试.
首先执行ng test:
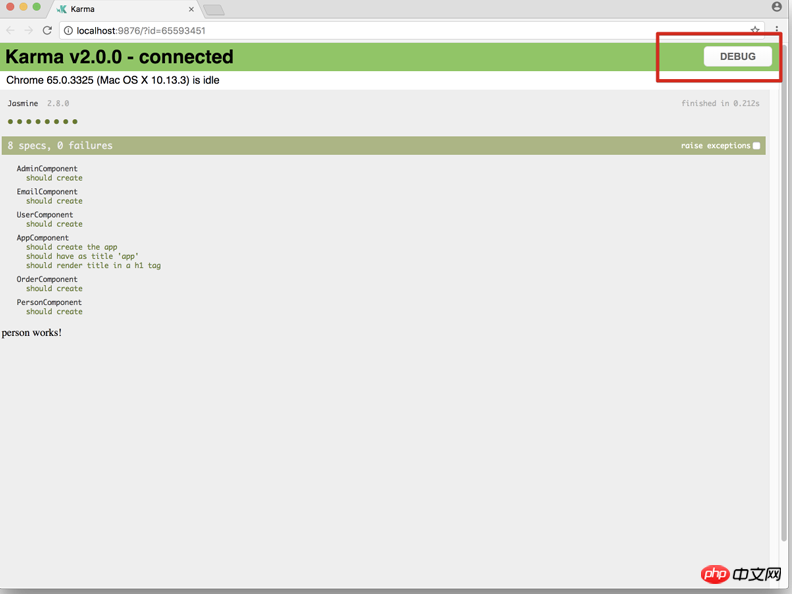
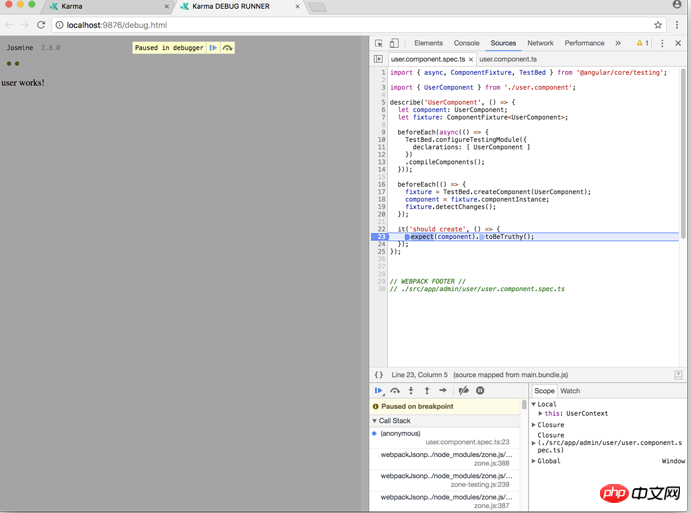
然后点击debug, 并打开开发者工具:
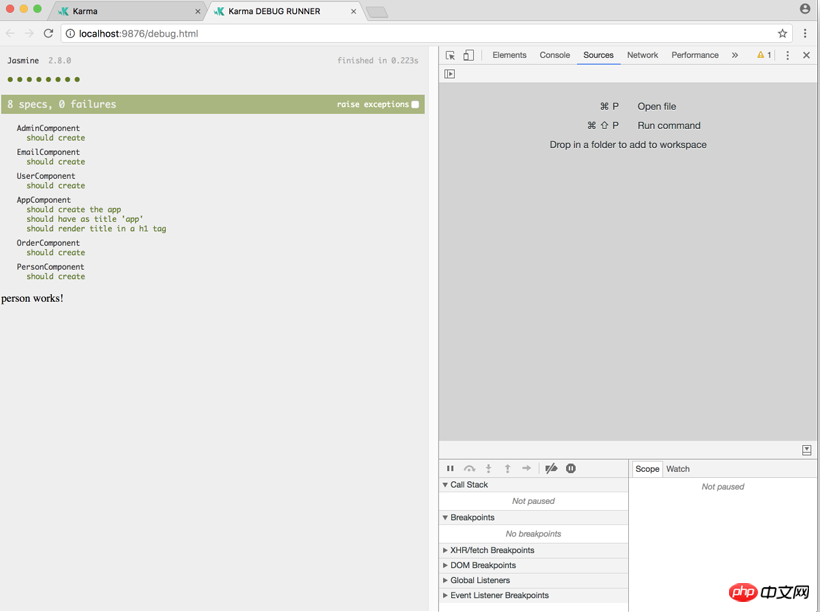
然后按cmd+p:
找到需要调试的文件:
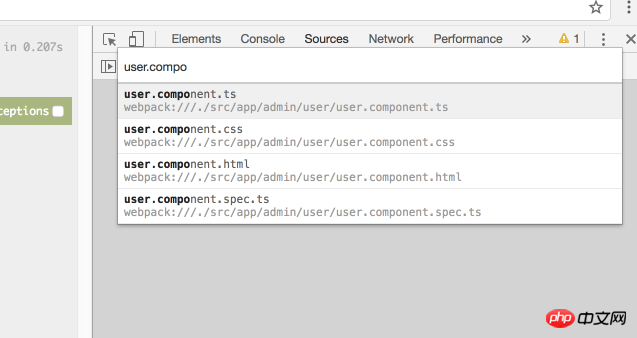
设置断点:
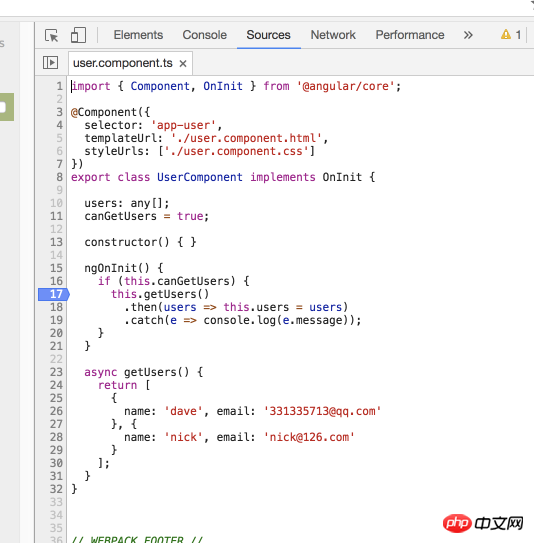
然后在spec里面也设置一个断点:
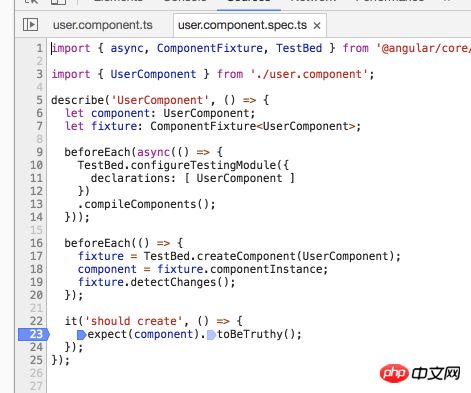
最后点击浏览器的刷新按钮即可:
E2E测试的参数.
实际上angular cli是配合着protractor来进行这个测试的.
它的命令是 ng e2e.
常用的参数有:
--config -c 指定配置文件 默认是 protractor.conf.js
--element-explorer -ee 打开protractor的元素浏览器
--serve -s 在随机的端口编译和serve 默认true
--specs -sp 默认是执行所有的spec文件, 如果想执行某个spec就使用这个参数, 默认是all
--webdriver-update -wu 尝试更新webdriver 默认true
通常执行下面机组命令参数组合即可:
ng e2e
ng e2e -ee
Debug E2E测试.
看一下项目:
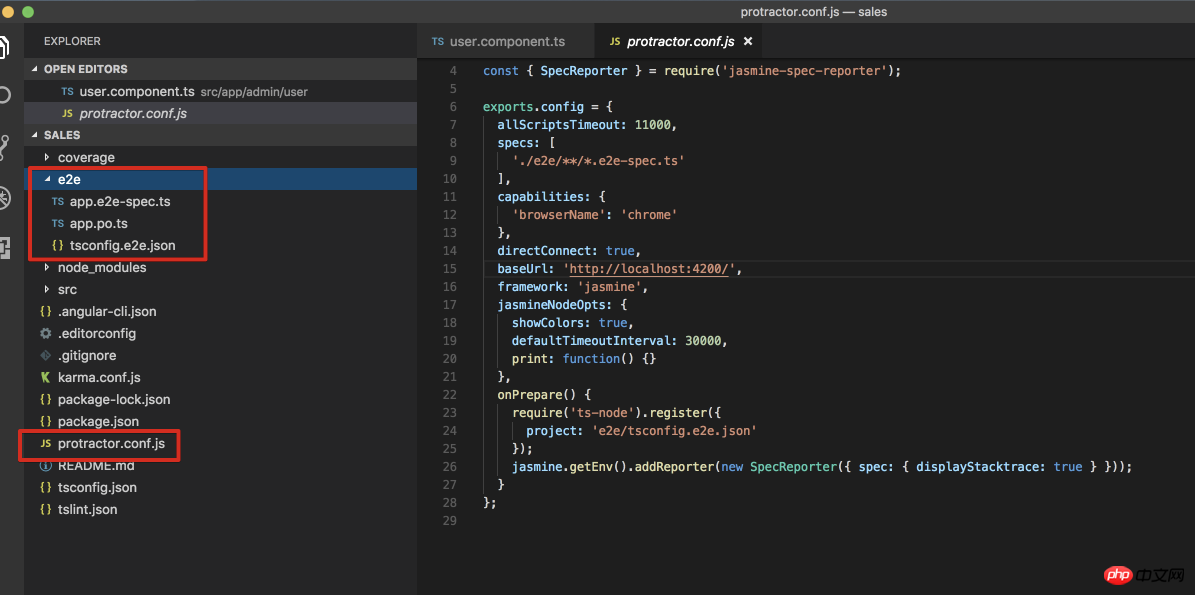
配置文件protractor.conf.js已经配置好.
而测试文件是在e2e目录下.
看一下spec和po文件:
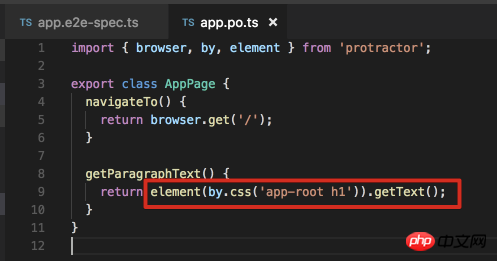

再看一下app.component.html里面的值:
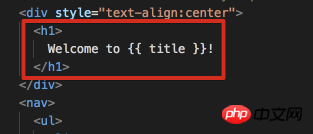
应该是没问题的.
所以执行ng e2e:

测试通过, 但是浏览器闪了一下就关闭了.
如果我想debug e2e, 那么执行这个命令:
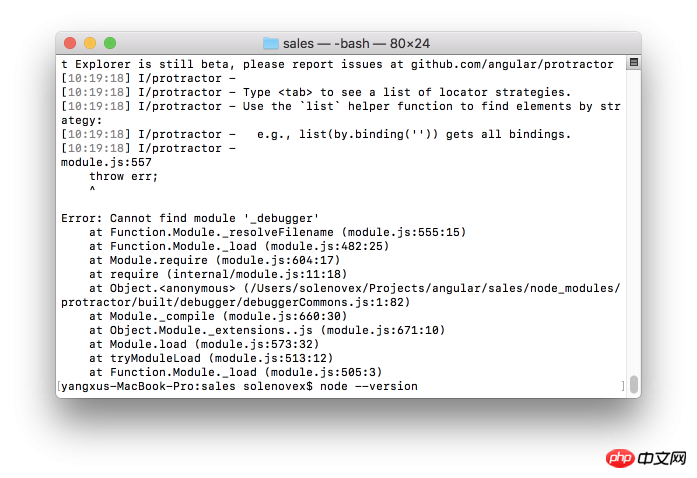
ng e2e -ee
由于我使用的是mac, 当前这个命令在mac上貌似确实有一个bug:
相信看了本文案例你已经掌握了方法,更多精彩请关注php中文网其它相关文章!
推荐阅读:
The above is the detailed content of Detailed explanation of unit and E2E testing steps with Angular CLI. For more information, please follow other related articles on the PHP Chinese website!