
Home > Article > Web Front-end > Detailed explanation of building a development environment with React Native

This article mainly introduces the steps to build a development environment in React Native. The editor thinks it is quite good, so I will share it with you now and give it as a reference. Let’s follow the editor to take a look, I hope it can help everyone.
Preparation work
node -v: Confirm whether Node is installed. If it has been successfully installed, execute the following command; otherwise install Node first.
npm install -g create-react-native-app: Use npm to quickly create React Native applications.
create-react-native-app AwesomeProject: Create a project named AwesomeProject.
cd AwesomeProject: Enter the file directory where the project is located.
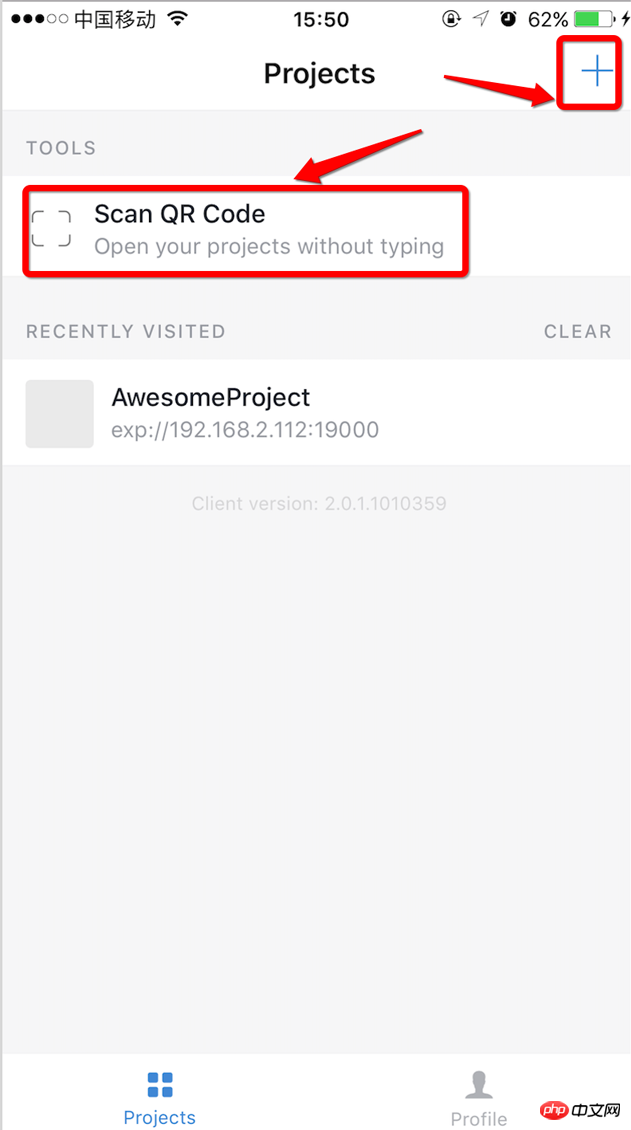
yard start: Start the service, the terminal will display the QR code and link address.
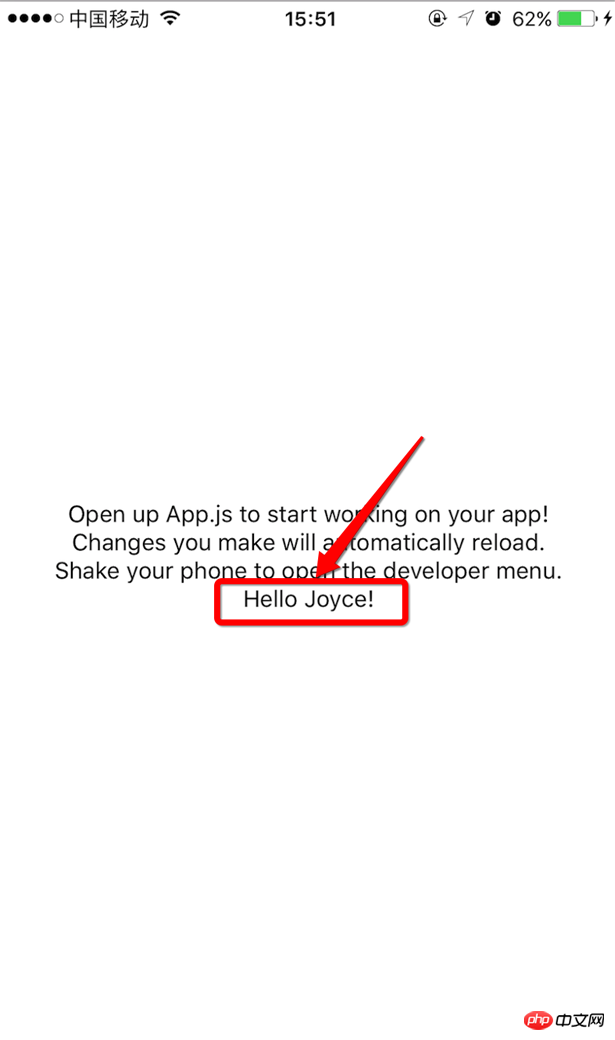
Download the Expo client APP on your mobile phone

React Native Detailed encapsulation of notification message vertical carousel component
React Native Verification code countdown sharing
Instance detailed explanation React Native time conversion format tool class
The above is the detailed content of Detailed explanation of building a development environment with React Native. For more information, please follow other related articles on the PHP Chinese website!