

In the process of development and debugging, Java projects need to install and deploy various environments. Before, we used virtual machine deployment The deployment is automated by executing commands on the machine or configuring
Jekins scripts. However, high-availability project installation and deployment in a container environment requires the use of containerization technology andk8sscheduling and execution.
Generally in a formal environment we will have the following parts to constitute a containerized deployment:
Container environment
docker
Containerd
k8s cluster. 1. Generate Demo project
Directory structure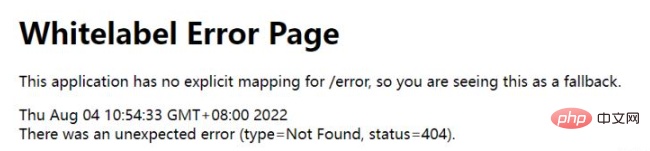
2. Configure the Docker environment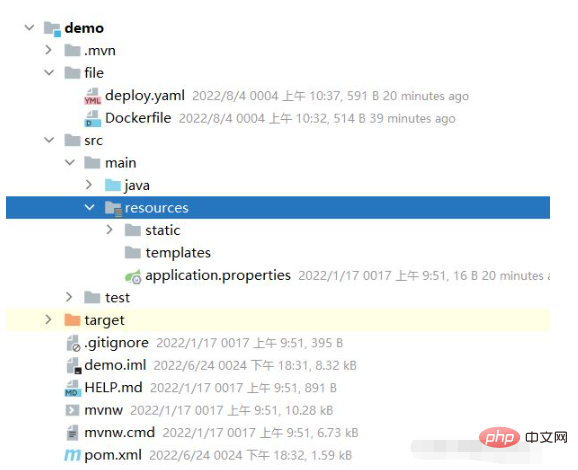
Dockerfile file
in thefile folder, the code is as follows
#基础镜像 java打包需要依赖jdk
FROM java:8
#将虚拟机的war包,cp到docker容器内部
COPY demo-0.0.1-SNAPSHOT.jar demo-0.0.1-SNAPSHOT.jar
#容器开放的端口
EXPOSE 8081
#指定docker容器时区
RUN ln -sf /usr/share/zoneinfo/Asia/Shanghai /etc/localtime && echo 'Asia/Beijing' >/etc/timezone
# 脚本启动
ENTRYPOINT ["sh","-c","java -server -Dfile.encoding=utf-8 -Xms1024m -Xms1536m -jar -Dserver.port=8081  -Dspring.profiles.active=prod demo-0.0.1-SNAPSHOT.jar"]
If the project is set up for different environments, please modify it ENTRYPOINT ## in the parameters #-Dspring.profiles.active=prodModify2.2 Packaging imageAfter configuring the
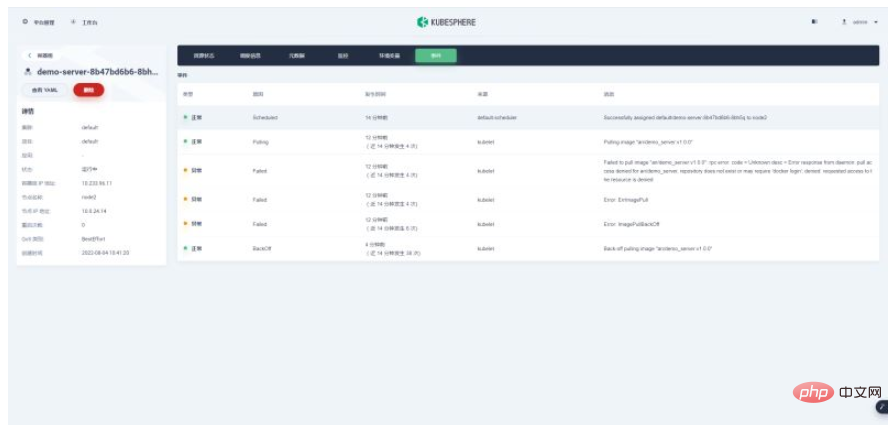
file, you need to package the image into the container cluster. Since there is no Image warehouse, so our packaging needs to be packaged in all container nodes. Otherwise, during the scheduling process, if a node without a packaged image is scheduled, the image cannot be pulled and the startup will not be completed as shown below.
 ##Place the
 jar package
Dockerfile file Upload to all nodes in the container cluster, and then execute the following command:
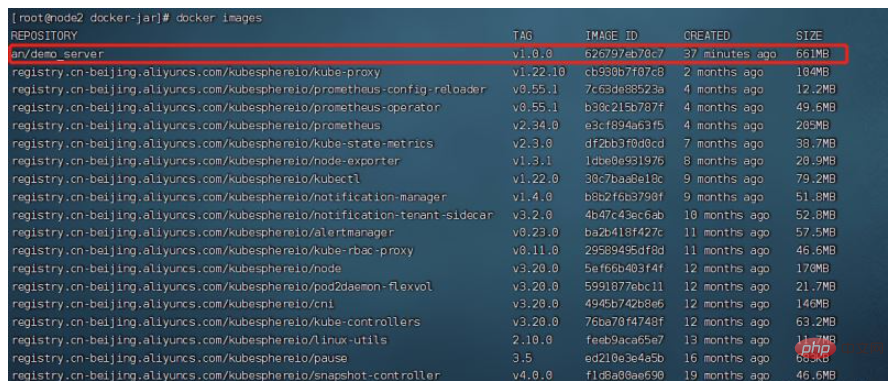
docker image build -t an/demo_server:v1.0.0 .
is the name of the container image to be packaged, our configuration below k8sThis is also the name used to find the image for scheduling. Use the docker images command to check whether the image exists
##3. Configure k8s
 This file is used for
,ports that need to be scheduled. Number, External port number, External protocol, etc., etc. are configured as followsapiVersion: apps/v1
kind: Deployment
metadata:
name: demo-server
spec:
replicas: 1
selector:
matchLabels:
app: demo-server
template:
metadata:
labels:
app: demo-server
spec:
containers:
- name: demo-server
image: an/demo_server:v1.0.0
ports:
- containerPort: 8081
---
apiVersion: v1
kind: Service
metadata:
name: demo-server
spec:
selector:
app: demo-server
ports:
- protocol: TCP
port: 8081
targetPort: 8081
nodePort: 31001
type: NodePortreplicas parameter represents the scheduled container Quantity, currently 1 instance nodePort
The bottom directory has a detailed explanation of the parameters, you can refer to, Here is a brief explanation3.2 Start scheduling
Upload the file to the k8s master node and execute the following command for schedulingkubectl apply -f deploy.yaml4. Verification
First execute the command:
kubectl get all或kubectl get node
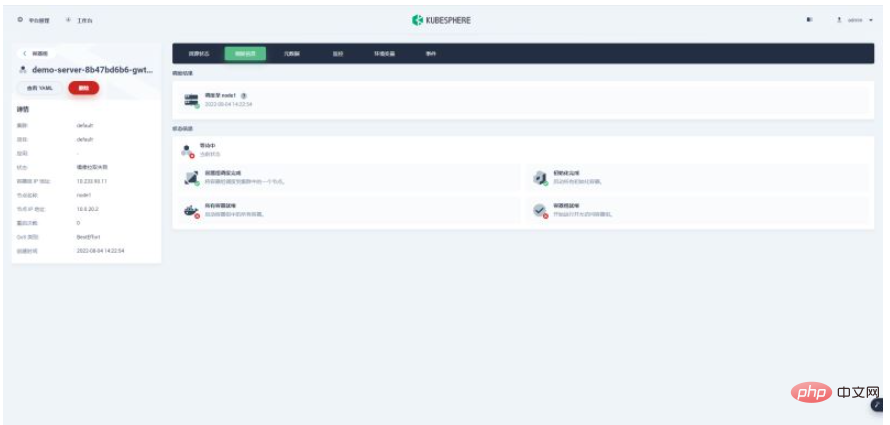
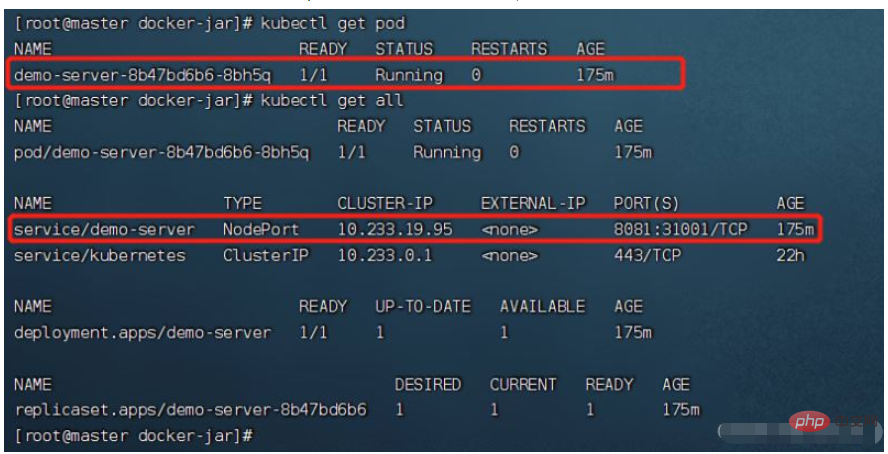 If there is no load for external access to the cluster, you need to first check which node the
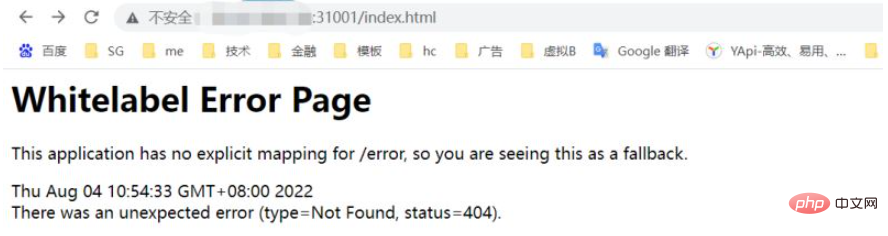
#In the system, we can see that k8s has scheduled this system to the node2 node, using the node2 node ip port, and the external mapping we configured The port is 31001, then the access address is: http://external ip:31001
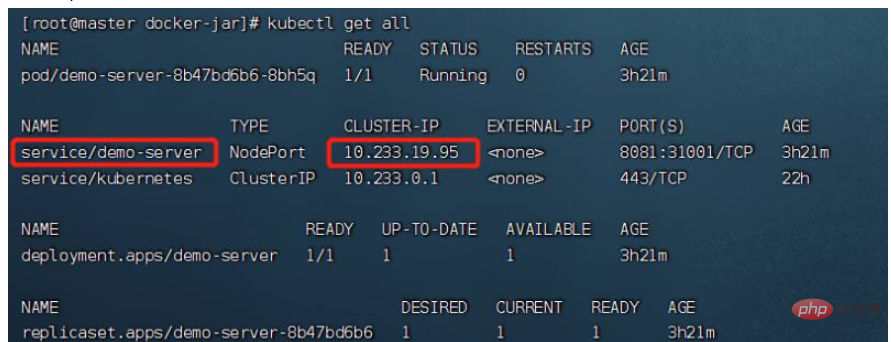
4.2.2 集群内部访问
如果在集群内部访问有两种方式
通过CLUSTER-IP:port访问
使用命令kubectl get all可以查看到service的CLUSTER-IP
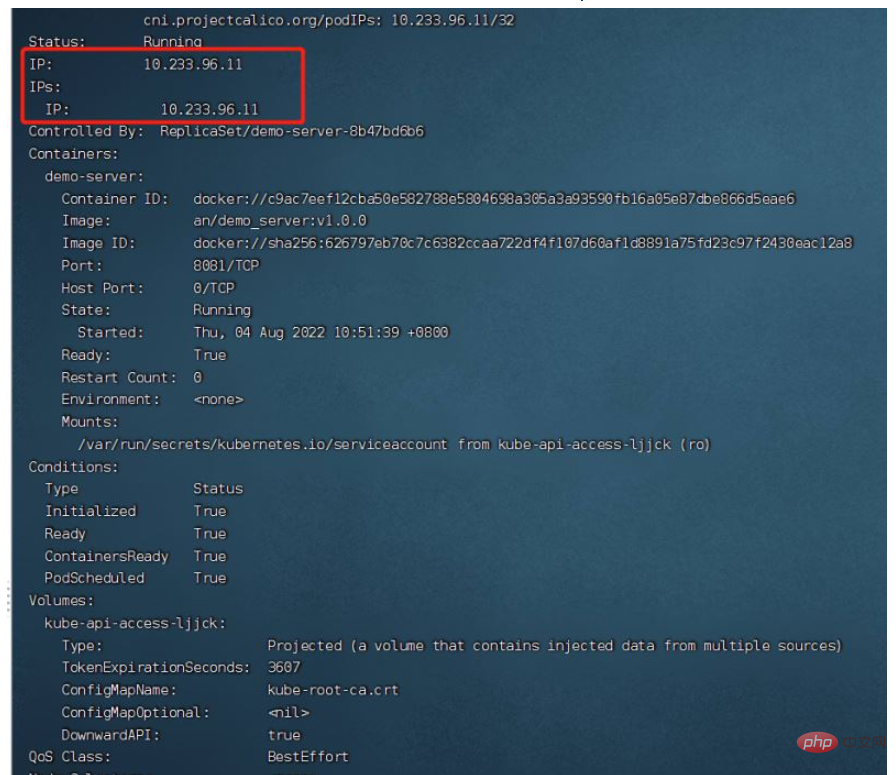
通过pod Ip:port访问
使用命令:kubectl get pods得到podname

再使用命令:kubectl describe pod demo-server-8b47bd6b6-8bh6q查看pod详情里的pod IP
apiVersion: v1 # 【必须】版本号
kind: Pod # 【必选】Pod
metadata: # 【必选-Object】元数据
name: String # 【必选】 Pod的名称
namespace: String # 【必选】 Pod所属的命名空间
labels: # 【List】 自定义标签列表
	- name: String
annotations: # 【List】 自定义注解列表
	- name: String
spec: # 【必选-Object】 Pod中容器的详细定义
containers: # 【必选-List】 Pod中容器的详细定义
	- name: String # 【必选】 容器的名称
	image: String # 【必选】 容器的镜像名称
	imagePullPolicy: [Always | Never | IfNotPresent] # 【String】 每次都尝试重新拉取镜像 | 仅使用本地镜像 | 如果本地有镜像则使用,没有则拉取
	command: [String] # 【List】 容器的启动命令列表,如果不指定,则使用镜像打包时使用的启动命令
	args: [String] # 【List】 容器的启动命令参数列表
	workingDir: String # 容器的工作目录
	volumeMounts: # 【List】 挂载到容器内部的存储卷配置
		- name: String # 引用Pod定义的共享存储卷的名称,需使用volumes[]部分定义的共享存储卷名称
		mountPath: Sting # 存储卷在容器内mount的绝对路径,应少于512个字符
		readOnly: Boolean # 是否为只读模式,默认为读写模式
	ports: # 【List】 容器需要暴露的端口号列表
		- name: String  # 端口的名称
		containerPort: Int # 容器需要监听的端口号
		hostPort: Int # 容器所在主机需要监听的端口号,默认与containerPort相同。设置hostPort时,同一台宿主机将无法启动该容器的第二份副本
		protocol: String # 端口协议,支持TCP和UDP,默认值为TCP
	env: # 【List】 容器运行前需设置的环境变量列表
		- name: String # 环境变量的名称
		value: String # 环境变量的值
	resources: # 【Object】 资源限制和资源请求的设置
		limits: # 【Object】 资源限制的设置
		cpu: String # CPU限制,单位为core数,将用于docker run --cpu-shares参数
		memory: String # 内存限制,单位可以为MB,GB等,将用于docker run --memory参数
		requests: # 【Object】 资源限制的设置
		cpu: String # cpu请求,单位为core数,容器启动的初始可用数量
		memory: String # 内存请求,单位可以为MB,GB等,容器启动的初始可用数量
	livenessProbe: # 【Object】 对Pod内各容器健康检查的设置,当探测无响应几次之后,系统将自动重启该容器。可以设置的方法包括:exec、httpGet和tcpSocket。对一个容器只需要设置一种健康检查的方法
		exec: # 【Object】 对Pod内各容器健康检查的设置,exec方式
		command: [String] # exec方式需要指定的命令或者脚本
		httpGet: # 【Object】 对Pod内各容器健康检查的设置,HTTGet方式。需要指定path、port
		path: String
		port: Number
		host: String
		scheme: String
		httpHeaders:
			- name: String
			value: String
		tcpSocket: # 【Object】 对Pod内各容器健康检查的设置,tcpSocket方式
		port: Number
		initialDelaySeconds: Number # 容器启动完成后首次探测的时间,单位为s
		timeoutSeconds: Number  # 对容器健康检查的探测等待响应的超时时间设置,单位为s,默认值为1s。若超过该超时时间设置,则将认为该容器不健康,会重启该容器。
		periodSeconds: Number # 对容器健康检查的定期探测时间设置,单位为s,默认10s探测一次
		successThreshold: 0
		failureThreshold: 0
	securityContext:
		privileged: Boolean
restartPolicy: [Always | Never | OnFailure] # Pod的重启策略 一旦终止运行,都将重启 | 终止后kubelet将报告给master,不会重启 | 只有Pod以非零退出码终止时,kubelet才会重启该容器。如果容器正常终止(退出码为0),则不会重启。
nodeSelector: object # 设置Node的Label,以key:value格式指定,Pod将被调度到具有这些Label的Node上
imagePullSecrets: # 【Object】 pull镜像时使用的Secret名称,以name:secretkey格式指定
	- name: String
hostNetwork: Boolean # 是否使用主机网络模式,默认值为false。设置为true表示容器使用宿主机网络,不再使用docker网桥,该Pod将无法在同一台宿主机上启动第二个副本
volumes: # 【List】 在该Pod上定义的共享存储卷列表
	- name: String # 共享存储卷的名称,volume的类型有很多emptyDir,hostPath,secret,nfs,glusterfs,cephfs,configMap
	emptyDir: {} # 【Object】 类型为emptyDir的存储卷,表示与Pod同生命周期的一个临时目录,其值为一个空对象:emptyDir: {}
	hostPath: # 【Object】 类型为hostPath的存储卷,表示挂载Pod所在宿主机的目录
		path: String # Pod所在主机的目录,将被用于容器中mount的目录
	secret: # 【Object】类型为secret的存储卷,表示挂载集群预定义的secret对象到容器内部
		secretName: String
		items:
		- key: String
			path: String
	configMap: # 【Object】 类型为configMap的存储卷,表示挂载集群预定义的configMap对象到容器内部
		name: String
		items:
		- key: String
			path: String
The above is the detailed content of How to deploy java project to k8s. For more information, please follow other related articles on the PHP Chinese website!