

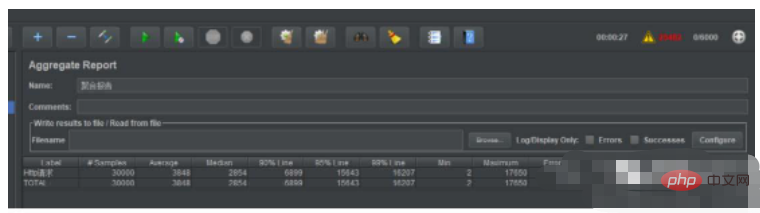
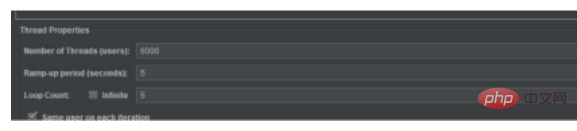
Conduct a 6000-thread stress test on a single interface, with each thread requesting 5 times. The thread was created within 5 seconds. Halfway through, the request response time was too long and the error rate reached 43%. This concurrent capacity is relatively weak for servers with better configurations.
The configuration of metadata is mentioned in the official SpringBoot documentation
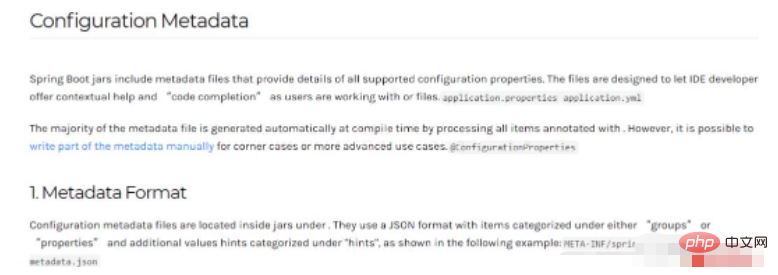
You can see that about us The default configuration of the ports of the most commonly used setting items is among them.
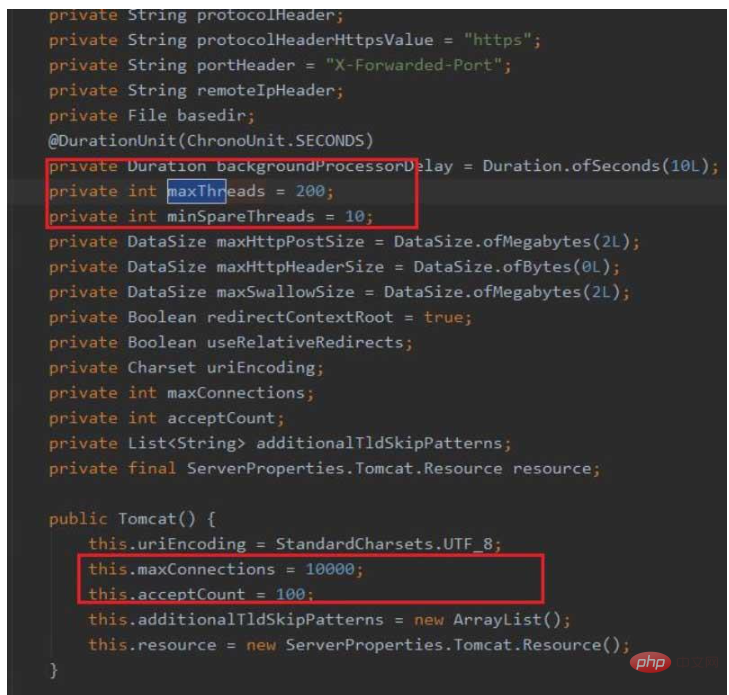
1. server.tomcat.accept-count: waiting queue length. When the number of allocable threads is used up, subsequent requests will enter the waiting queue to wait. , reject processing after waiting for the queue to be full, default 100.
2. server.tomcat.max-connections: the maximum number of connections, the default is 10000
3. server.tomcat.max-threads: the maximum number of working threads, the default is 200,
4. server.tomcat.min-spare-threads: the minimum number of working threads, the number of initial allocation threads, the default is 10
Under the default configuration, the connection will be refused after the number of connections exceeds 10,000
Under the default configuration, the triggered requests exceed 200 and are rejected after 100 requests (the maximum number of worker threads waiting for the queue length)
These metadata Spring of course provides external configuration functions
#更改内嵌tomcat参数
server.port=8080
## 等待队列长度,默认100。
server.tomcat.accept-count=1000
## 最大工作线程数,默认200。(4核8g内存,线程数经验值800,操作系统做线程之间的切换调度是有系统开销的,所以不是越多越好。)
server.tomcat.max-threads=800
## 最小工作空闲线程数,默认10。(适当增大一些,以便应对突然增长的访问量)
server.tomcat.min-spare-threads=100
SpringBoot has built-in Tomcat. In the default settings, the maximum number of threads of Tomcat is 200 and the maximum number of connections is 10,000. The amount of concurrency supported refers to the number of connections. How can 200 threads handle 10,000 connections?
Currently Tomcat has three modes for processing connections. One is BIO, where one thread only handles one connection, and the other is NIO, where one thread handles multiple connections. Since HTTP requests do not take too long, and multiple connections generally do not receive messages at the same time, there is no big problem in processing multiple connections with one thread.
There is also the apr mode. These three modes of tomcat will be introduced in detail later, and will not be discussed in depth here.
When Tomcat starts, you can see which operating mode the Connector is using through the log:
Starting ProtocolHandler ["http-bio-8080"]
Starting ProtocolHandler ["http-nio-8080"]
Starting ProtocolHandler ["http-apr-8080"]
The default value can be in spring-boot-autoconfigure-version number.jar (for example: spring-boot-autoconfigure-2.1.0.RELEASE) package, unzip and decompile the /web/ServerProperties.class file to see the default configuration.
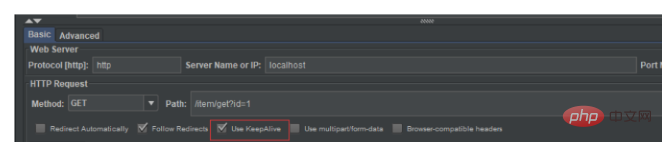
Http request using Jmeter The default is to enable KeepAlive
Http's KeepAlive request is when our client sends an Http request to our server, if the KeepAlive request header is included, it means that our Http client wants to follow A KeepAlive connection is established between the servers. The purpose of this connection is that after sending the corresponding response to our server, our server should not disconnect immediately, but wait to try to reuse the connection.
This solution is used to solve the time-consuming problem caused by a response of Http, which is stateless and requires disconnecting and creating a new connection every time.
But if we maintain a long connection with the server after each web page request is opened, then the number of connections on our server will soon be used up, so there was no such thing in the earliest Http1.0 The KeepAlive request was designed, but the current Http1.1 plus KeepAlive request is designed to support more and more mobile devices, and even some very complex web page interactions, which require frequent requests to the server during the user's browsing process. Send a request. Therefore, establishing a KeepAlive connection is not for the purpose of stress testing, but it actually has some performance benefits in application scenarios. Whether it is the client or the server, when doing some network communication interactions, There is no need to create a new connection every time, disconnect the connection, and waste the time of Tcp/Ip connection establishment, but only need to send data.
But such a design will also bring some problems. If our server does not impose any restrictions on the operation of KeepAlive 1. The connection does not perform any operations or respond, then this connection will have a negative impact on the service. 2. Some attackers maliciously use the KeepAlive connection to send DDOS attacks to our server. The corresponding connection on the server will only become a backdoor for the attacker to attack. Therefore, for security, we need to customize Tomcat development
1. KeepAliveTimeOut: After the number of milliseconds after which the client does not respond, KeepAlive will be disconnected
2. maxKeepAliveRequests: After the number of requests, KeepAlive will be disconnected and invalid
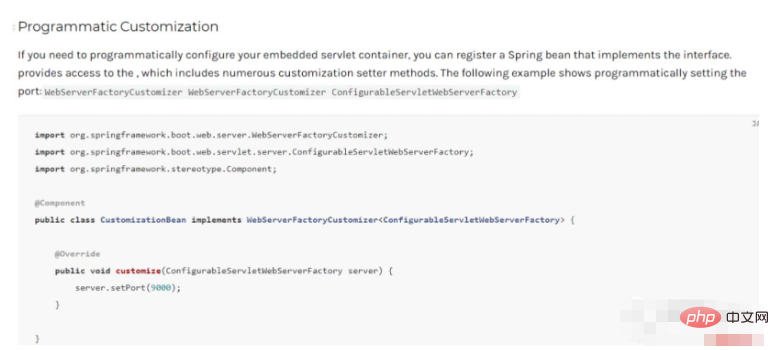
在SpringBoot官方文档中提到了对内嵌容器的配置
//当spring容器内没有TomcatEmbeddedServletContainerFactory这个bean时,会把bean加载进spring容器 @Configuration public class WebServerConfiguration implements WebServerFactoryCustomizer{ @Override public void customize(ConfigurableWebServerFactory factory) { //使用对应工厂类提供给我们的接口定制化我们的tomcat connector ((TomcatServletWebServerFactory)factory).addConnectorCustomizers(new TomcatConnectorCustomizer() { @Override public void customize(Connector connector) { Http11NioProtocol protocol= (Http11NioProtocol) connector.getProtocolHandler(); //定制KeepAliveTimeout,设置30秒内没有请求则服务器自动断开keepalive连接 protocol.setKeepAliveTimeout(30000); //当客户端发送超过10000个请求则自动断开keepalive连接 protocol.setMaxKeepAliveRequests(10000); } }); } }
The above is the detailed content of How to embed Tomcat concurrency capacity in SpringBoot. For more information, please follow other related articles on the PHP Chinese website!