
Home > Article > Web Front-end > Detailed code explanation of HTML5 canvas advanced code (picture)

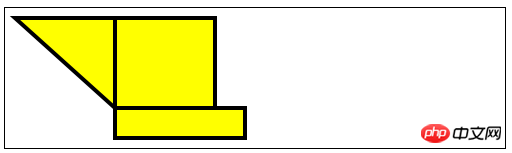
1) Use path to draw :
beginPath()——Start a new path;
closePath()——Try to close the existing path by drawing a line connecting the end point of the last line and the initial coordinate;
fill()——Fill with sub The shape described by the path;
isPointInPath(x,y) - Returns true if the specified point is within the shape described by the current path;
lineTo(x,y)——Draw a subpath to the specified coordinates;
moveTo(x,y)——Move to the specified coordinates without drawing a subpath ;
rect(x,y,w,h)——Draw a rectangle with its upper left corner at (x,y), width w, and height h;
stroke()——Draw an outline for the shape described by the sub-path;
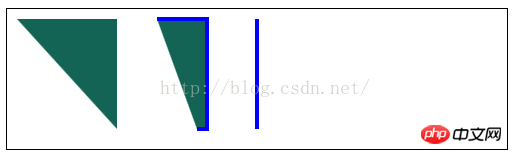
lineCap——Set the style of the end of the line when drawing a line or closed shape;
2) Draw an arc:
arc(x,y,rad,startAngle,end Angle,direction)——Draw an arc to (x, y), the radius is rad, the starting angle is startAngle, and the end angle is endAngle. The optional parameter direction specifies the direction of the arc;
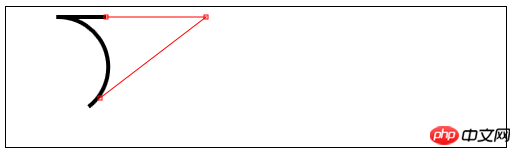
arcTo(x1,y1,x2,y2,rad)——Drawing An arc with a radius of rad, passing through (x1, y1) and ending at (x2, y2);
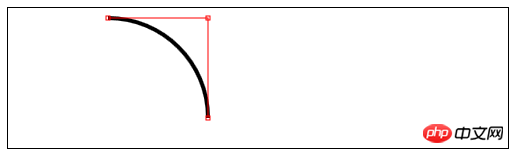
3) Draw Bezier curve
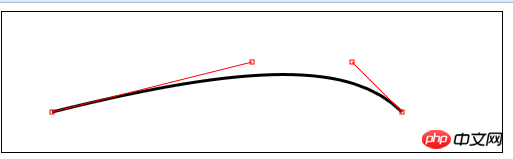
bezierCurveTo(cx1,cy1,cx2, cy2,x,y)——Draw a Bezier curve to point (x,y), the control points are (cx1,cy1) and (cx2,cy2);
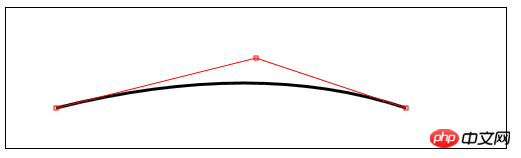
quadraticCurveTo(cx,xy,x,y)——Draw a quadratic Bezier curve to point (x,y), the control point is (cx,cy);
4) Create a clipping area
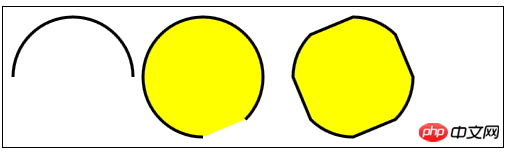
clip()——Create a new clipping area;
##
rrree
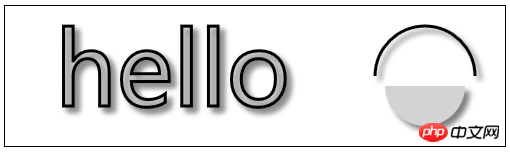
 5) Draw text:
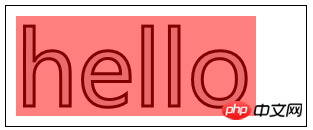
fillText(28f128881ce1cdc57a572953e91f7d0f,x,y,width)——在位置(x,y)上绘制并填充文本。宽度参数可选,用来设置文本宽度的上限;
strokeText(28f128881ce1cdc57a572953e91f7d0f,x,y,width)——在位置(x,y)上绘制并描边文本。宽度参数可选,用来设置文本宽度的上限;
font——设置绘制文本时使用的字体;
textAlign——设置文本的对齐方式:start、end、left、right、center;
textBaseline——设置文本的基线:top、hanging、middle、alphabetic、ideographic、bottom;
6)使用特效和转换:
6.1)使用阴影:
shadowBlur——设置阴影的模糊程度;
shadowColor——设置阴影的颜色;
shadowOffsetX——设置阴影的水平偏移量;
shadowOffsetY——设置阴影的垂直偏移量;
6.2)使用透明度:
globalAlpha——给文本和图形设置透明度(从0到1);
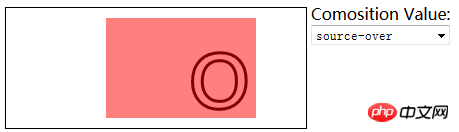
6.3)使用合成:
globalCompositeOperation——与透明度属性结合使用,来控制图形和文本在画布上绘制的方式;
globalCompositeOperation允许的值:
=copy——将来源绘制于目标之上,忽略一切透明度设置;
=source-atop——在两个图像都不透明处显示来源图像,
目标图像不透明但来源图像透明处显示目标图像,其它位置显示为透明;
=source-in——来源图像和目标图像都不透明处显示来源图像。其它位置显示为透明;
=source-out——来源图像不透明但目标图像透明处显示来源图像。其它位置显示为透明;
=source-over——来源图像不透明处显示来源图像。其它位置显示目标图像;
=destination-atop——与source-atop相同,但用目标图像替代来源图像,反之亦然;
=destination-in——与source-in相同,但用目标图像替代来源图像,反之亦然;
=destination-over——与source-over相同,但用目标图像替代来源图像,反之亦然;
=destination-out——与source-out相同,但用目标图像替代来源图像,反之亦然;
=lighter——显示来源图像与目标图像的总和,颜色值限制最高255(100%);
=xor——对来源图像和目标图像执行异或运算;
6.4)使用变换:
scale(bb479ad834d672760e0ec214639fcaef,182fef142790640cd129550a3ae82cf2)——沿X轴缩放画布xScale倍,沿Y轴yScale倍;
rotate(0c0cb308ee3d2ee3281772bfc9b806c2)——使画布围绕点(0,0)顺时针旋转指定的弧度数;
translate(5b9dd43a32a43128ec18aa4963aab5c6,4dd001c2c15310e89980bff65765bfc2)——重映射画布坐标为沿X轴x,沿Y轴y;
transform(a,b,c,d,e,f)——合并现有的变换和a-f值所指定的矩阵;
setTansform(a,b,c,d,e,f)——用a-f值所指定的矩阵替换现有的变换;
The above is the detailed content of Detailed code explanation of HTML5 canvas advanced code (picture). For more information, please follow other related articles on the PHP Chinese website!