How to encrypt a USB drive using BitLocker on Windows 11
To enable and start the encryption process on a Windows 11 PC using BitLocker to Go:
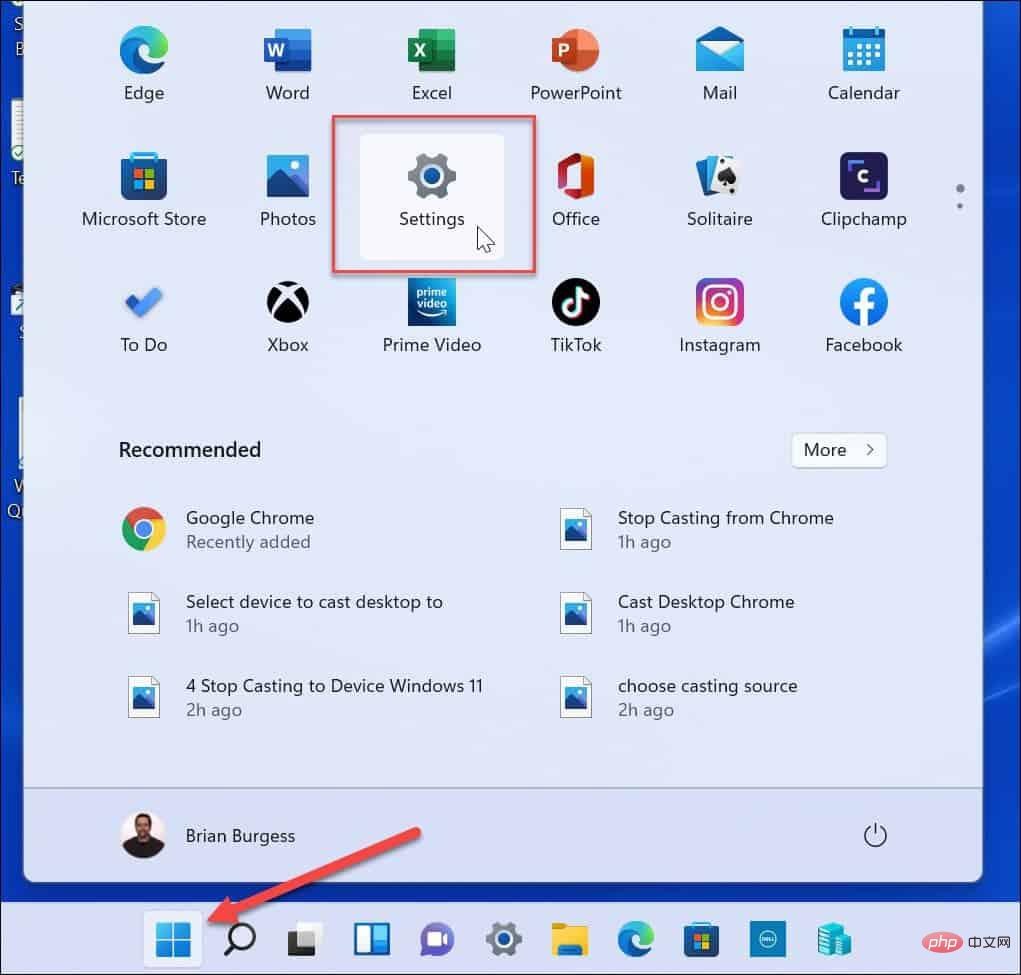
- Click Start button or press the Windows key to open the Start menu, then click Settings. Alternatively, you can use the keyboard shortcut Windows key I to open Settings directly.

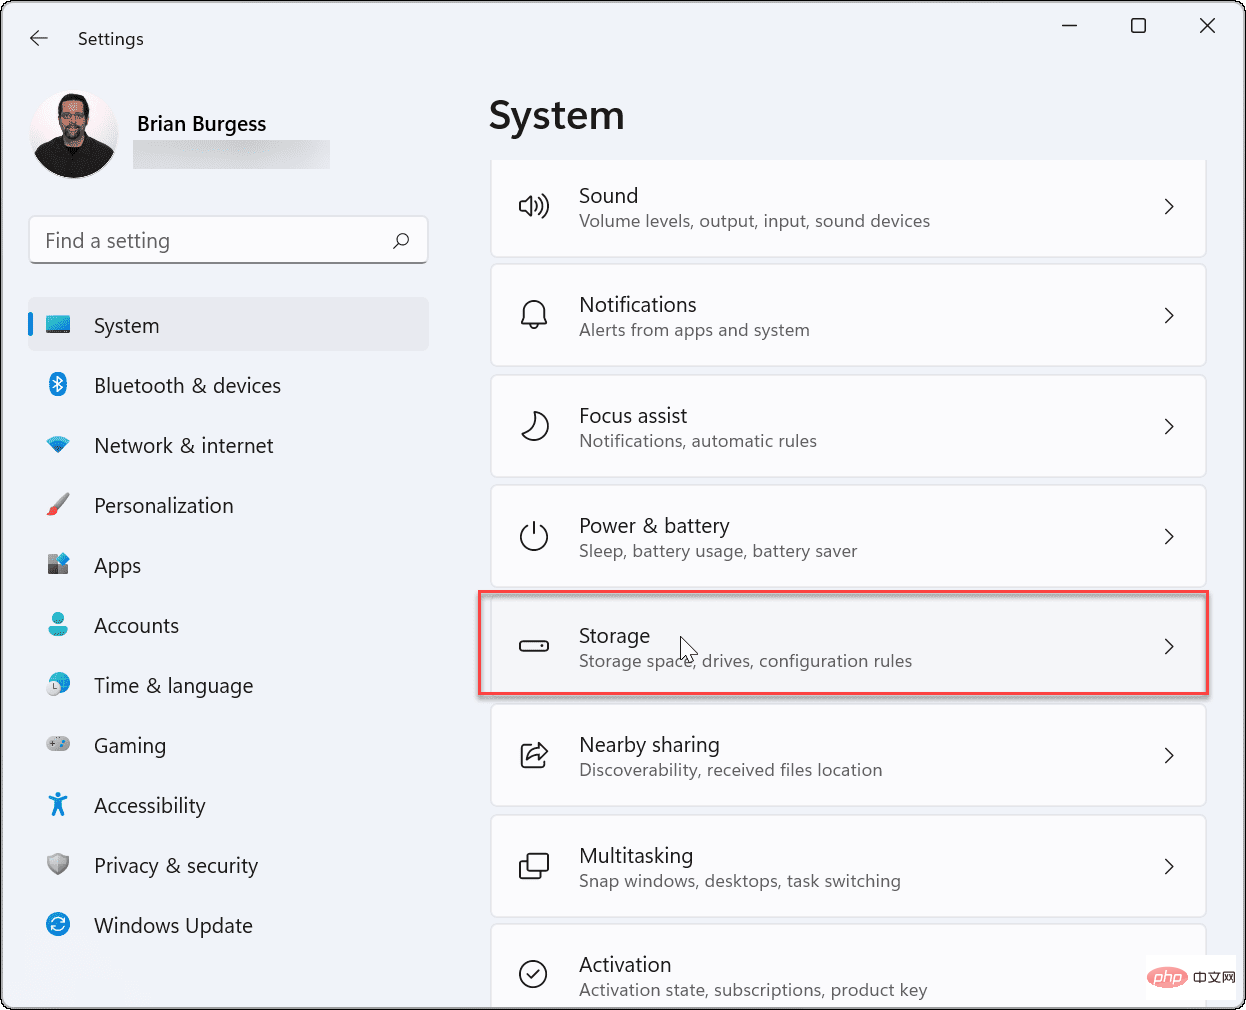
- When Settings opens, click System > Storage.

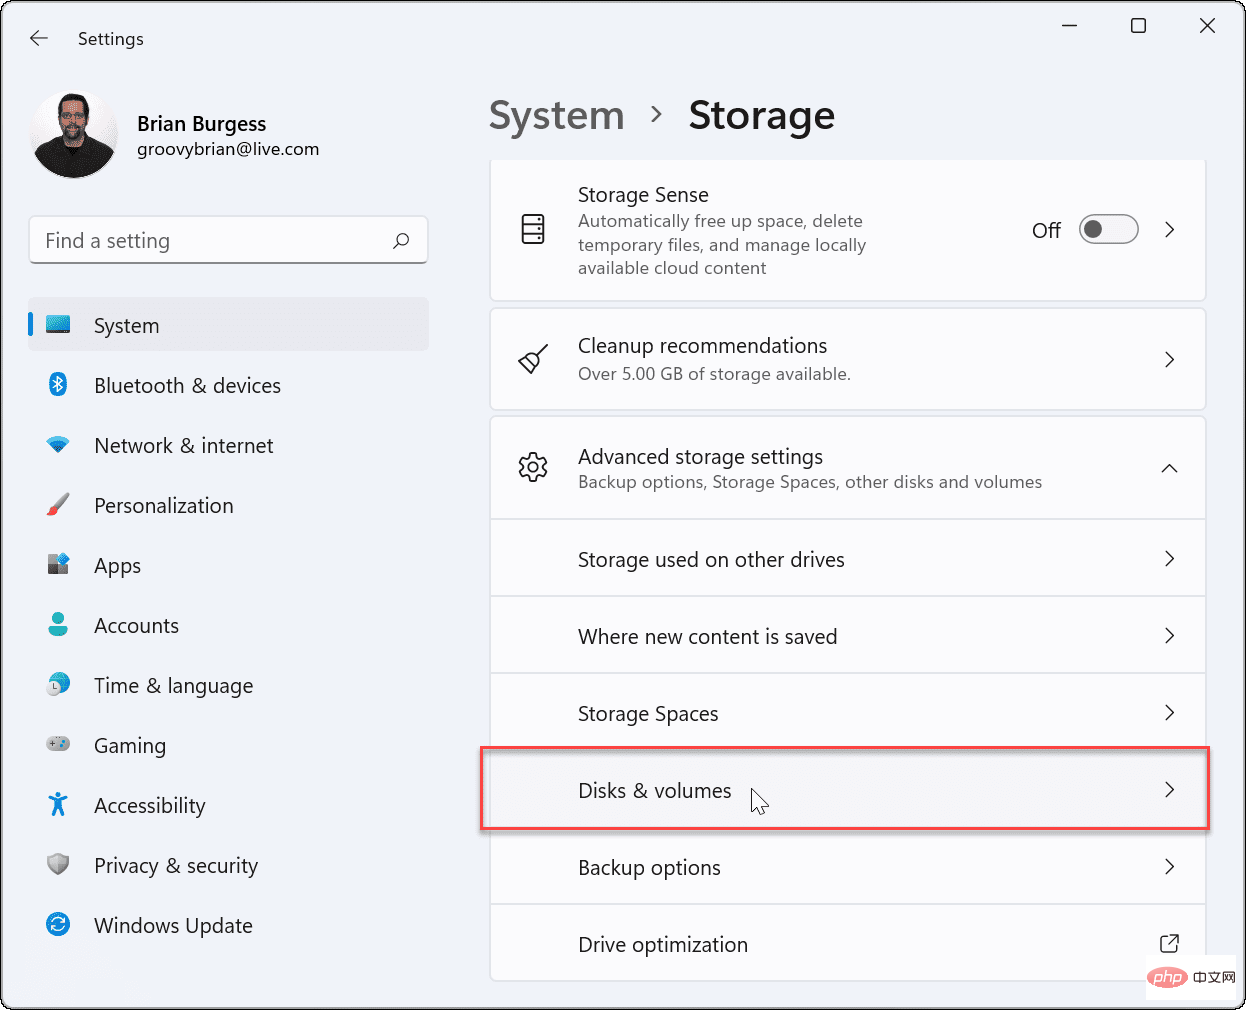
- Scroll down and click Advanced Storage Settings.
- When the menu expands, click Disks & volumes.

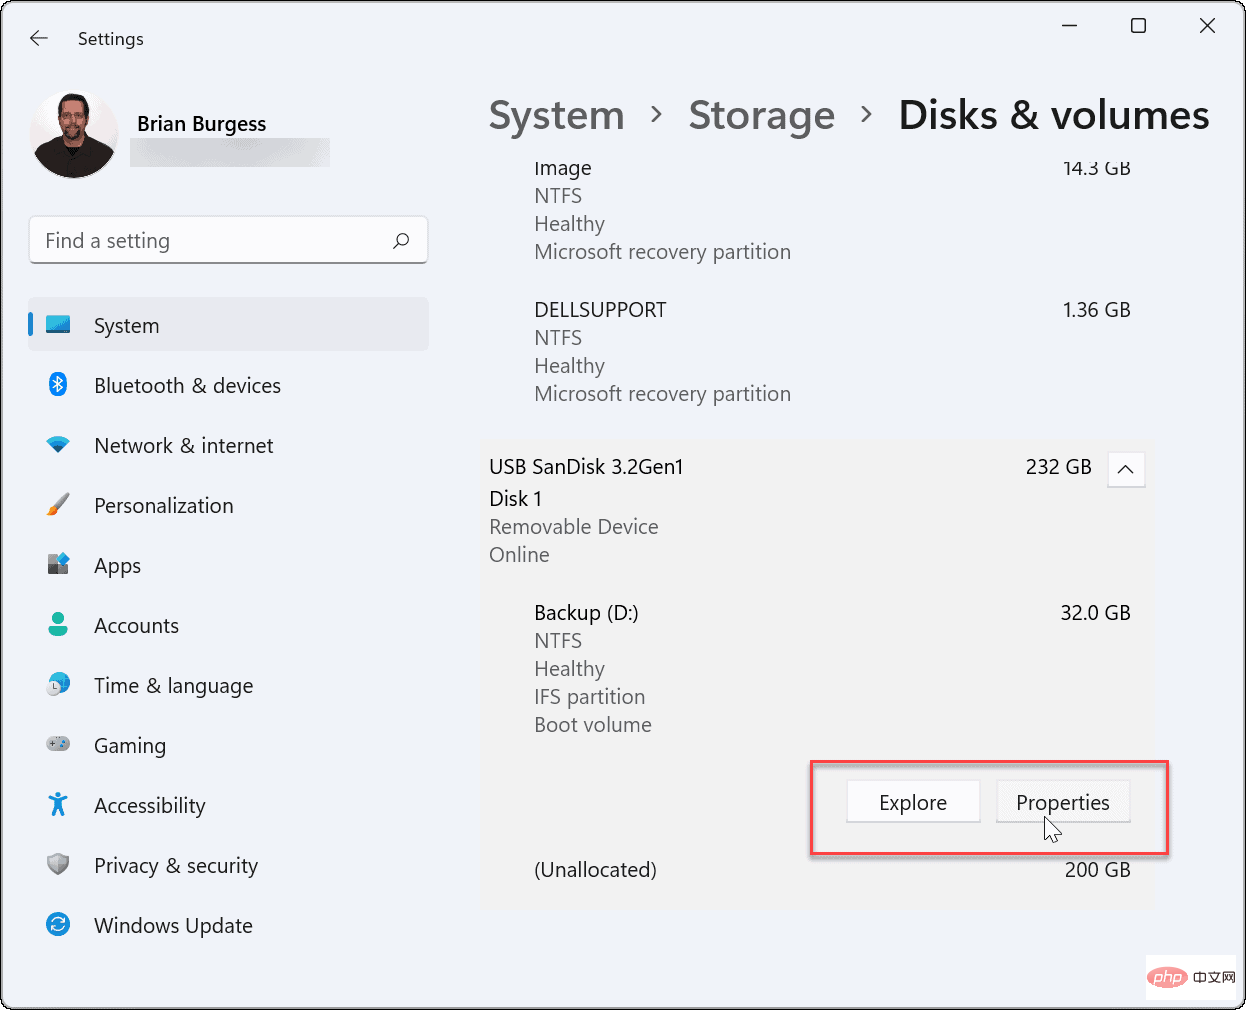
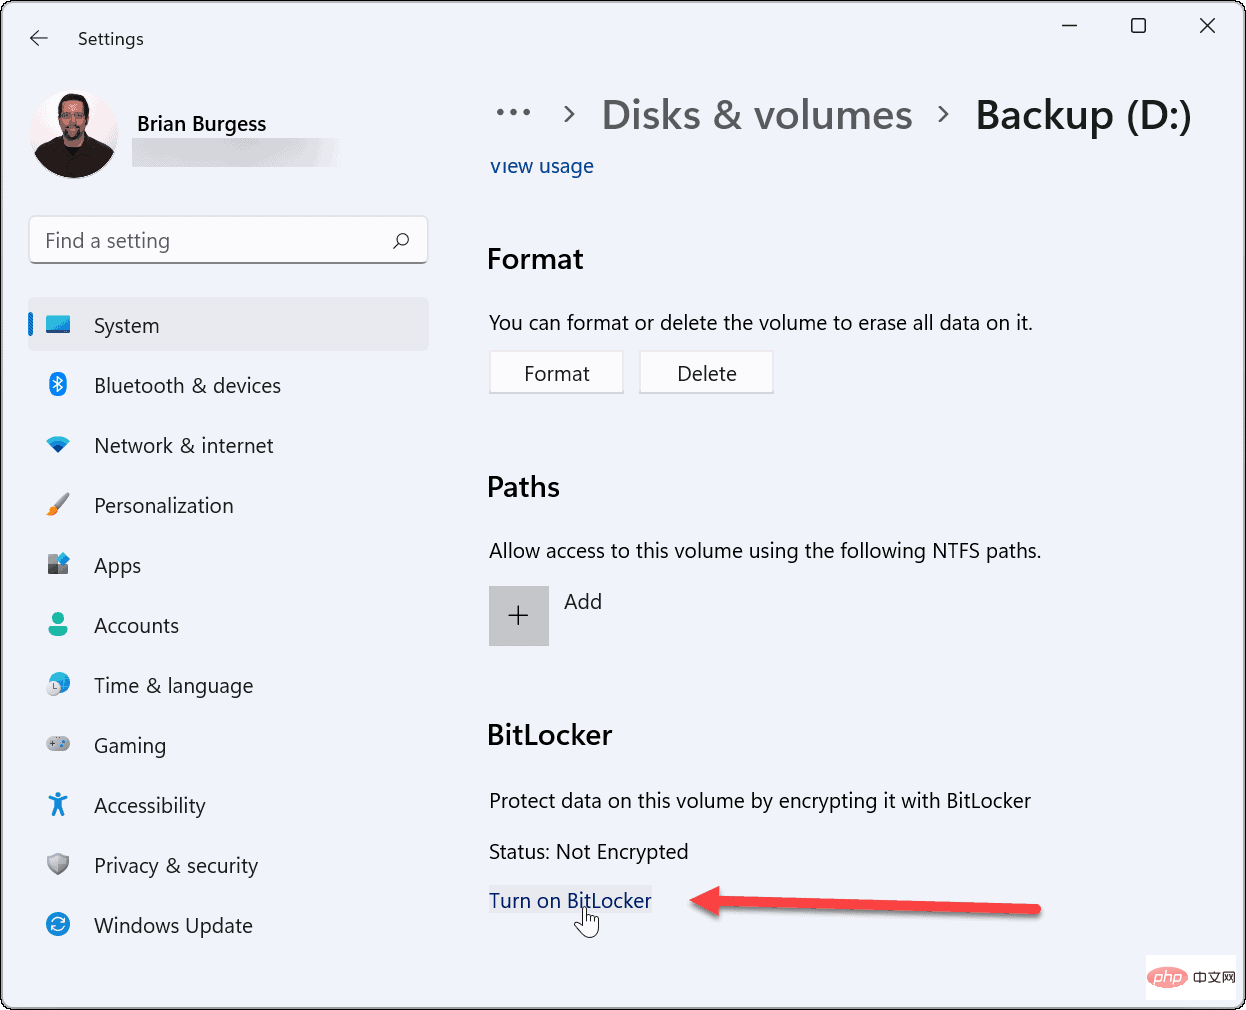
- In the Disks and Volumes menu, select the drive on which you want to enable BitLocker encryption, and then click Properties " button.

- Scroll down and click the Open BitLocker link on the following screen.

-
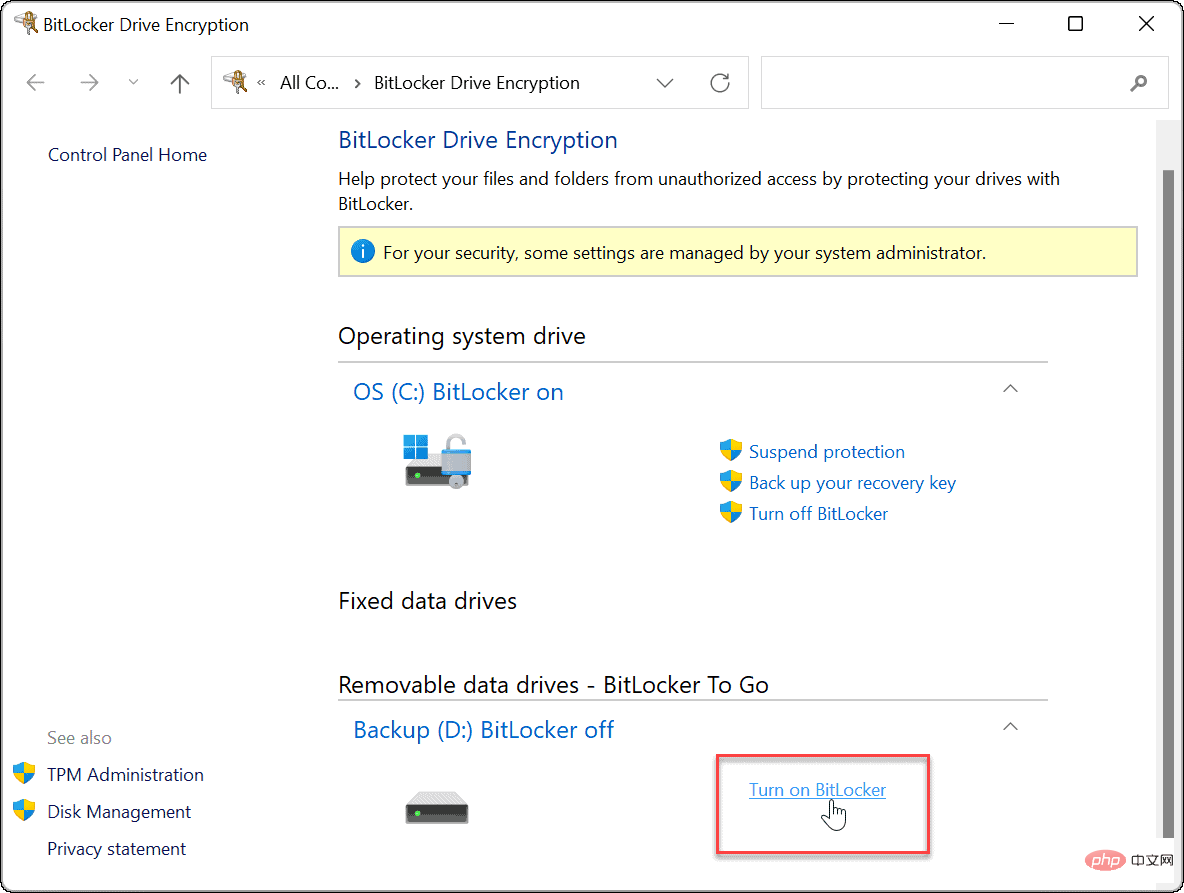
Locate the drive of your choice in the BitLocker Drive Encryption menu and click to open BitLocker Link.

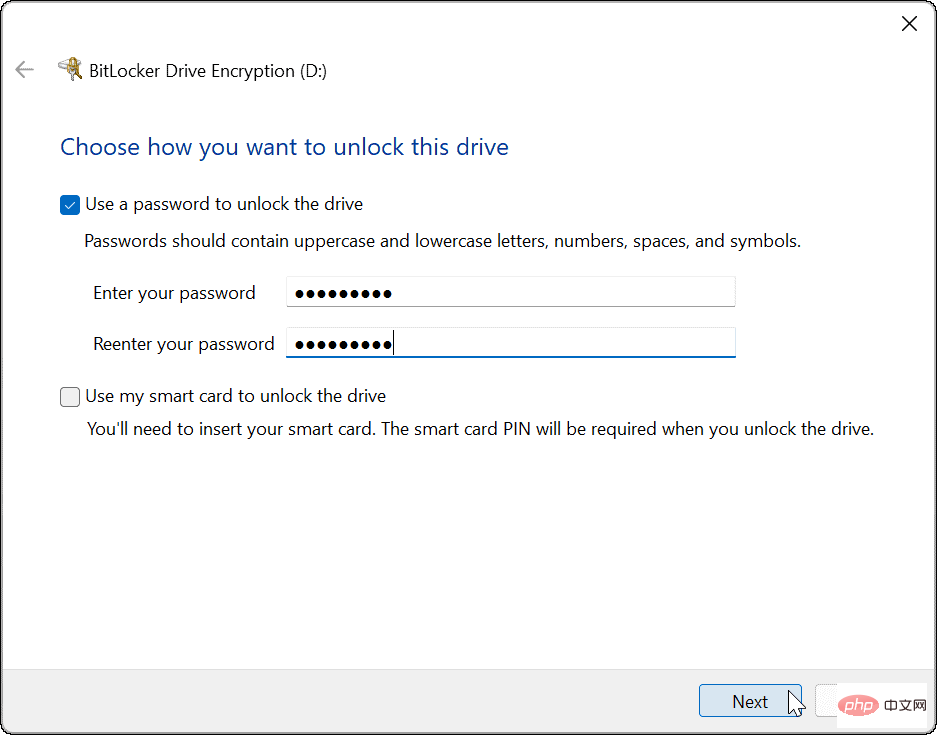
- Select the Use a password to unlock the drive box, enter the password you want to use twice, and click Next .

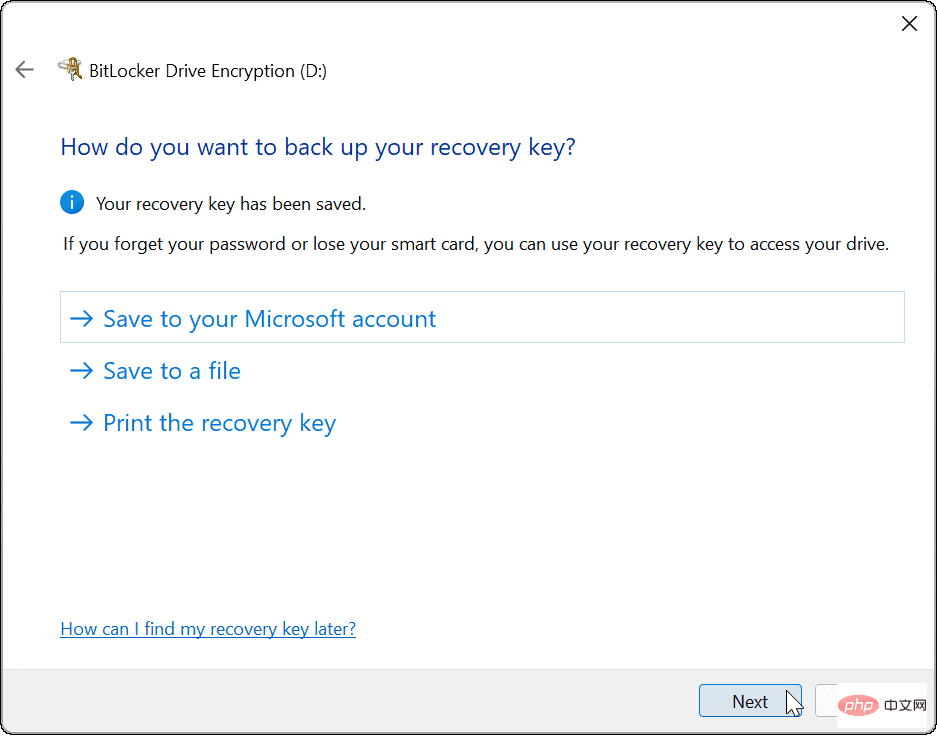
- #Choose a location to save your recovery key. If you forget your password, the recovery key will allow you to access the drive. You can choose Save to your Microsoft account, Save to a file, or Print the recovery key.

- After backing up the recovery key, click Next.
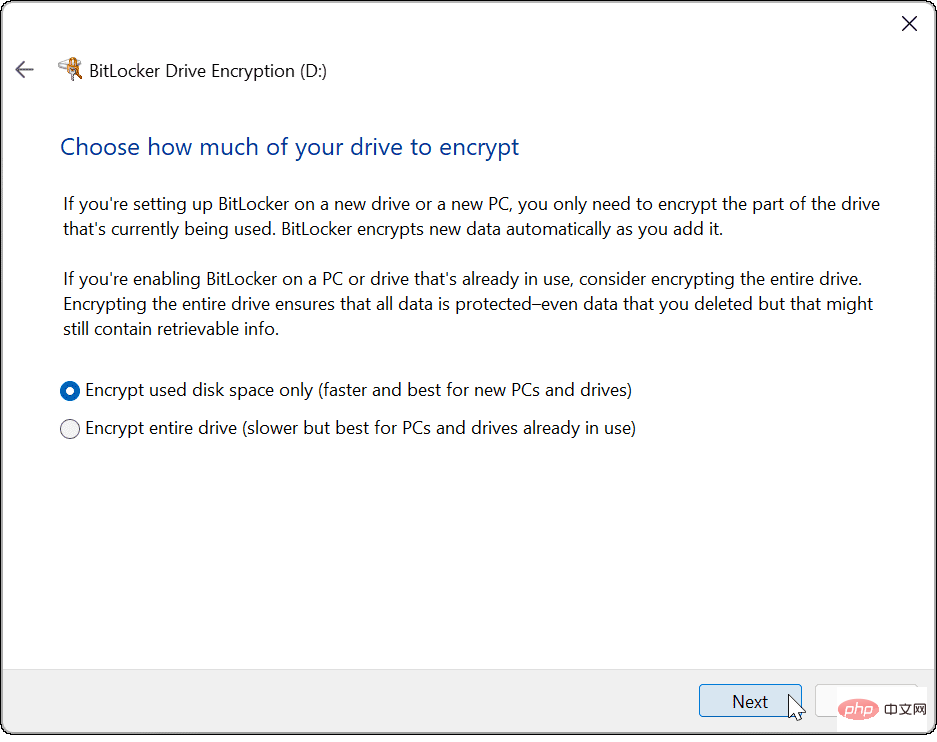
- Click the Encrypt used disk space only (faster and best for new PCs and drives) option and click Next.

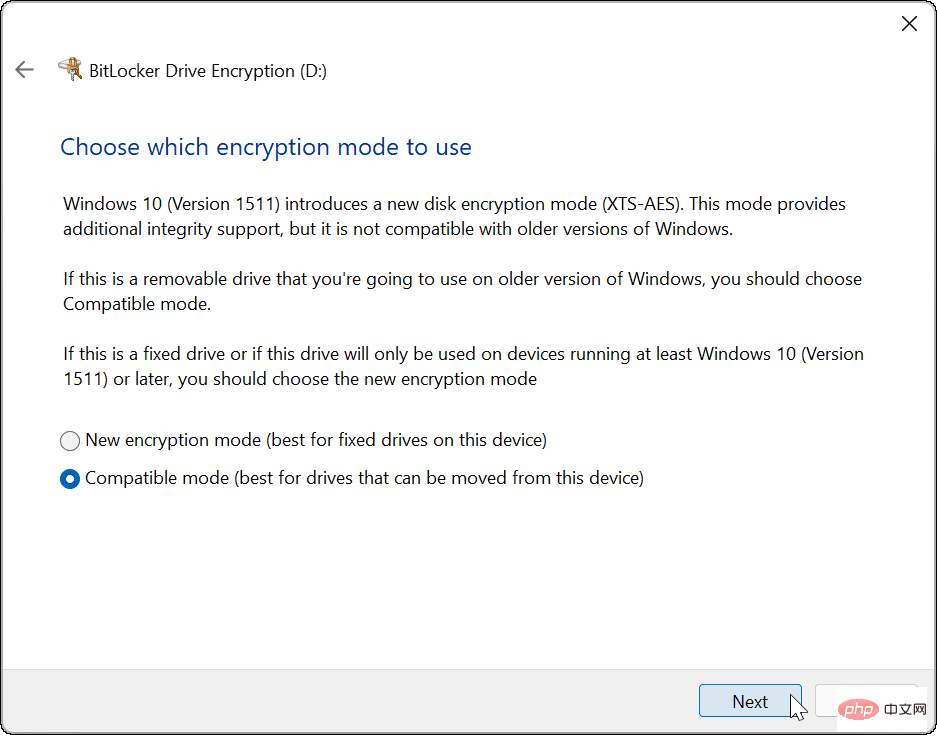
- Select the Compatibility Mode (best for drives that can be moved from this device) option and click Next .

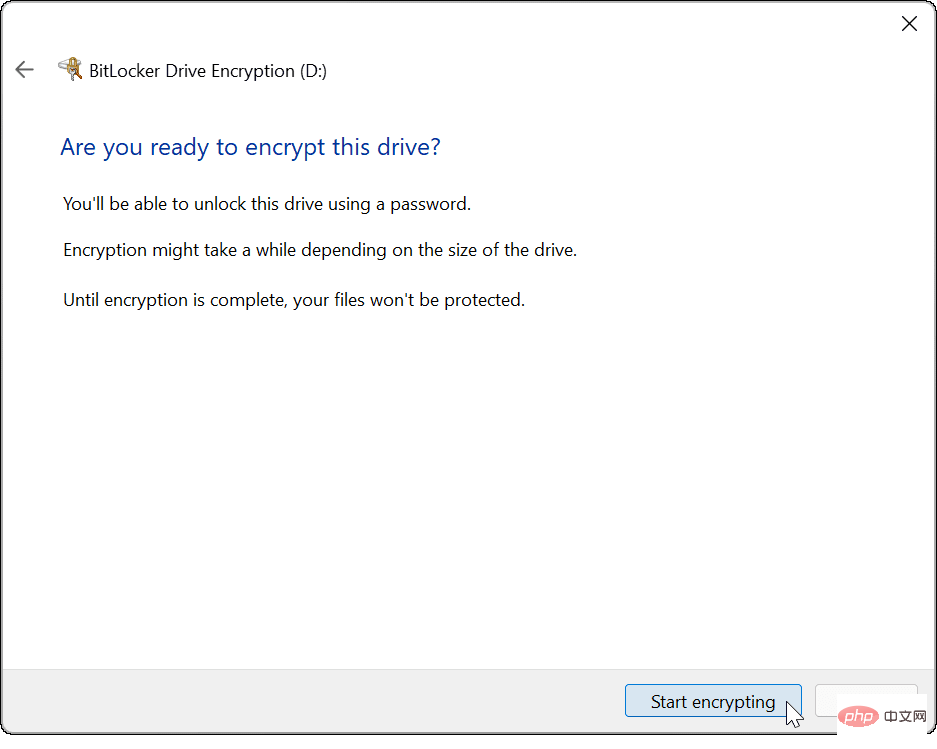
- Now select the Start Encryption button to start the encryption process.

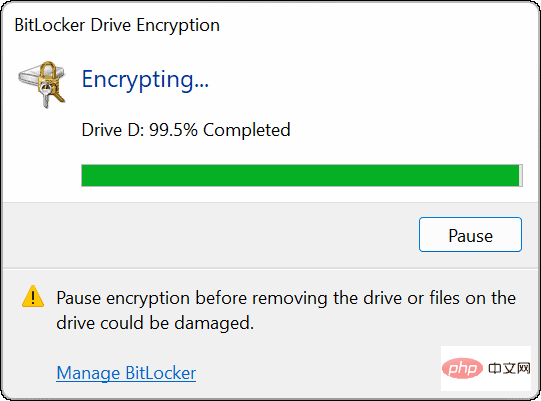
- #When encryption is complete, you will see a progress dialog box. The time required will vary based on the amount of data and drive size.

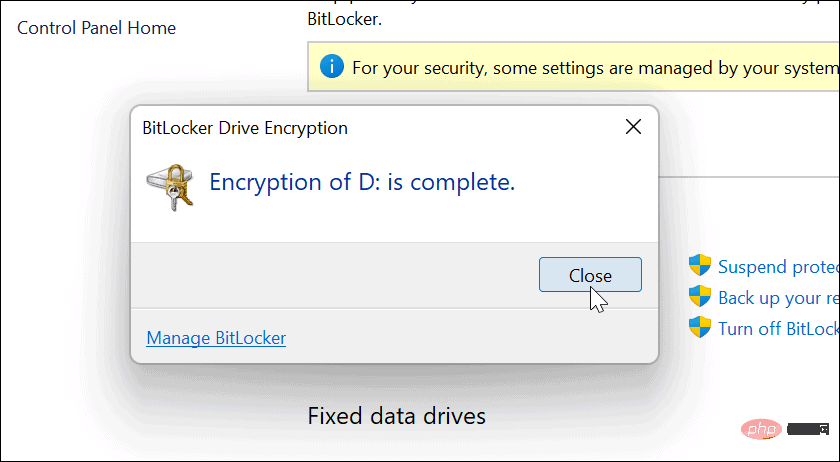
- Once the encryption process is complete, you will receive a confirmation notification - click the Close button.

Using BitLocker Encrypted USB Drive
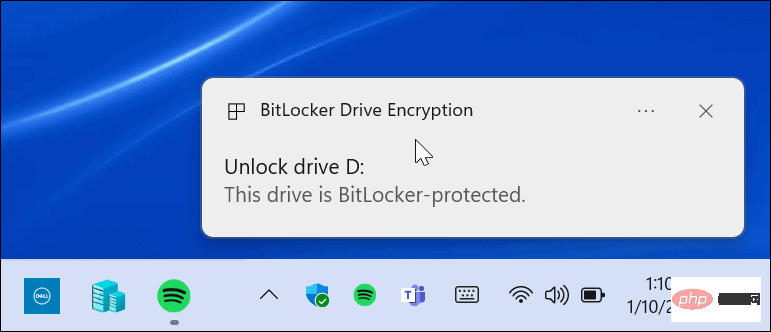
If you have followed the steps above to enable BitLocker on Windows 11, your drive should be encrypted . When you insert a BitLocker-encrypted drive, you will receive a notification telling you that it is BitLocker protected.

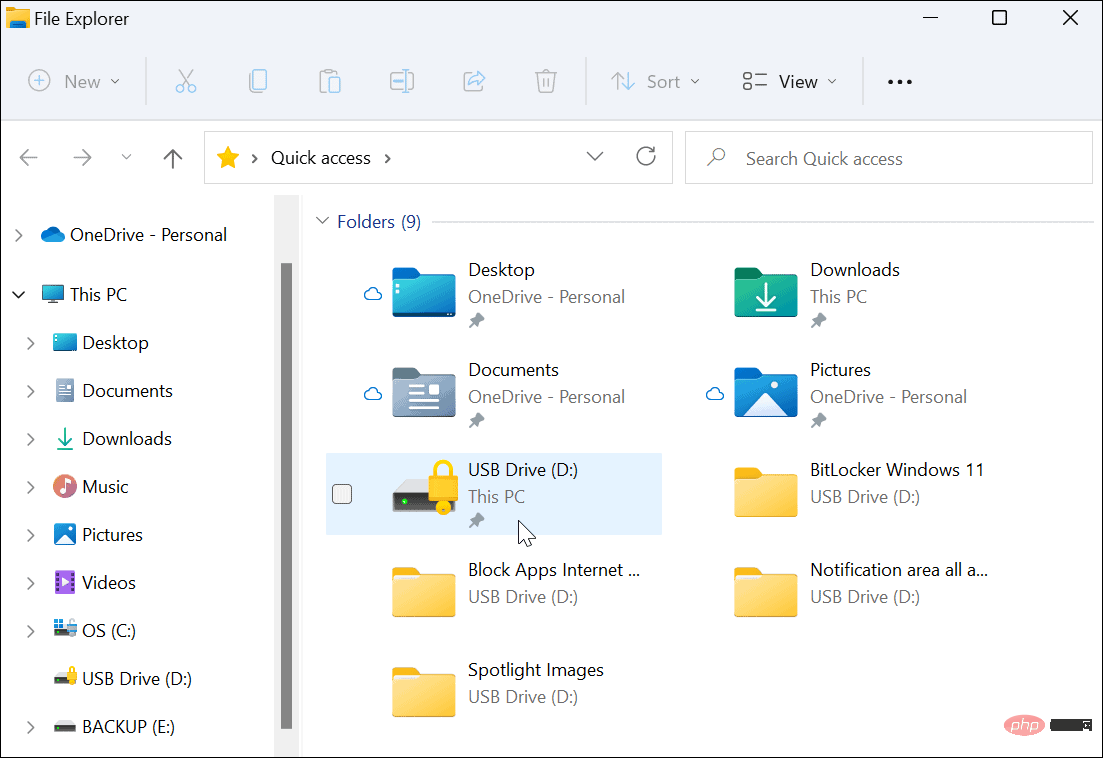
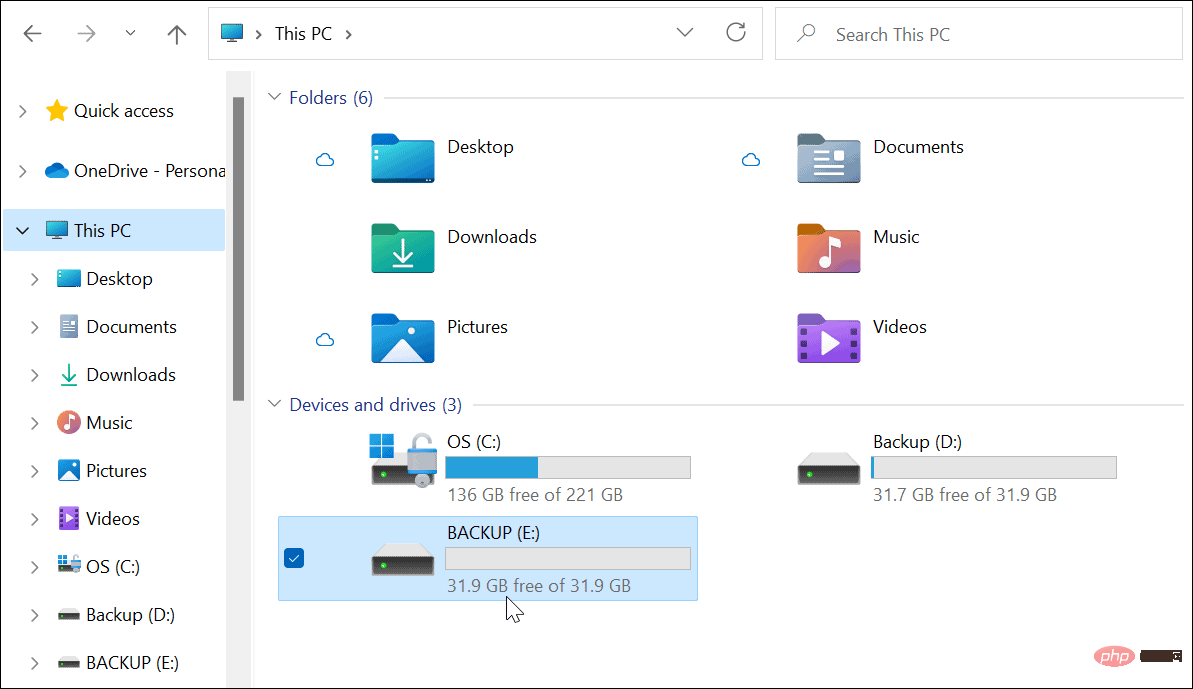
Also, if you open File Explorer, you will find a yellow lock icon next to the encrypted drive.

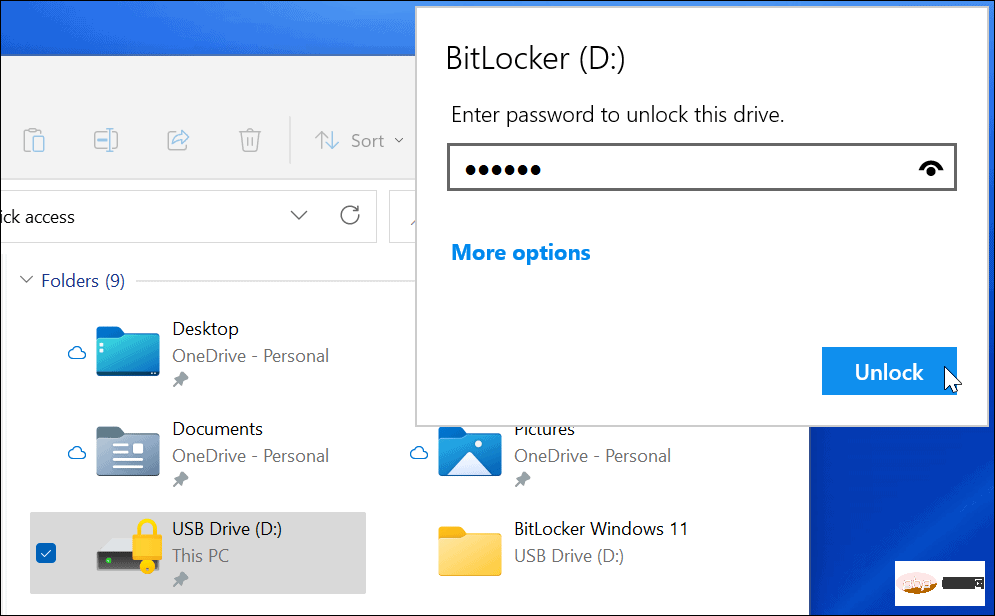
#To open the drive and access its data, you need to enter the password you used to set up BitLocker encryption.

If you forgot your password, select More options and enter the recovery key you saved when you created the encrypted drive.
How to disable BitLocker on Windows 11
After using an encrypted drive, you may find that disabling encryption is not necessary. You may want to do this if you decide to use the drive for non-encrypted files or for other operating systems.
If you want to disable BitLocker encryption on any drive:
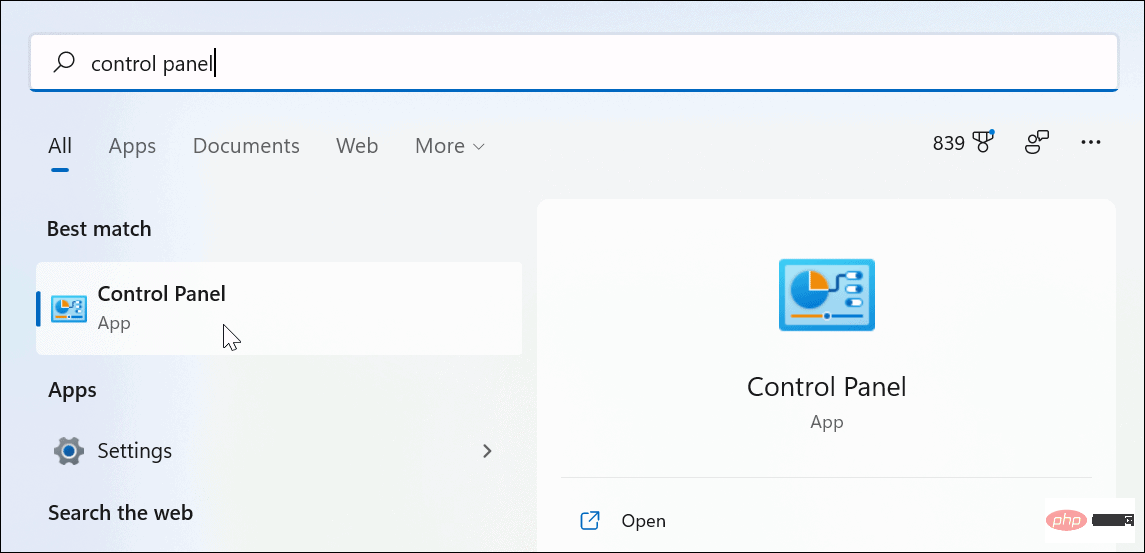
- Click the "Start" button, enter "Control Panel", Then select the top result.

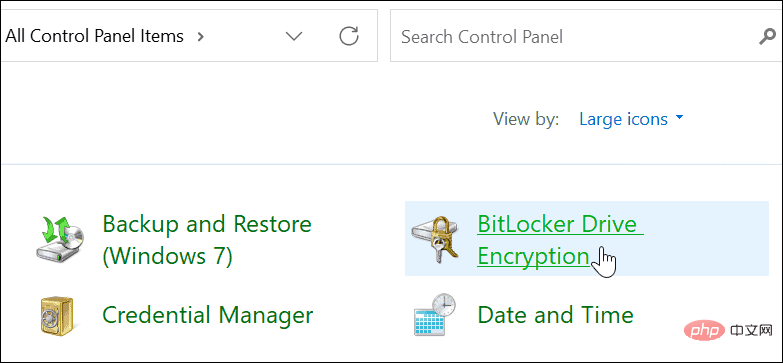
- When Control Panel opens, click the BitLocker Drive Encryption option.

-
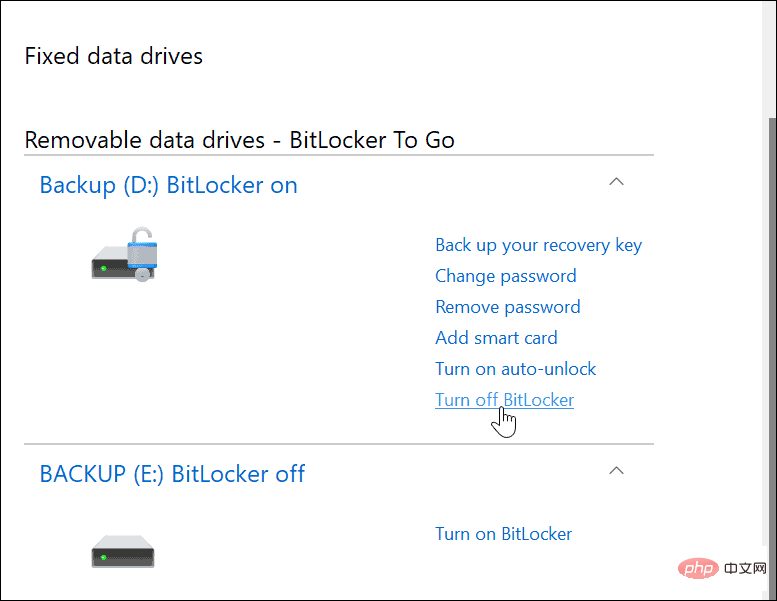
Locate your encrypted drive under the BitLocker to Go section and click the next to it to turn off BitLocker Link.

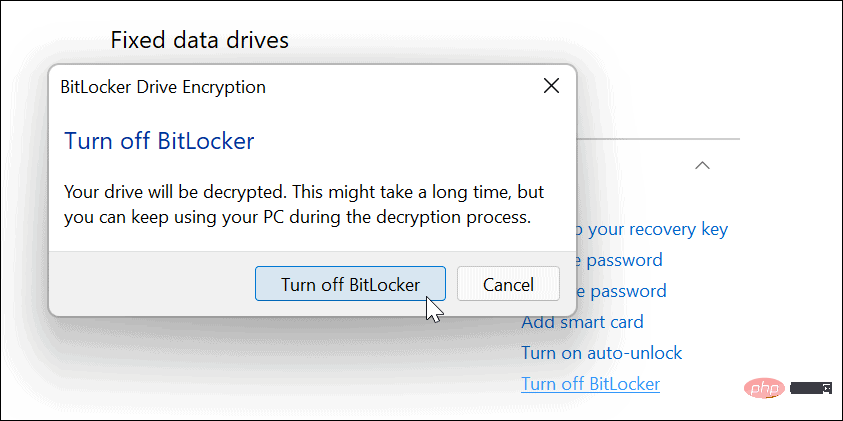
- When the confirmation dialog box appears, click the Close BitLocker button to confirm.

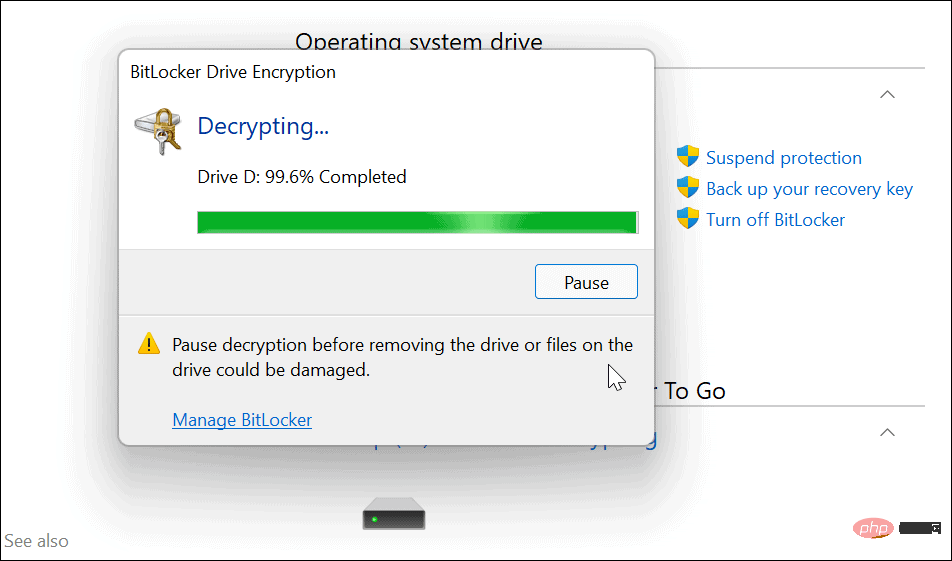
- #A progress dialog will be displayed while the drive is decrypted.

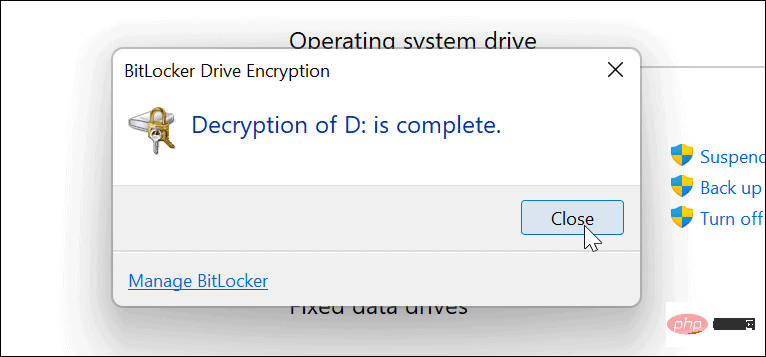
- Once the drive is fully decrypted, you will receive a confirmation message - click the Close button to exit.

- At this point, your drive will behave like any unencrypted drive plugged into your PC.

Protect files on Windows 11
If you decide to use BitLocker on Windows 11, you can protect important files on your portable drive, Without having to worry about theft or malware. It's important to keep your data safe, especially when you're traveling, and using BitLocker is a great way to make sure it's protected.
If you accidentally misplace your drive, or it gets stolen, you don't need to worry. Without a BitLocker password or decryption key, your data is inaccessible.
The above is the detailed content of How to use BitLocker on Windows 11. For more information, please follow other related articles on the PHP Chinese website!
