Home >Operation and Maintenance >Windows Operation and Maintenance >How to reset the network in win10
How to reset the network in Windows 10: First enter the system settings page and click the network settings option; then click the network reset option to enter the reset page; finally confirm the reset.

#The operating environment of this article: Windows 10 system, Dell G3 computer.
How to reset the network in windows10:
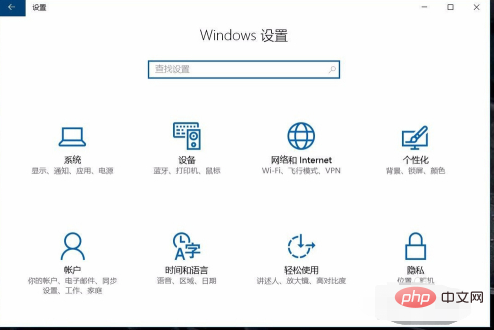
1. First, we enter the system settings page of the window10 system. On the settings page, we can configure various contents of window10. Make settings.
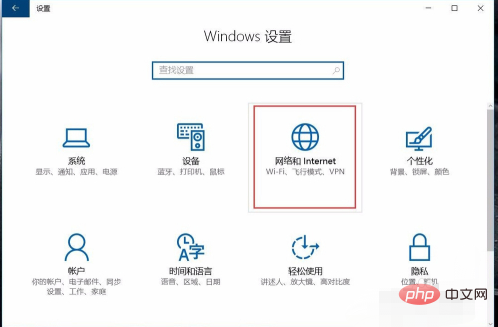
#2. Click the Network Settings option on the settings page to enter the network settings page of the Windows 10 system, where you can set network connections, etc.
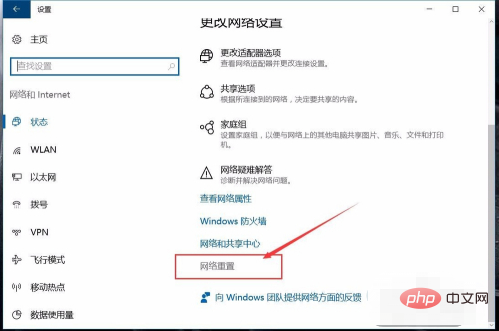
#3. In the network settings window, scroll down directly to the end. At the end you can see the option of network reset, click directly to enter the reset page.
4. Network reset will reset all network settings in the Windows 10 system and restart the computer. Click Reset Now to reset. operate.
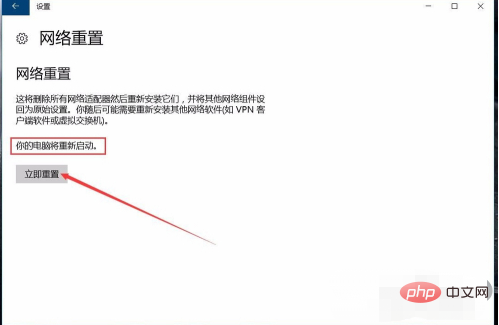
5. The network reset of Windows 10 will restart directly, so before we perform the reset, it is best to close and save important files to avoid data loss and the system will also Prompt for a second confirmation.
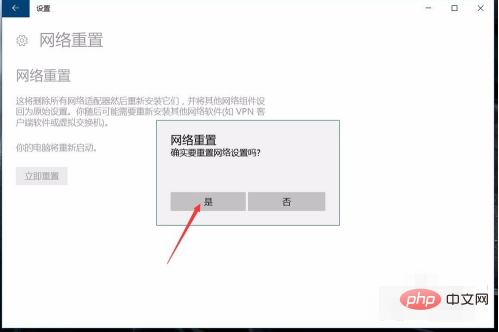
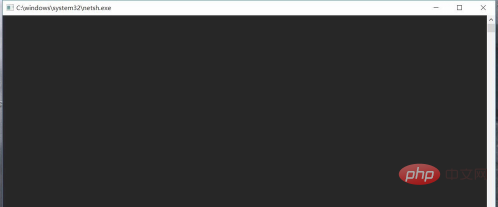
#6. After confirming the network reset, the system will pop up the run window and start running the reset program. After the run box completes the operation, it will automatically close and restart. After restarting the computer, the network reset operation will be completed.
##Related learning recommendations:
The above is the detailed content of How to reset the network in win10. For more information, please follow other related articles on the PHP Chinese website!