Home >Web Front-end >PS Tutorial >How to add text box in ps

How to add a text box in ps?
Let’s teach you how to add a text box using PS.
1. First open ps, then press Ctrl N to create a canvas
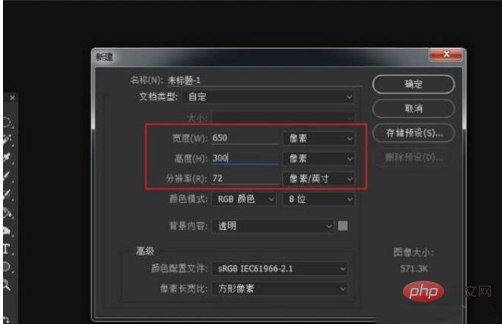
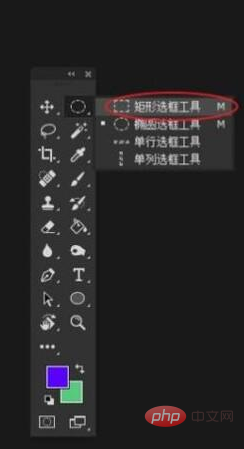
2. Then select the rectangle tool on the left toolbar
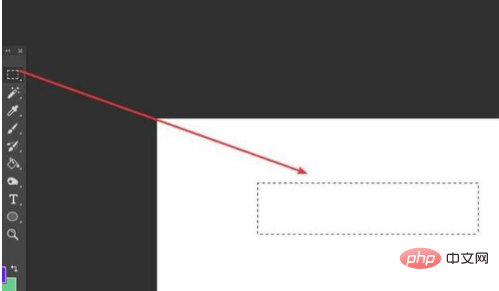
3. Draw a rectangular selection on the canvas.
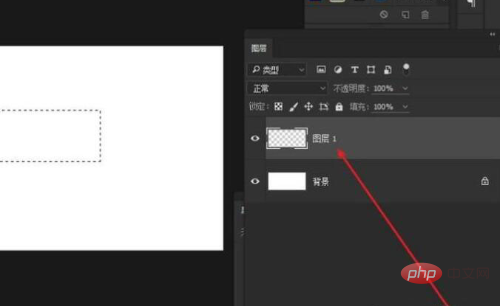
#4. Then click Layer → New → Layer in the menu bar to create a new layer.
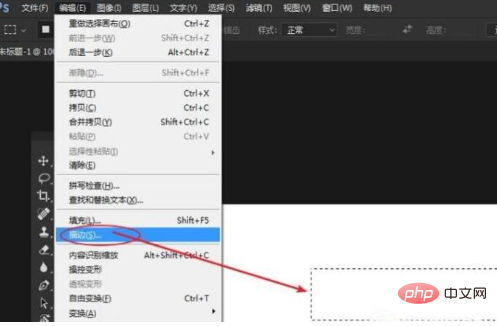
#5. Then click Edit → Stroke on the menu bar to perform stroke operation on the current selection.
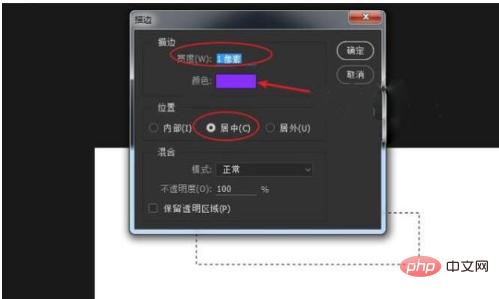
#6. Set the stroke properties in the pop-up, and set the stroke "Size to: 1px, Color to: Purple, Position: Centered".
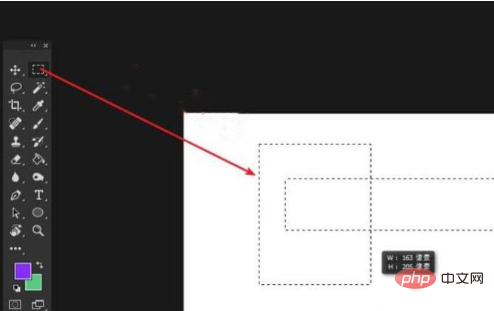
#7. Use the rectangle tool and hold down the Alt key to select the subtracted selection range.
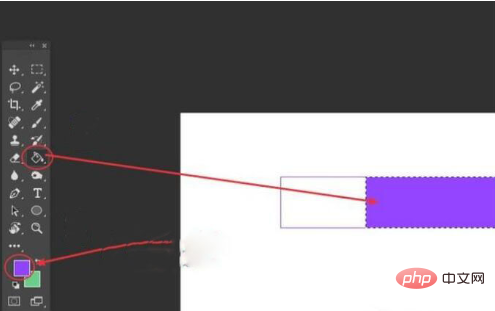
#8. Set the foreground color to purple, and then use the paint bucket tool to fill the selection.
#9. Then select the text tool on the left toolbar and enter text in the blank area of the border.
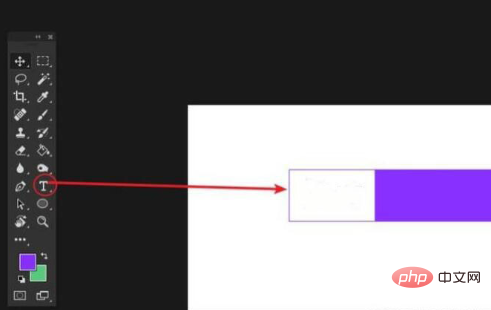
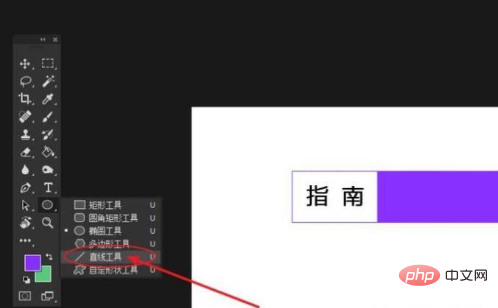
#10. Then select the line tool under the shape tool and press the left mouse button to select.
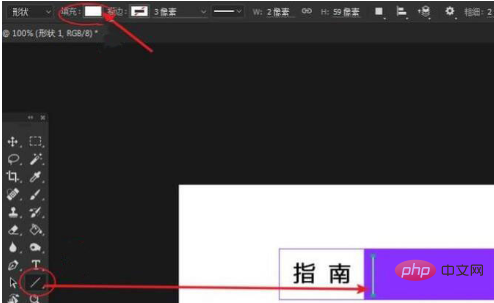
#11. Then set the fill color to white on the tool options bar, and then use the line tool to draw a line as decoration.
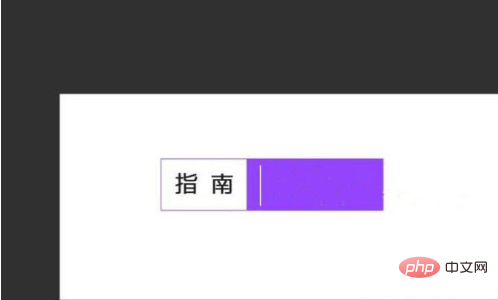
#12. Use the same method to enter the theme text content. You can enter the shortcut key Ctrl T to bring up the free transformation tool to adjust the size of the text.
The above is the detailed content of How to add text box in ps. For more information, please follow other related articles on the PHP Chinese website!