Home >WeChat Applet >Mini Program Development >Analysis of forms in WeChat mini programs
This article mainly introduces the relevant information about the detailed explanation of the WeChat mini program Form example. Here is a detailed introduction to the form form, and the example code is attached. Friends in need can refer to it
WeChat Mini Program Form Example
Form Form is widely used. We can use form design to log in and register, or we can design a form of answering questionnaires. Today we will mainly talk about the use of form
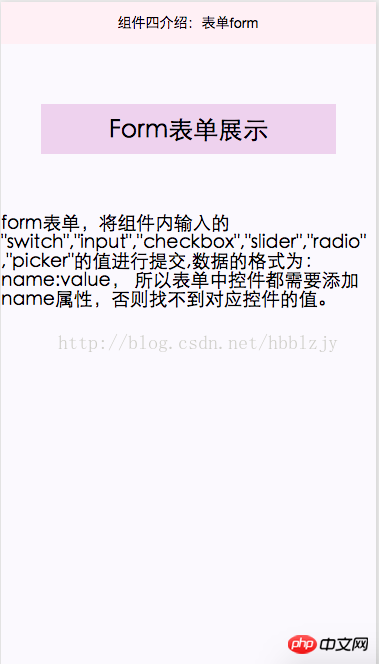
Form form, submit the values of "switch", "input", "checkbox", "slider", "radio", and "picker" entered in the component. The format of the data is: name :value, so all controls in the form need to add a name attribute, otherwise the value of the corresponding control cannot be found. Its main attributes:

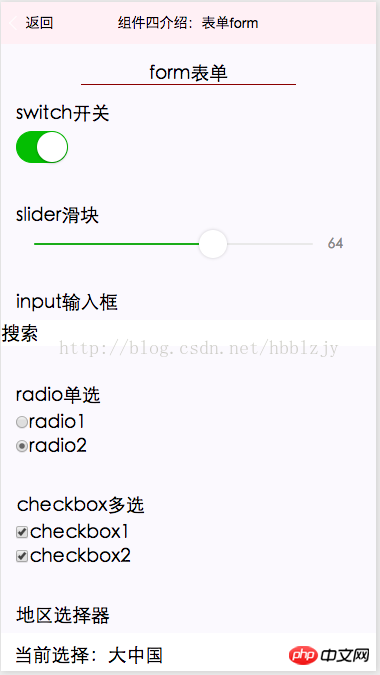
Main code to create a form:
<!--pages/index/Component/FormM/FormM.wxml-->
<view class="viewTitle">
  <text class="view-Name">form表单</text>
  <view class="lineView"></view>
</view>
<!--这里用form,name=“nameName1”可以作为form的属性进行
(e.detail.value.nameName1)调用,
form自带有提交和重置按钮,会自动获取表单中所有控件值的改变-->
<form class="page__bd" bindsubmit="formSubmit" bindreset="formReset">
  <view class="section section_gap">
   <view class="section__title">switch开关</view>
   <switch name="switch"/>
  </view>
  <view class="section section_gap">
   <view class="section__title">slider滑块</view>
   <slider value="50" name="slider" show-value ></slider>
  </view>
  <view class="section">
   <view class="section__title">input输入框</view>
   <input name="input" style="background-color: #FFFFFF" placeholder="请在这里输入" />
  </view>
  <view class="section section_gap">
   <view class="section__title">radio单选</view>
   <radio-group name="radio-group">
    <label><radio value="radio1"/>radio1</label>
    <label><radio value="radio2"/>radio2</label>
   </radio-group>
  </view>
  <view class="section section_gap">
   <view class="section__title">checkbox多选</view>
   <checkbox-group name="checkbox">
    <label><checkbox value="checkbox1"/>checkbox1</label>
    <label><checkbox value="checkbox2"/>checkbox2</label>
   </checkbox-group>
  </view>
  <view class="section">
   <view class="section__title">地区选择器</view>
   <picker name="areaPicker" bindchange="bindPickerChange" value="{{index}}" range="{{array}}">
    <view class="picker">
     当前选择:{{array[index]}}
    </view>
   </picker>
  </view>
  <view class="section">
   <view class="section__title">时间选择器</view>
   <picker name="timePicker" mode="time" value="{{time}}" start="09:01" end="21:01" bindchange="bindTimeChange">
    <view class="picker">
     当前选择: {{time}}
    </view>
   </picker>
  </view>
  <view class="section">
   <view class="section__title">日期选择器</view>
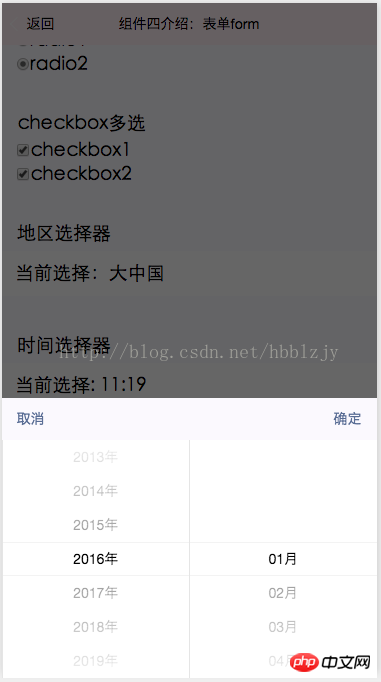
   <picker name="datePicker" mode="date" value="{{date}}" start="2015-09-01" end="2017-09-01" bindchange="bindDateChange">
    <view class="picker">
     当前选择: {{date}}
    </view>
   </picker>
  </view>
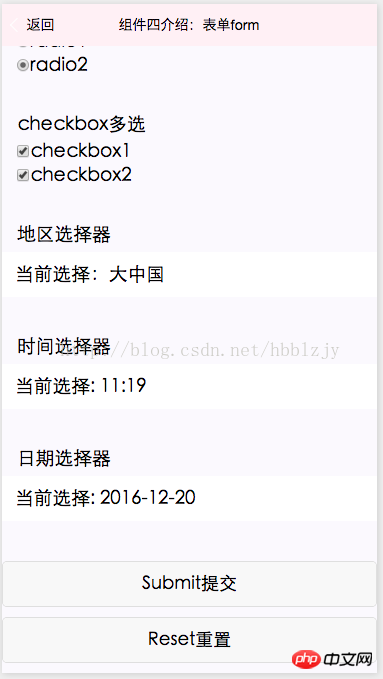
  <view class="btn-area">
   <button form-type="submit">Submit提交</button>
   <button form-type="reset">Reset重置</button>
  </view>
 </form>
How to get the value of the control inside the form, you need to use the relevant properties of the form. The code is as follows
// pages/index/Component/FormM/FormM.js
Page({
 //初始化数据
 data: {
  array: ['大中国', '美国', '巴西', '小日本'],
  index: 0,
  date: '2016-12-20',
  time: '11:19',
  allValue:''
 },
 //表单提交按钮
 formSubmit: function(e) {
  console.log('form发生了submit事件,携带数据为:', e.detail.value)
  this.setData({
   allValue:e.detail.value
  })
 },
 //表单重置按钮
 formReset: function(e) {
  console.log('form发生了reset事件,携带数据为:', e.detail.value)
  this.setData({
   allValue:''
  })
 },
 //---------------------与选择器相关的方法
 //地区选择
 bindPickerChange: function(e) {
  console.log('picker发送选择改变,携带值为', e.detail.value)
  this.setData({
   index: e.detail.value
  })
 },
 //日期选择
 bindDateChange: function(e) {
  this.setData({
   date: e.detail.value
  })
 },
 //时间选择
 bindTimeChange: function(e) {
  this.setData({
   time: e.detail.value
  })
 },


})
## Rendering:


Result value in the output form:

Introduction to the GET request of the WeChat applet
WeChat applet implements the pop-up menu function
The above is the detailed content of Analysis of forms in WeChat mini programs. For more information, please follow other related articles on the PHP Chinese website!