Home >Web Front-end >CSS Tutorial >Detailed explanation of linear-gradient and radial-gradient in CSS3
This article mainly introduces the relevant information about gradients in CSS, mainly shares the knowledge of linear-gradient and radial-gradient in CSS3, and brings you another angle of using gradients. The article introduces it in detail through example code. Friends can refer to it, I hope it can help everyone.
1. Linear Gradient
Here you need to look at the basic syntax first, and then look at the following examples.
linear-gradient(90deg,red 20%,blue 50%,yellow 80%);

Obviously through this picture, you will roughly understand the role of setting these parameters. Although I didn't use any words to explain it. (So when you can’t understand the definition, you must practice it.)
Next, we have to do something. We overlap the color separation points.
    width: 300px;
    height: 200px;
    background: linear-gradient(90deg,blue 100px,#fff 100px,#fff 200px,red 200px);

Yes, this is the effect produced by the above gradient code. Does it feel like it breaks your previous impression of gradients.
Next we use linear-gradient to achieve cooler effects, such as:

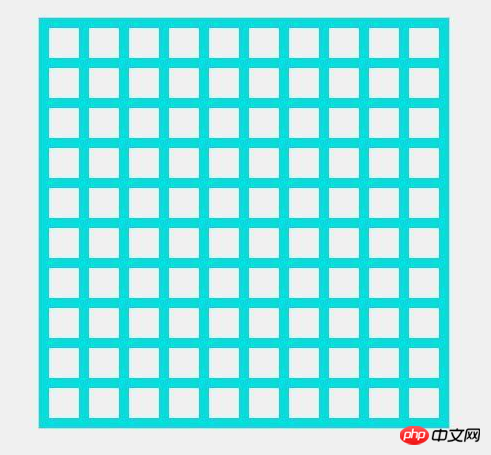
Do you feel that you have broken through your own understanding of gradients? know. Let me talk about the idea of implementing this background: This is a regular pattern. We need to find its basic pattern. I believe you have found it.
Knowledge points we need to use:
background supports the declaration of multiple linear-gradients, separated by commas;
When you declare multiple linear-gradients, the one declared first is closer to the user. (Here we need to consider the issue of covering, usually transparent);
I haven’t mastered the abbreviation of background yet, but it doesn’t work;
Reasonable combination of background-repeat, background-size and background-position.
    width: 410px;
    height: 410px;
    background: linear-gradient(rgb(2,222,222) 10px, transparent 10px) repeat left top / 40px,
                linear-gradient(90deg,rgb(2,222,222) 10px, transparent 10px) repeat left top / 40px;
Look, in the past, to achieve such an effect, we could only beg the artist to cut the image. Now in the wave of CSS3, we can be self-sufficient (^_^).
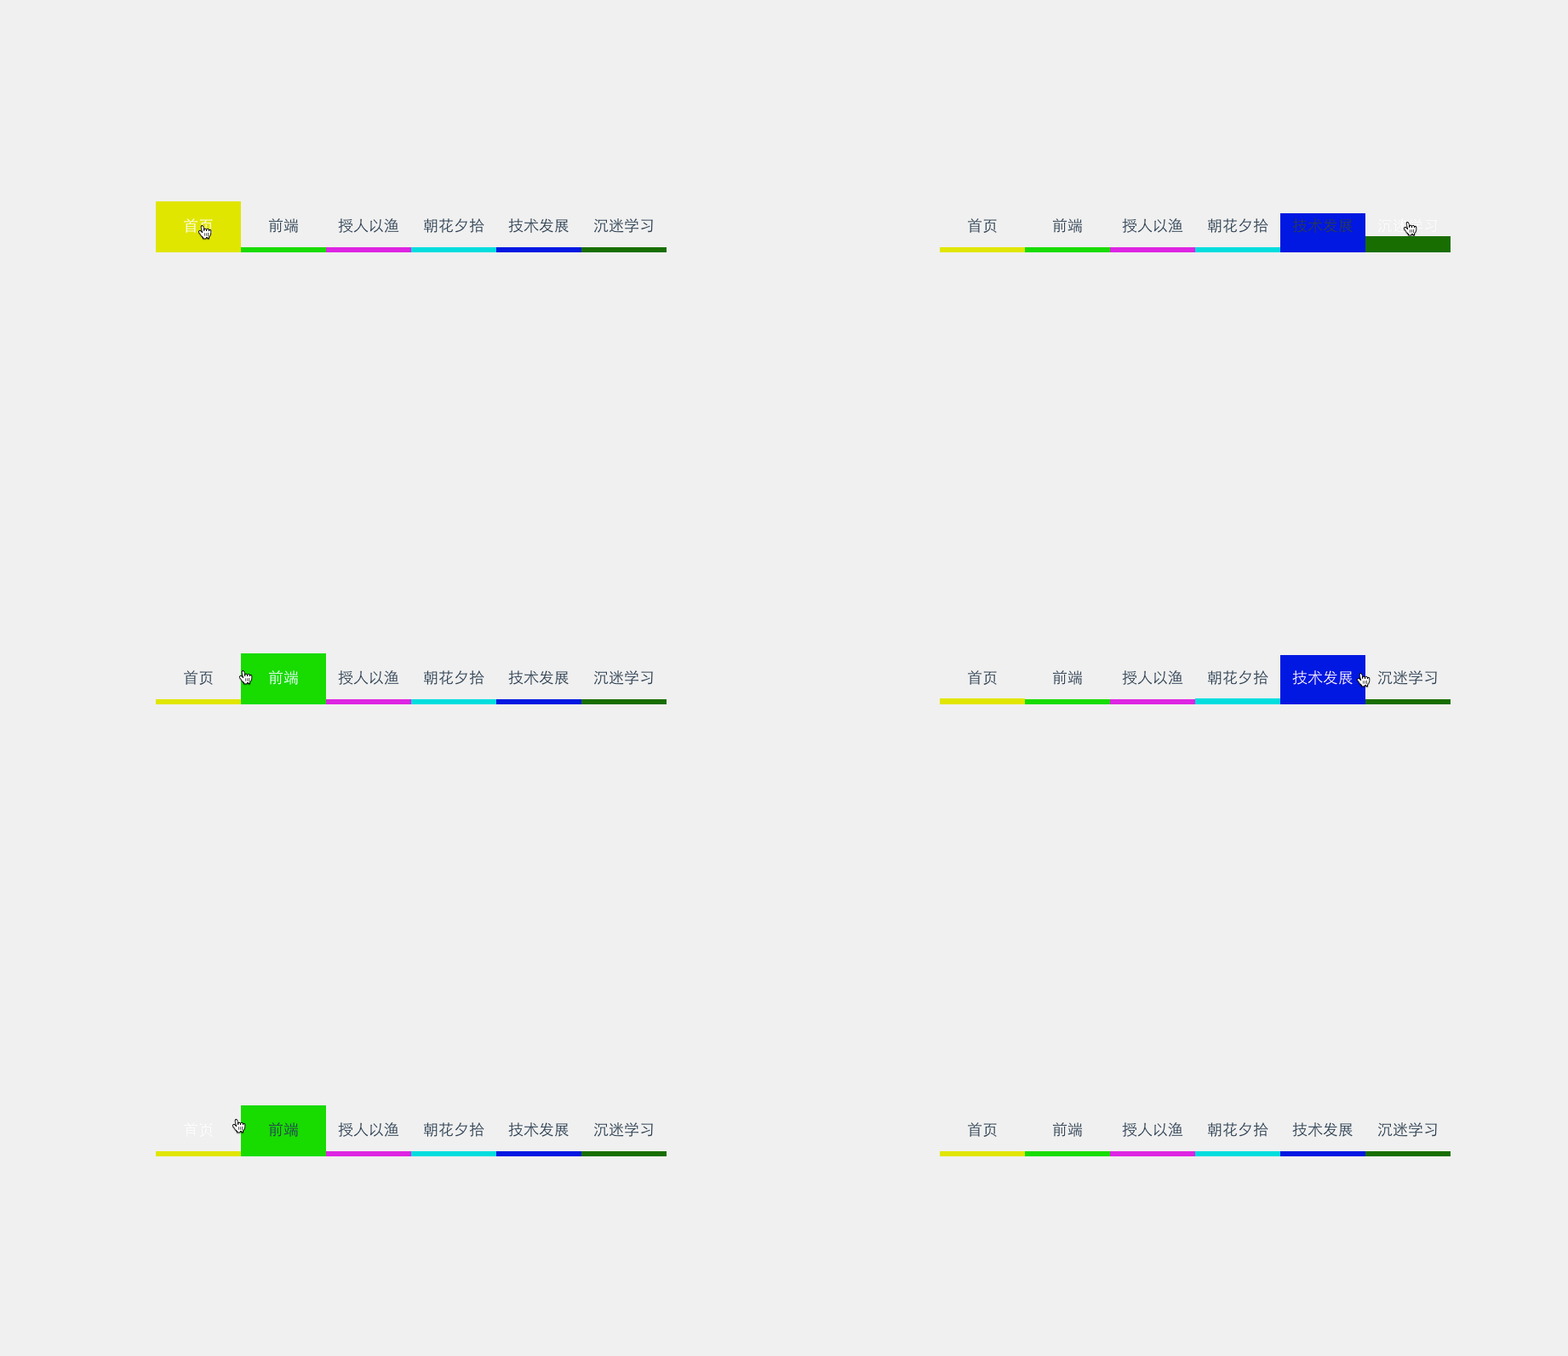
And through gradient we can animate the background color without consuming additional HTML elements to achieve the desired effect. Example:

##
    /*
     *  这里用scss写的,对新手不太友好,抱歉(-_-)
     */
    @mixin menuaction($color) {
        background: linear-gradient($color 100%, transparent 100%) no-repeat center bottom / 100% 10%;
        &:hover {
            background-size: 100% 100%;
            color: #fff;
        }
    }
2. Radial gradientBasically, radial gradient is similar to linear gradient, except that it moves from the center point to external diffusion. So I won’t go into details here.

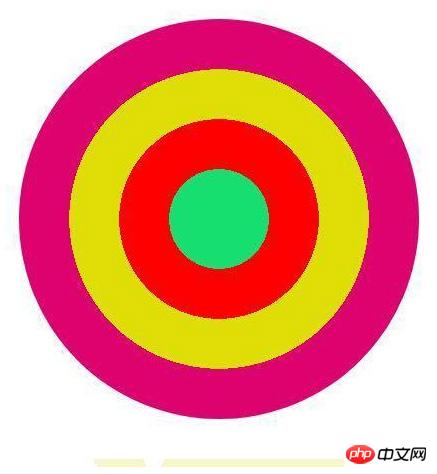
    border-radius: 50%;
    background: radial-gradient(circle,rgb(22,222,111) 0,rgb(22,222,111) 50px,red 50px,red 100px, rgb(222,222,1) 100px, rgb(222,222,1) 150px,rgb(222,2,111) 150px);
What will it end with, haha, various discounts recently coupon, then let’s use the knowledge of gradients to create a coupon:

    width: 300px;
    height: 120px;
    background: radial-gradient(transparent 0, transparent 5px, rgb(247,245,201) 5px) no-repeat,
                radial-gradient(transparent 0, transparent 5px, rgb(247,245,201) 5px) no-repeat,
                radial-gradient(transparent 0, transparent 5px, rgb(247,245,201) 5px) no-repeat,
                radial-gradient(transparent 0, transparent 5px, rgb(247,245,201) 5px) no-repeat,
                radial-gradient(transparent 0, transparent 5px, rgb(247,245,201) 5px) no-repeat,
                radial-gradient(transparent 0, transparent 5px, rgb(247,245,201) 5px) no-repeat,
                radial-gradient(#fff 0, #fff 10px, rgb(247,245,201) 10px) no-repeat,
                radial-gradient(#fff 0, #fff 10px, rgb(247,245,201) 10px) no-repeat,
                linear-gradient(90deg,transparent 10px, rgb(247,245,201) 10px);
            background-size: 20px 20px,20px 20px,20px 20px,20px 20px,20px 20px,20px 20px,60px 60px,60px 60px,100% 100%;
            background-position: -10px 0,-10px 20px,-10px 40px,-10px 60px,-10px 80px,-10px 100px,60px -30px,60px 90px,left center;
The above code should combine size and Position is placed in the abbreviation attribute. At this point, everyone should have a new understanding of gradients. Related recommendations:
How to use the transform gradient attribute in Css3
Example of how to implement text color gradient in CSS
Detailed explanation of how to make the background color gradient compatible with css
The above is the detailed content of Detailed explanation of linear-gradient and radial-gradient in CSS3. For more information, please follow other related articles on the PHP Chinese website!