Home >Backend Development >PHP Tutorial >PHP file upload and avatar preview functions
This article mainly introduces the relevant information on how to implement file upload and avatar preview functions in PHP. It has certain reference value. Interested friends can refer to it
php file uploadThe principle is to temporarily place the file in the tmp directory in the wamp folder through the enctype="multipart/form-data" attribute of the form form, and then save the file in the system through the background php program.
html code:
<form action="shangchuan.php" method="post" enctype="multipart/form-data">
 <input type="file" name="file" />
 <input type="submit" value="上传" />
</form>
Backend processing interface (shangchuan.php):
There are the following pointsneed to pay attention:
1. Control the type of uploaded files
2. Control the size of uploaded files
3. Prevent duplicate file names
Modify the saved file name
Username + timestamp + random Number + file name
Serial number
To use a folder, you must create the path in advance.
4. Save the file
//判断文件上传是否出错
if($_FILES["file"]["error"])
{
 echo $_FILES["file"]["error"];
}
else
{
 //控制上传文件的类型,大小
 if(($_FILES["file"]["type"]=="image/jpeg" || $_FILES["file"]["type"]=="image/png") && $_FILES["file"]["size"]<1024000)
 {
  //找到文件存放的位置
  $filename = "./file/".date("YmdHis").$_FILES["file"]["name"];

  //转换编码格式
  $filename = iconv("UTF-8","gb2312",$filename);

  //判断文件是否存在
  if(file_exists($filename))
  {
   echo "该文件已存在!";
  }
  else
  {
   //保存文件
   move_uploaded_file($_FILES["file"]["tmp_name"],$filename);
  }
 }
 else
 {
  echo "文件类型不正确!";
 }
}
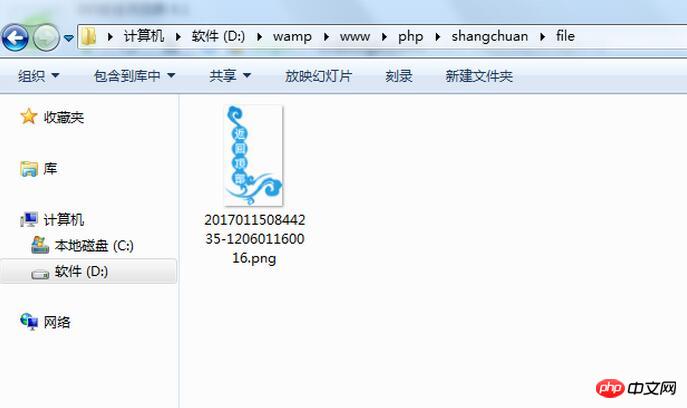
After clicking upload, the file will be saved in the specified path of the system.

After saving, rename the file according to the specified method:

Avatar upload preview
Principle: Make a p with the size of the avatar in the html interface, set the background of the uploaded avatar, make an input for uploading the file in p, and set the transparency to 0.
In this way, clicking this p will have the same effect as uploading.
<title>无标题文档</title>
<style type="text/css">
#yl{ width:200px; height:300px; background-image:url(img/11.png); background-size:200px 300px;}
#file{ width:200px; height:300px; float:left; opacity:0;}
</style>
</head>
<body>
<form id="sc" action="chuli.php" method="post" enctype="multipart/form-data" target="shangchuan">
<input type="hidden" name="tp" value="" id="tp" />
<p id="yl">
<input type="file" name="file" id="file" onchange="document.getElementById('sc').submit()" />
</p>
</form>
<iframe style="display:none" name="shangchuan" id="shangchuan">
</iframe>
</body>
<script type="text/javascript">
//回调函数,调用该方法传一个文件路径,该变背景图
function showimg(url)
{
var p = document.getElementById("yl");
p.style.backgroundImage = "url("+url+")";
document.getElementById("tp").value = url;
}
</script>
</html>php processing interface (chuli.php):
<?php
if($_FILES["file"]["error"])
{
echo $_FILES["file"]["error"];
}
else
{
if(($_FILES["file"]["type"]=="image/jpeg" || $_FILES["file"]["type"]=="image/png")&& $_FILES["file"]["size"]<1024000)
{
$fname = "./img/".date("YmdHis").$_FILES["file"]["name"];
$filename = iconv("UTF-8","gb2312",$fname);
if(file_exists($filename))
{
echo "<script>alert('该文件已存在!');</script>";
}
else
{
move_uploaded_file($_FILES["file"]["tmp_name"],$filename);
unlink($_POST["tp"]);
echo "<script>parent.showimg('{$fname}');</script>";
}
}
}The above is the detailed content of PHP file upload and avatar preview functions. For more information, please follow other related articles on the PHP Chinese website!