Home > Article > Backend Development > Installation of win10_php_imagick extension

This article introduces the installation of the win10_php_imagick extension. Now I share it with you. Friends in need can refer to it
PHP_imagick This extension is the most difficult to install the extension I have encountered so far. Because there are too few correct documents, I finally installed this extension today. Let’s share some processes.
Step one:
First go to the imagemagick official website to download the imagemagickwindows installation package address is this
https://imagemagick.org/script/download.php
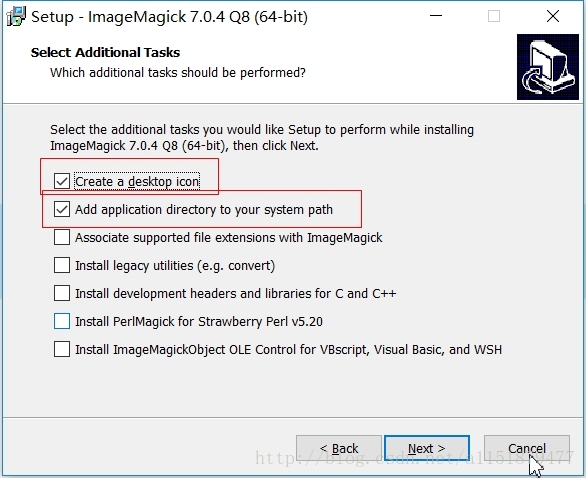
My apache and php are both 64 bit, then I also choose the 64-bit one as shown in the picture
Download and install...
Be sure to check these two here
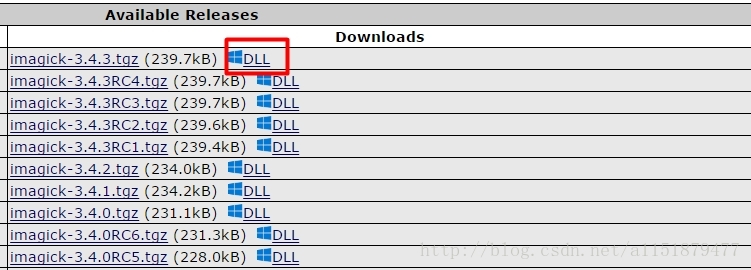
After installation, download the php_imagick extension address as follows
https://pecl.php.net/package/imagick
Choose a new version
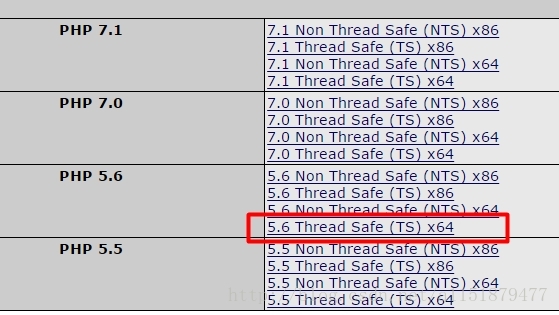
Choose the appropriate one My own version.. Mine is php5.6 64-bit
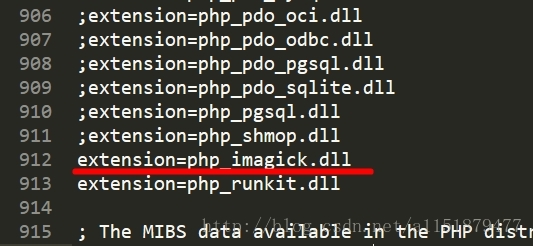
After downloading, copy php_imagick.dll to the php/ext folder, and then enable the extension in php.ini
You need to download the dll for imagick to parse each image format...This is what I understand. I don’t know if this is the case.
Open http://windows.php .net/downloads/pecl/deps/
Select the downloaded file according to your own configuration:
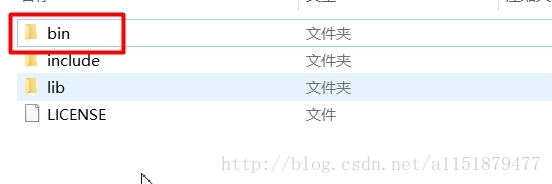
After downloading, unzip the bin directory in the directory to a new folder...
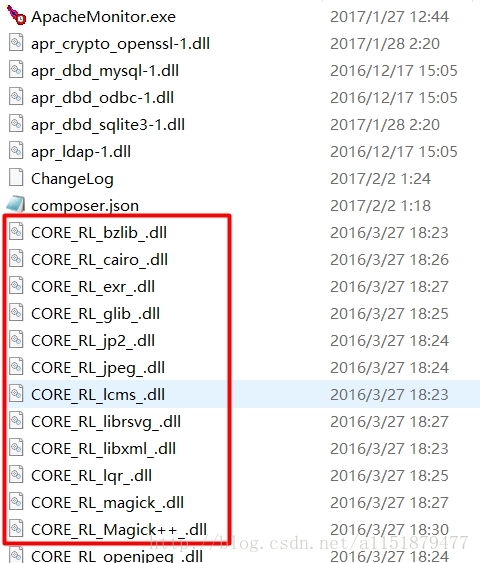
Copy all dll files except ImageMagickObject.dll to the apache/bin directory for a total of 146 dll files
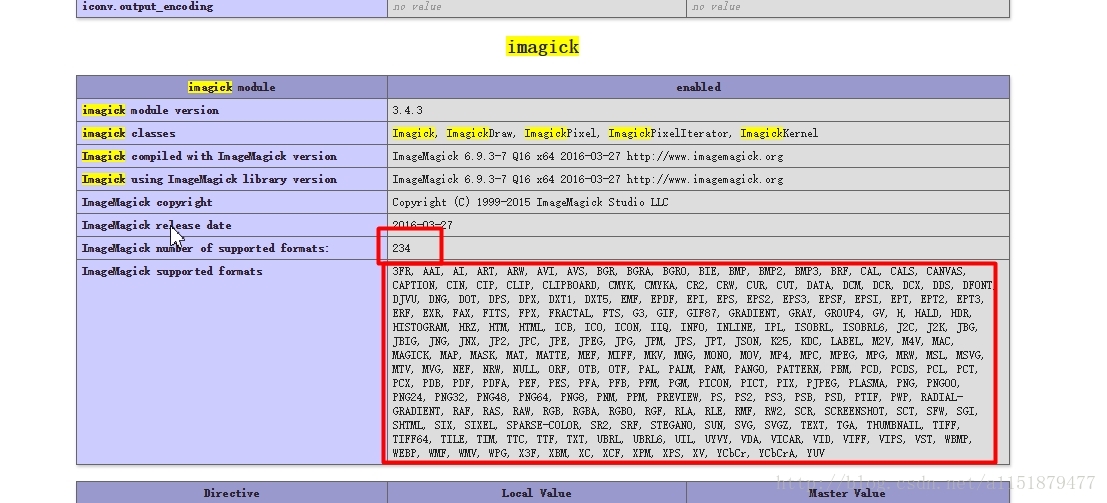
The installation should be successful here. Restart the apache server to view phpinfo
Note:
ImageMagick number of supported formats: cannot be 0
ImageMagick supported formats: There must be something below, otherwise the installation will fail
ok ImageMagick extension and the installation is complete.
Reference: http://ourcodeworld .com/articles/read/349/how-to-install-and-enable-the-imagick-extension-in-xampp-for-windows
PHP_imagick This extension is the most difficult to install so far The main problem with the extension is that there are too few correct documents. Today I finally installed the extension. Let’s share some processes.
Step one:
First, go to the imagemagick official website to download the imagemagickwindows installation package. The address is this
https://imagemagick.org/script/download.php
My apache and php are both 64-bit, so I also choose the 64-bit one as shown in the picture
Download and install....
Be sure to check these two here
After installation, download the php_imagick extension address as follows
https://pecl.php.net/package/imagick
Choose a new version
Choose the version that suits you.. Mine is php5.6 64-bit
After downloading, copy php_imagick.dll to php/ ext folder, and then open the extension in php.ini
You need to download the dll for imagick to parse each image format...This is what I understand. I don't know if this is the case.
Open http://windows.php.net/downloads/pecl/deps/
Select the downloaded file according to your own configuration:
After downloading Unzip the bin directory in the directory to a new folder...
Copy all dll files except ImageMagickObject.dll to the apache/bin directory in total146 dll files
The installation should be successful here Restart the apache server to view phpinfo
Note:
ImageMagick number of supported formats : Cannot be 0
ImageMagick supported formats : There must be something below, otherwise the installation will fail
ok The extension of ImageMagick is now installed. .
Related recommendations:
How to install the php plug-in imagick under win7
The above is the detailed content of Installation of win10_php_imagick extension. For more information, please follow other related articles on the PHP Chinese website!