Introduction:
Apache HTTP Server is an open source project of the Apache Software Foundation The source code web server can run on most computer operating systems and is widely used due to its multi-platform and security features. It is one of the most popular web server-side software. In this article I will introduce how to install Ubuntu Install Apache HTTP Server on 16.04.
Step One: Install Apache
Apache can be obtained in Ubuntu's default software repository. First you need to update the local package:
$ sudo apt-get update
Then download and install Apache:
$ sudo apt-get install apache2
Step 2: Adjust the firewall
Before we test Apache, we need to modify the firewall so that the default Web port can be accessed from the outside. Apache itself provides some configuration files. You can view the ufw application configuration file by entering the following command:
$ sudo ufw app list
You can see There are three files related to Apache:
Apache: Open port 80
Apache Full: Open port 80 and 443
Apache Secure: Open port 443
After that we change the firewall configuration information:
$ sudo ufw allow 'Apache Full'
Start the firewall:
$ sudo ufw enable
Check the ufw status:
$ sudo ufw status
Step 3: Check the Web server
Check the status of the Web server:
$ sudo systemctl status apache2
You You can check whether Apache is running normally by visiting Apache's default webpage through the domain name or IP address. Check the IP address of the server:
$ hostname -I
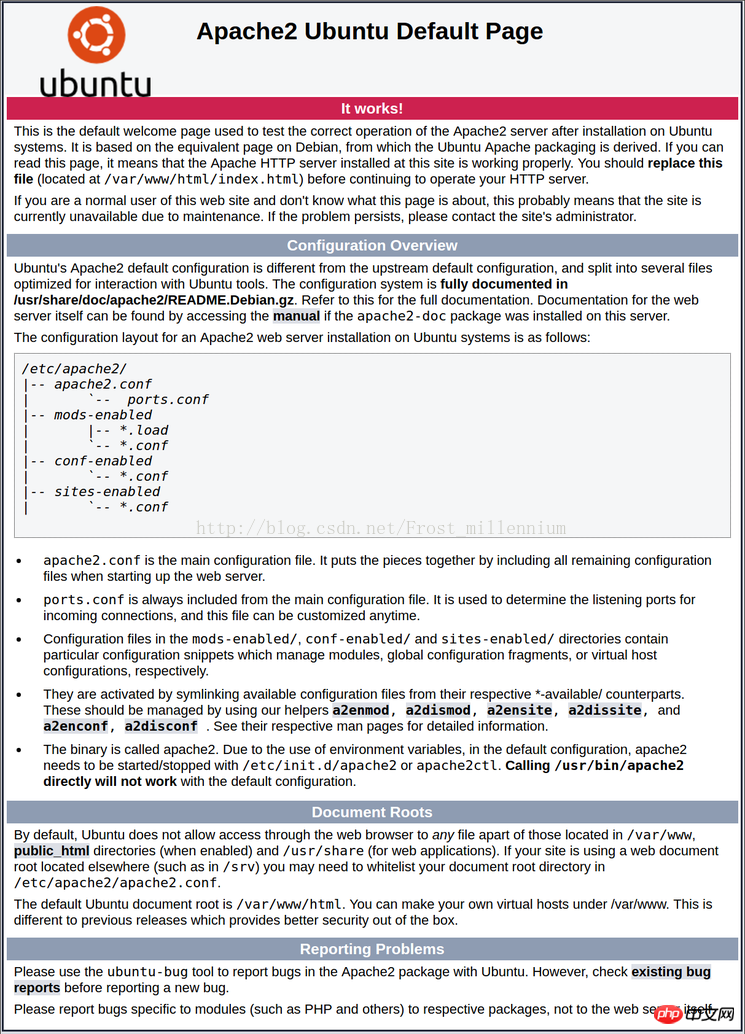
You will get some IP addresses separated by spaces, copy one of them to your browser You will get the following page in the server:

In this way, your Apache has been configured.
The above is the detailed content of How to configure Apache HTTP Server under Ubuntu 16.04. For more information, please follow other related articles on the PHP Chinese website!


