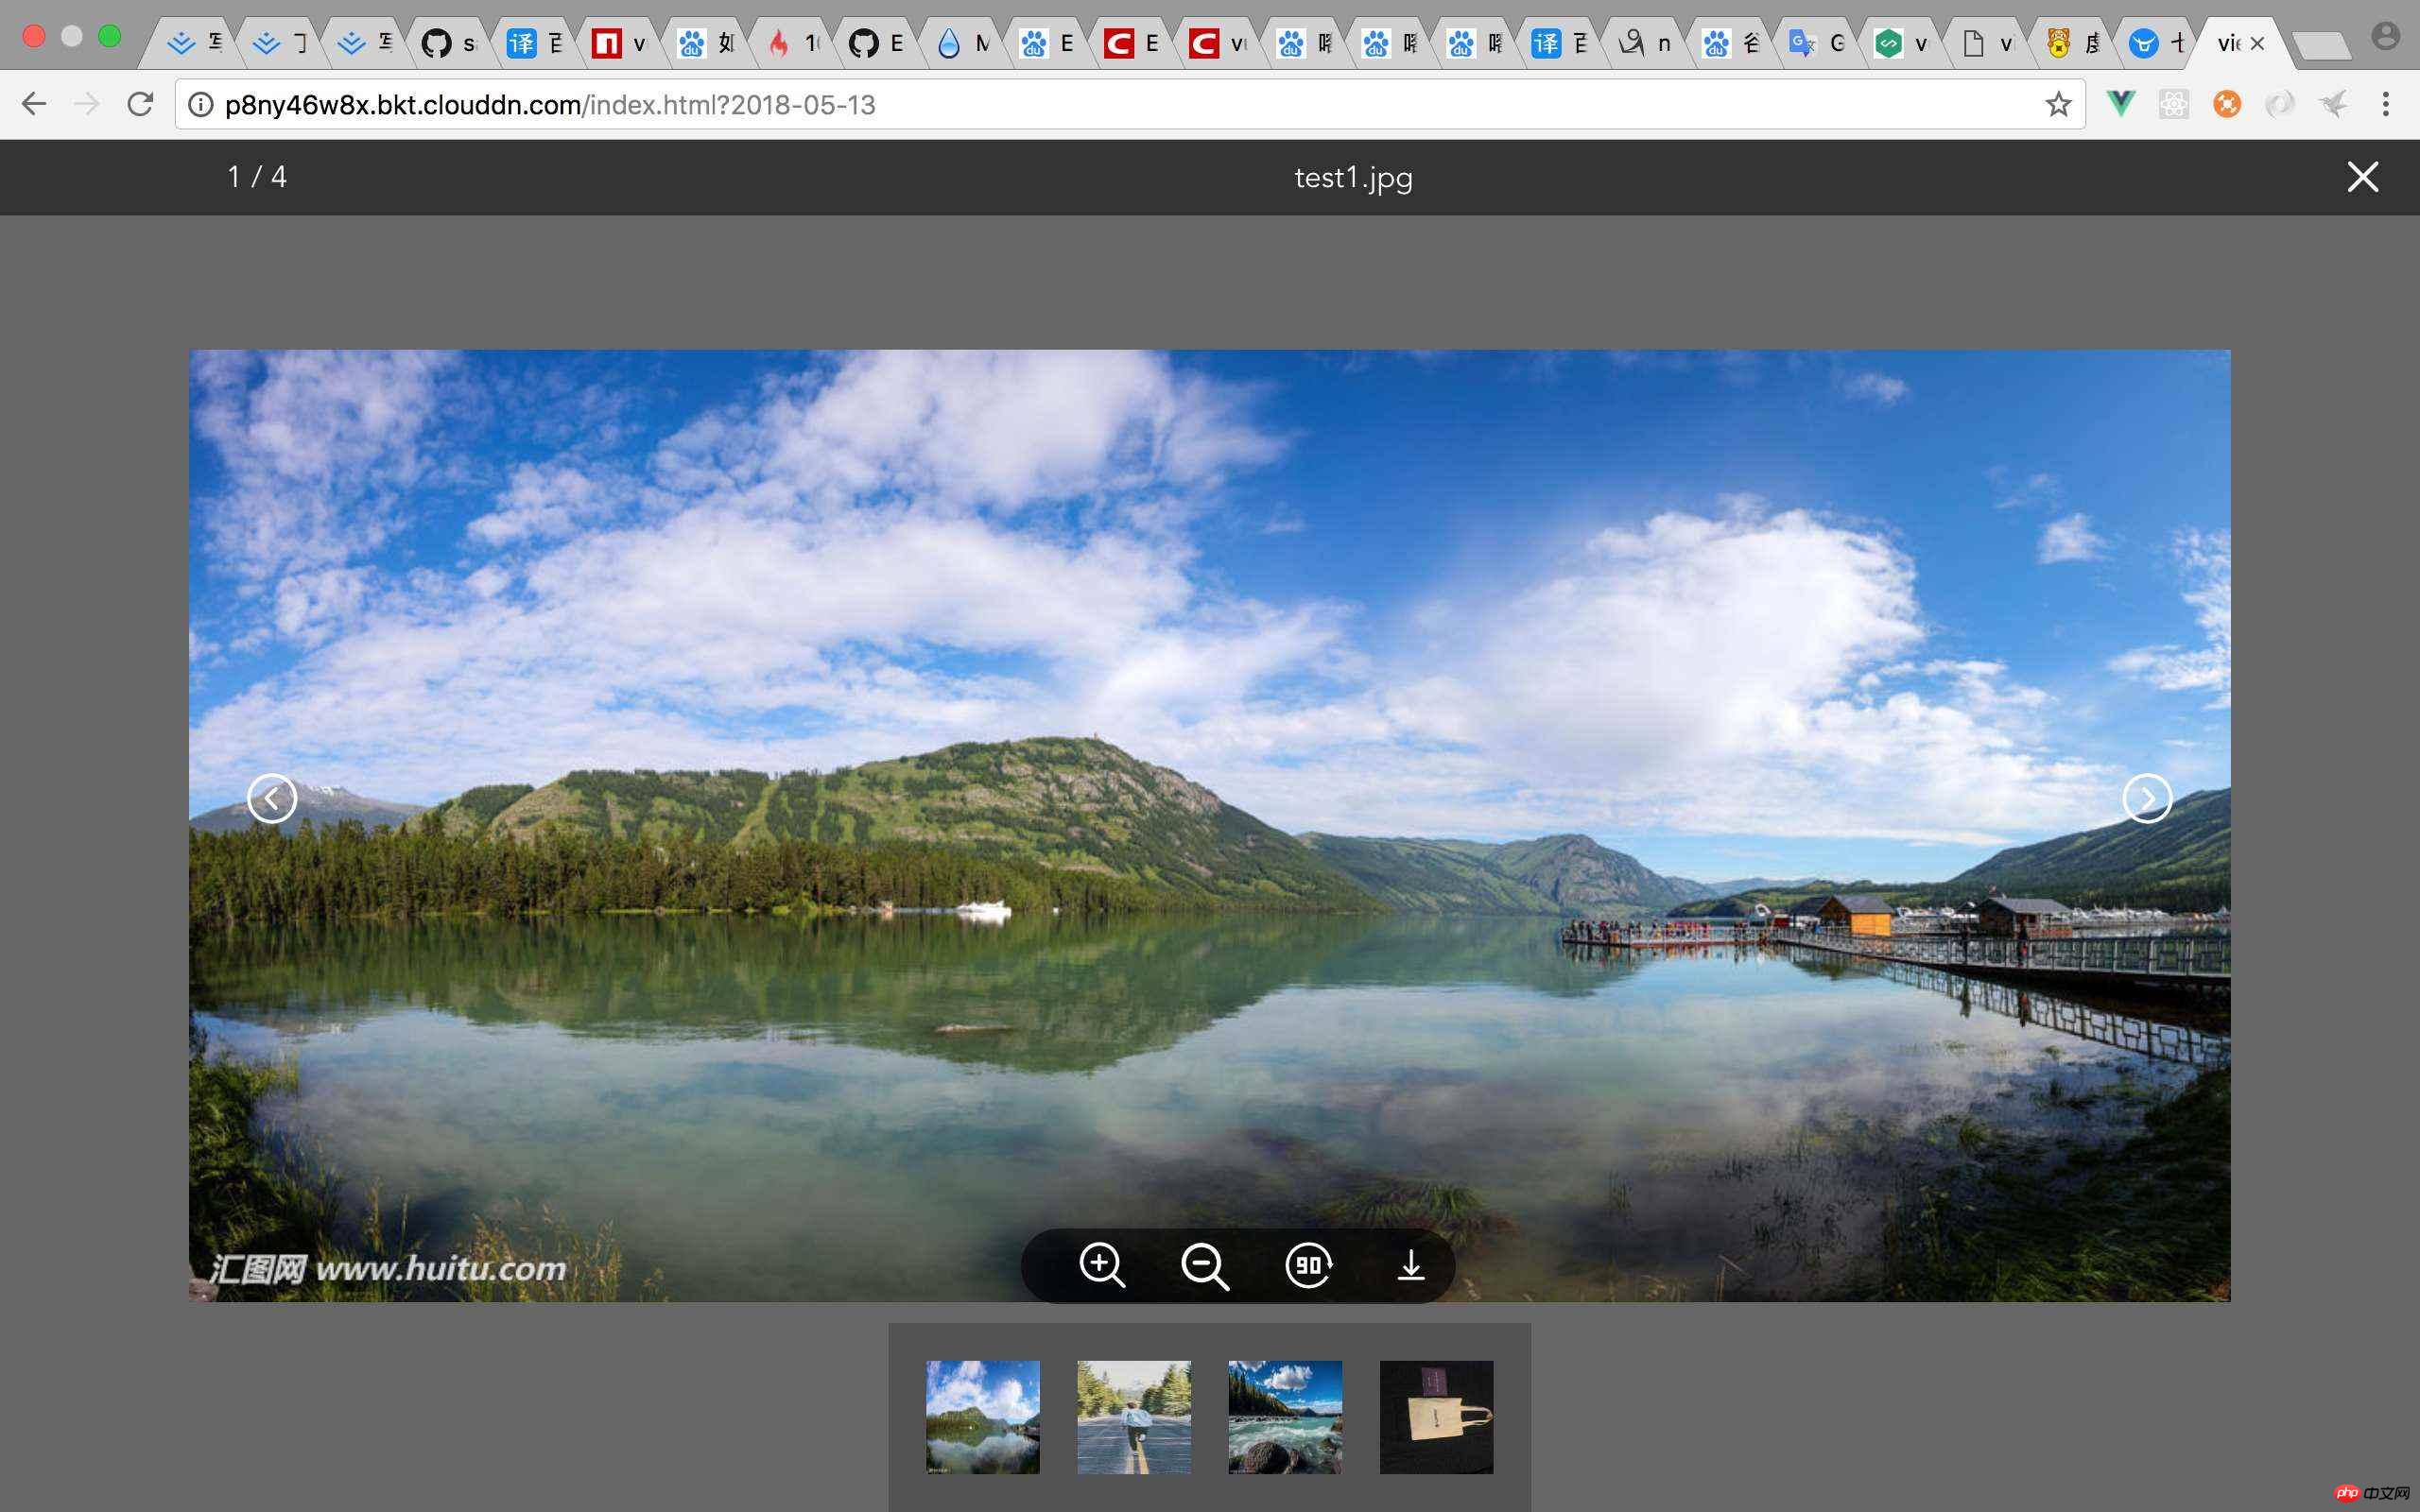
This time I will bring you a detailed explanation of the steps for using the Vue2x image preview plug-in. What are theprecautionswhen using the Vue2x image preview plug-in? The following is a practical case, let's take a look.
Let’s take a look at Demo
LiveDemo

About several ways to develop Vue plug-ins (for details, please go to the official website) Vue official website
MyPlugin.install = function (Vue, options) { // 1. 添加全局方法或属性 Vue.myGlobalMethod = function () { // 逻辑... } // 2. 添加全局资源 Vue.directive('my-directive', { bind (el, binding, vnode, oldVnode) { // 逻辑... } ... }) // 3. 注入组件 Vue.mixin({ created: function () { // 逻辑... } ... }) // 4. 添加实例方法 Vue.prototype.$myMethod = function (methodOptions) { // 逻辑... } }
I use the first way to write this plug-in
1. The first stepCreate the project
vue init webpack-simple youProjectName(you Project name) The specific operations will not be repeated

2. Start plug-in development and write index.js
import vuePictureViewer from './vue-picture-viewer' const pictureviewer = { install (Vue, options) { Vue.component(vuePictureViewer.name, vuePictureViewer) } } if (typeof window !== 'undefined' && window.Vue) { // 这段代码很重要 window.Vue.use(pictureviewer) } export default pictureviewer
3. Write vue-picture-viewer.vue It’s quite simple (you can check the source code for details)
4. How to use (main.js)
import vuePictureViewer from './lib/index.js' Vue.use(vuePictureViewer)
App.vue
5. Configure webpack before packaging. config.js (very important!!!)
module.exports = { entry: './src/lib/index.js', output: { path: path.resolve(dirname, './dist'), publicPath: '/dist/', // filename: 'build.js', filename: 'vue-picture-viewer.js', library: 'pictureViewer', libraryTarget: 'umd', umdNamedDefine: true },
6. Packaging successful, configure package.json
"license": "MIT", // 许可证 "private": false, // 默认是true 私人的 需要改为false, 不然发布不成功! "main": "dist/vue-picture-viewer.js", 这个超级重要 决定了你 import xxx from “vue-picture-viewer” 它默认就会去找 dist下的vue-picture-viewer 文件 "repository": { "type": "git", "url": "https://github.com/sangcz/vue-picture-viewer" // github项目地址 },
7. Everything is OK and ready to be released!
8. After registering npm firstAdd user
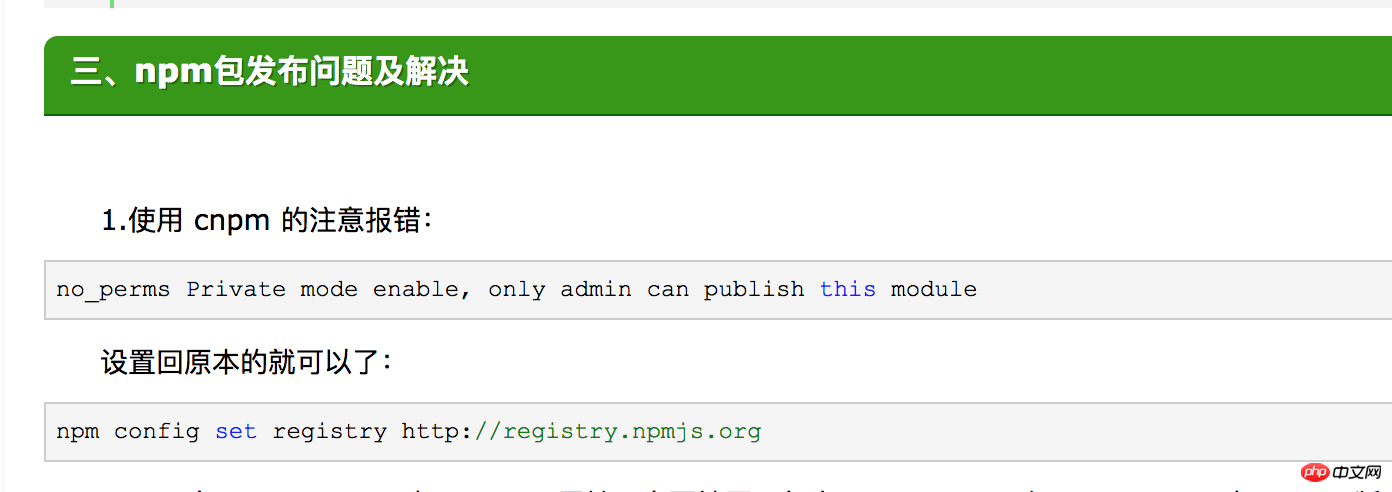
npm adduser Username: your name Password: your password Email: yourmail // 查看一下登录的是不是你自己 npm whoami // 发布 npm publish // 这里我遇到一个问题,发布失败了!
What is the reason?

#9. The above problem was solved and the release was successful! happy
The above is the detailed content of Detailed explanation of the steps to use the Vue2x image preview plug-in. For more information, please follow other related articles on the PHP Chinese website!


