

This article mainly introduces you to the relevant information about how React renders components to specified DOM nodes. The article introduces it in detail through sample code. It has certain reference learning value for everyone's study or work. Friends who need it Let’s follow the editor to learn together.
Preface
As we all know, one of the advantages of React is that its API is particularly simple. By returning the basic structure of a component through the render method, just like a simple function, you can get a reusable react component. But sometimes there are still some restrictions, especially in its API, which cannot control the DOM node that the component should be rendered to, which makes it difficult to control some elastic layer components. The problem occurs when the parent element is set tooverflow: hidden.
For example, like the following:
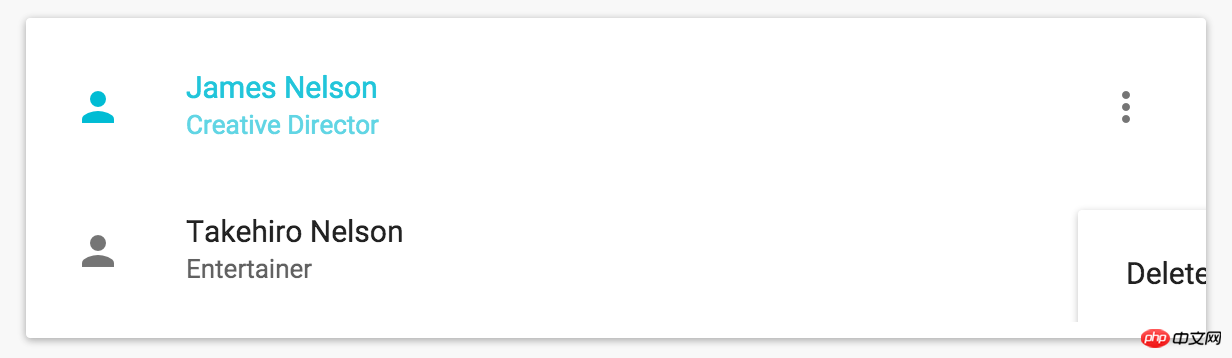
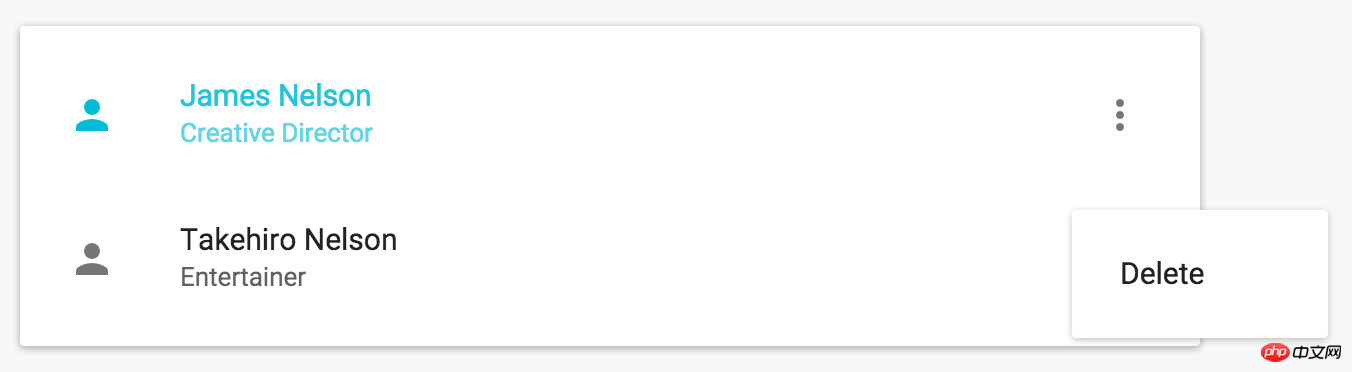
The effect we actually expect is this:
Fortunately, although it's not immediately obvious, there is a fairly elegant way to get around this problem. The first react function we learned is the render method. His function signature is like this:
ReactComponent render( ReactElement element, DOMElement container, [function callback] )
Usually we use this method to render the entire application to a in the DOM node. The good news is that the method doesn't stop there. We can use theReactDom.rendermethod in one component to render another component into a specified DOM element. As a component's render method, it must be pure (for example, it cannot change state or interact with the DOM). So we need to call theReactDom.rendermethod in componentDidUpdate or componentDidMount.
In addition, we need to ensure that when the parent element is uninstalled, the modified component will also be uninstalled.
After sorting it out, we get the following component:
import React,{Component} from 'react'; import ReactDom from 'react-dom'; export default class RenderInBody extends Component{ constructor(p){ super(); } componentDidMount(){//新建一个p标签并塞进body this.popup = document.createElement("p"); document.body.appendChild(this.popup); this._renderLayer(); } componentDidUpdate() { this._renderLayer(); } componentWillUnmount(){//在组件卸载的时候,保证弹层也被卸载掉 ReactDom.unmountComponentAtNode(this.popup); document.body.removeChild(this.popup); } _renderLayer(){//将弹层渲染到body下的p标签 ReactDom.render(this.props.children, this.popup); } render(){ return null; } }
To summarize:
Manually insert a p tag into the body during componentDidMount, and then use ReactDom.render to render the component to the p tag
When we want to render a component directly to the body, we only need to wrap a layer of RenderInBody around the component.
export default class Dialog extends Component{ render(){ return { i am a dialog render to body } } }
Translator added:
After transforming the above components, we can render and unload the components to the specified dom node, and add position control, as follows:
//此组件用于在body内渲染弹层 import React,{Component} from 'react' import ReactDom from 'react-dom'; export default class RenderInBody extends Component{ constructor(p){ super(p); } componentDidMount(){ /** popupInfo={ rootDom:***,//接收弹层组件的DOM节点,如document.body left:***,//相对位置 top:***//位置信息 } */ let {popupInfo} = this.props; this.popup = document.createElement('p'); this.rootDom = popupInfo.rootDom; this.rootDom.appendChild(this.popup); //we can setAttribute of the p only in this way this.popup.style.position='absolute'; this.popup.style.left=popupInfo.left+'px'; this.popup.style.top=popupInfo.top+'px'; this._renderLayer() } componentDidUpdate() { this._renderLayer(); } componentWillUnmount(){ this.rootDom.removeChild(this.popup); } _renderLayer(){ ReactDom.render(this.props.children, this.popup); } render(){ return null; } }
Note:Position acquisition and root node judgment function
export default (dom,classFilters)=> { let left = dom.offsetLeft, top = dom.offsetTop + dom.scrollTop, current = dom.offsetParent, rootDom = accessBodyElement(dom);//默认是body while (current !=null ) { left += current.offsetLeft; top += current.offsetTop; current = current.offsetParent; if (current && current.matches(classFilters)) { rootDom = current; break; } } return { left: left, top: top ,rootDom:rootDom}; } /*** 1. dom:为响应弹层的dom节点,或者到该dom的位置后,可以做位置的微调,让弹层位置更佳合适 * 2. classFilters:需要接收弹层组件的DOM节点的筛选类名 /
The above is the detailed content of Detailed explanation of React's method of rendering components to specified DOM nodes. For more information, please follow other related articles on the PHP Chinese website!


![[Web front-end] Node.js quick start](https://img.php.cn/upload/course/000/000/067/662b5d34ba7c0227.png)


