この記事では、AngularJS で実装されたアンカー ポイント フロア ジャンプ機能を主に紹介し、アンカー ポイント ジャンプ機能を実装するための AngularJS イベント レスポンスの関連操作スキルについても説明します。必要な方は参考にしてください。
この記事の例はアンカーを示します。 AngularJS Jump関数で実装されたポイントフロア。参考のために皆さんと共有してください。詳細は次のとおりです:
<!DOCTYPE html>
<html ng-app="myApp">
<head>
<meta charset="UTF-8">
<title>anchor</title>
<style>
#wei p{
width:100%;
height:720px;
background: red;
color:#fff;
text-align:center;
line-height: 720px;
margin:20px;
font-size: 80px;
}
#wei ul{
position: fixed;
top:300px;
right:60px;
}
#wei ul li{
width:20px;
display:block;
height:20px;
background: gray;
color:#fff;
text-align:center;
line-height: 20px;
border-radius: 50%;
margin-bottom: 20px;
cursor: pointer;
}
</style>
</head>
<body ng-controller="show">
<p id="wei">
<p ng-repeat="attr in arr" ng-attr-id="p{{attr}}">{{attr}}</p>
<ul><!-- 定义右边的点 -->
<li ng-repeat="attr in arr" ng-click="jump('p'+attr)">{{attr}}</li>
</ul>
</p>
<script src="angular.min.js" type="text/javascript" charset="utf-8"></script>
<script type="text/javascript">
var app = angular.module('myApp',[]);
app.controller('show',['$scope','$location','$anchorScroll',function($scope,$location,$anchorScroll){
$scope.arr=[1,2,3,4,5];
$scope.jump=function(id){
//console.log(id);
$location.hash(id);//添加锚点
$anchorScroll(); //重新定义服务,解决当滑动时点击锚点无作用的bug
}
}]);
</script>
</body>
</html>操作の効果は次のとおりです:
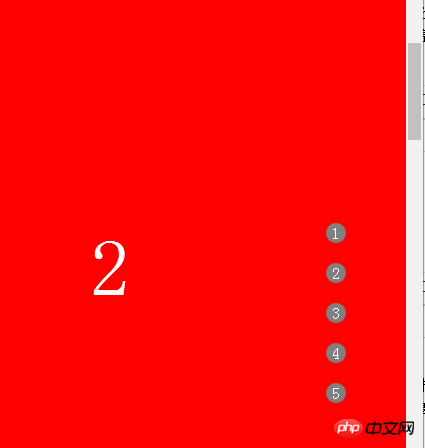
アンカーポイント 2 をクリック:

アンカーポイント 3 をクリック:

上記は皆さんのためにまとめたものです。今後も活用していただければ幸いです。皆さんのお役に立てれば幸いです。
関連記事:
express+mockjsでバックグラウンドデータ送信を実装する方法
以上がAngularJSでジャンプ関数を実装する方法の詳細内容です。詳細については、PHP 中国語 Web サイトの他の関連記事を参照してください。