日常の開発作業では、一般的なスライド トランジションがカルーセルやグラデーションにすぎないことは誰もが知っています。どのような種類のスライド トランジションでも、画像や画像グループを徐々に変更するために タイマー を使用します。今日はJavaScriptでスライドショーを実装する簡単な例を紹介します。
他の効果を放棄します。最も単純なカルーセルには
parent.appendChild(parent.firstChild) という 1 つのステートメントしかありません。このステートメントは、リストの要素を元の位置から削除します。スイッチング効果を生み出すことができます。
1 つ、IE は他のブラウザとは異なる方法でテキスト ノードを扱います。さらに、FF の異なるバージョンでは、children 属性にも注意する必要があります。
以下のデモでは #view の overflow:hidden を設定していません。
demo_1:
コードは次のとおりです:
<!DOCTYPE html PUBLIC "-//W3C//DTD XHTML 1.0 Transitional//EN"
"http://www.w3.org/TR/xhtml1/DTD/xhtml1-transitional.dtd">
<html>
<head>
<meta http-equiv="Content-Type" content="text/html; charset=utf-8"/>
<title></title>
<style type="text/css">
*{ margin: 0; padding: 0;}
ul{ list-style: none;}
#view{ position: relative; width: 320px; height: 120px; margin-left:320px; border: 10px solid #bc8f8f; }
#view:after{ content: '.'; display: block; clear: both; height: 0; visibility:hidden;}
#img_list{ position: absolute; width: 960px;}
#img_list li{ float: left; width: 320px; height: 120px; }
#a{ background: #87ceeb;}
#b{ background: #ff69b4;}
#c{ background: #98fb98;}
</style>
</head>
<body>
<p id="view">
<ul id="img_list">
<li id="a"></li>
<li id="b"></li>
<li id="c"></li>
</ul>
</p>
<script type="text/javascript">
var img_list = document.getElementById('img_list');
setInterval(function(){
img_list.appendChild(img_list.firstChild);
},500)
</script>
</body>
</html>
(上のデモは実際にはフローティングする必要はありません。後のデモのためです)
もう 1 つの方法は、リスト全体を変更せずに特定の方向に移動することです。ノードの順序 (リストの左側の属性を常に変更します)、
demo_2:
コードは次のとおりです:
<html>
<head>
<meta http-equiv="Content-Type" content="text/html; charset=utf-8"/>
<title></title>
<style type="text/css">
*{ margin: 0; padding: 0;}
ul{ list-style: none;}
#view{ position: relative; width: 320px; height: 120px; margin-left:320px; border: 10px solid #bc8f8f; }
#view:after{ content: '.'; display: block; clear: both; height: 0; visibility:hidden;}
#img_list{ position: absolute; width: 960px;}
#img_list li{ float: left; width: 320px; height: 120px; }
#a{ background: #87ceeb;}
#b{ background: #ff69b4;}
#c{ background: #98fb98;}
</style>
</head>
<body>
<p id="view">
<ul id="img_list">
<li id="a"></li>
<li id="b"></li>
<li id="c"></li>
</ul>
</p>
<script type="text/javascript">
var img_list = document.getElementById('img_list');
img_list.style.left = 0;
setInterval(function(){
img_list.style.left = parseInt(img_list.style.left) == -640 ? 0: (parseInt(img_list.style.left) - 320 + 'px');
},500)
</script>
</body>
</html> 上のデモは唐突で気持ち悪いので、滑らかな動きのエフェクトを追加できます。
いわゆるスムーズな動きの効果は、実際には上記の 2 番目のデモの各大きなステップをいくつかの小さな部分に分解し、320 ピクセルの動きを 50 回に分割して実行することです。
demo_3:
コードは次のとおりです。
<!DOCTYPE html PUBLIC "-//W3C//DTD XHTML 1.0 Transitional//EN"
"http://www.w3.org/TR/xhtml1/DTD/xhtml1-transitional.dtd">
<html>
<head>
<meta http-equiv="Content-Type" content="text/html; charset=utf-8"/>
<title></title>
<style type="text/css">
*{ margin: 0; padding: 0;}
ul{ list-style: none;}
#view{ position: relative; width: 320px; height: 120px; margin-left:320px; border: 10px solid #bc8f8f; }
#view:after{ content: '.'; display: block; clear: both; height: 0; visibility:hidden;}
#img_list{ position: absolute; width: 960px;}
#img_list li{ float: left; width: 320px; height: 120px; }
#a{ background: #87ceeb;}
#b{ background: #ff69b4;}
#c{ background: #98fb98;}
</style>
</head>
<body>
<p id="view">
<ul id="img_list">
<li id="a"></li>
<li id="b"></li>
<li id="c"></li>
</ul>
</p>
<script type="text/javascript">
var img_list = document.getElementById('img_list');
img_list.style.left = 0;
setInterval(function(){
for(var i = 0 ; i < 100 ; i++){
(function(pos){
setTimeout(function(){
img_list.style.left = parseInt(img_list.style.left) == -640 ? 0: -pos/100 * 640+'px';
},(pos + 1)*10)
})(i)
}
},1500)
</script>
</body>
</html>demo_4
<!DOCTYPE html PUBLIC "-//W3C//DTD XHTML 1.0 Transitional//EN"
"http://www.w3.org/TR/xhtml1/DTD/xhtml1-transitional.dtd">
<html>
<head>
<meta http-equiv="Content-Type" content="text/html; charset=utf-8"/>
<title></title>
<style type="text/css">
*{ margin: 0; padding: 0;}
ul{ list-style: none;}
#view{ position: relative; width: 320px; height: 120px; margin-left:320px; border: 10px solid #bc8f8f; }
#view:after{ content: '.'; display: block; clear: both; height: 0; visibility:hidden;}
#img_list{ position: absolute; width: 960px;}
#img_list li{ float: left; width: 320px; height: 120px; }
#a{ background: #87ceeb;}
#b{ background: #ff69b4;}
#c{ background: #98fb98;}
</style>
</head>
<body>
<p id="view">
<ul id="img_list">
<li id="a"></li>
<li id="b"></li>
<li id="c"></li>
</ul>
</p>
<script type="text/javascript">
var img_list = document.getElementById('img_list');
setInterval(function(){
var current = img_list.children[0];
for(var i = 0 ; i < 100 ; i++){
(function(pos){
setTimeout(function(){
current.style.width = 320 - (pos/100)*320 + 'px';
},(pos + 1)*10)
})(i)
}
setTimeout(function(){
img_list.appendChild(current);
current.style.width = '320px';
},1010);
},1500)
</script>
</body>
</html>demo_5:
<!DOCTYPE html PUBLIC "-//W3C//DTD XHTML 1.0 Transitional//EN"
"http://www.w3.org/TR/xhtml1/DTD/xhtml1-transitional.dtd">
<html>
<head>
<meta http-equiv="Content-Type" content="text/html; charset=utf-8"/>
<title></title>
<style type="text/css">
*{ margin: 0; padding: 0;}
ul{ list-style: none;}
#view{ position: relative; width: 320px; height: 120px; margin-left:320px; border: 10px solid #bc8f8f; }
#view:after{ content: '.'; display: block; clear: both; height: 0; visibility:hidden;}
#img_list{ position: absolute; width: 960px;}
#img_list li{position: absolute; top:0; left: 0; width: 320px; height: 120px; }
#a{ background: #87ceeb;}
#b{ background: #ff69b4;}
#c{ background: #98fb98;}
</style>
</head>
<body>
<p id="view">
<ul id="img_list">
<li id="a"></li>
<li id="b"></li>
<li id="c"></li>
</ul>
</p>
<script type="text/javascript">
var img_list = document.getElementById('img_list');
setInterval(function(){
var current = img_list.children[0];
for(var i = 0 ; i < 100 ; i++){
(function(pos){
setTimeout(function(){
current.style.opacity = 1 - (pos/100)*1;
},(pos + 1)*10)
})(i)
}
setTimeout(function(){
img_list.appendChild(current);
current.style.opacity = 1;
},1010);
},1500)
</script>
</body>
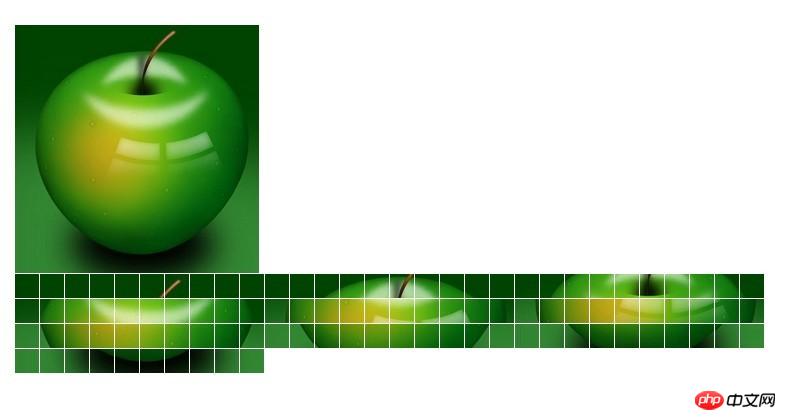
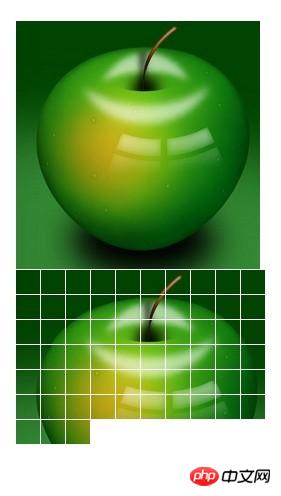
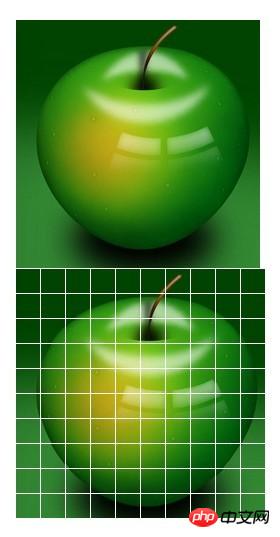
</html> 1 つの方法は、画像を n 個の領域に分割し、表示する必要がある画像に背景を設定し、対応する背景を異なる領域に表示することです。このようにして、100*100 の画像を 10*10 の 100 個の小さな正方形に分割し、これらの正方形を処理してより多くの効果を得ることができます。理論的には、1*1 の小さなドット 10,000 個に分割できますが、ブラウザが爆発してしまいます...
demo_6:
<!DOCTYPE html PUBLIC "-//W3C//DTD XHTML 1.0 Transitional//EN"
"http://www.w3.org/TR/xhtml1/DTD/xhtml1-transitional.dtd">
<html>
<head>
<meta http-equiv="Content-Type" content="text/html; charset=utf-8"/>
<title></title>
<style type="text/css">
*{ margin: 0; padding: 0; border: 0;}
body{ padding: 50px;}
.sep{ float: left; margin:1px 1px 0 0;}
</style>
</head>
<body>
<img id="img" src="../动画/apple.jpg" alt="" />
<p id="wrap" style="position: relative; "></p>
<script type="text/javascript">
var img = document.getElementById('img');
var wrap = document.getElementById('wrap');
img.onload = function(){
console.dir(img);
var h = img.naturalHeight;
var w = img.naturalWidth;
newPanel(w,h);
}
function newPanel(w,h){
var cols = 10;
var rows = 10;
var colWidth = Math.floor(w/cols);
var rowHeight = Math.floor(w/rows);
for(var row = 0; row < rows; row++){
for(var col =0; col < cols; col++){
var p = document.createElement('p');
p.style.width = colWidth + 'px';
p.style.height= rowHeight + 'px';
p.className= 'sep';
p.style.backgroundImage = 'url(' + img.src + ')';
p.style.backgroundPosition = -colWidth*col +'px ' + -rowHeight*row +'px' ;
wrap.appendChild(p);
}
}
}
setTimeout(function(){
setInterval(function(){
wrap.lastChild && wrap.removeChild(wrap.lastChild);
},50)
},1000)
</script>
</body>
</html>


最後に、CSS3 でもいくつかのスライド効果を実現できることは誰もが知っています。
demo_7:
<!DOCTYPE HTML PUBLIC "-//W3C//DTD HTML 4.01 Transitional//EN"
"http://www.w3.org/TR/html4/loose.dtd">
<html>
<head>
<meta http-equiv="Content-Type" content="text/html; charset=utf-8"/>
<title></title>
<style type="text/css">
*{
margin: 0;
padding: 0;
}
#test{
position: relative;
width: 300px;
height: 200px;
overflow: hidden;
border: 1px solid #d4d4d4;
}
#test ul{
position: absolute;
top:0;
left: 0;
height:200px;
}
#test ul li{
float: left;
width: 300px;
height:200px;
}
@-webkit-keyframes myAnimation{
0%{
top:0;
}
40%{
top:-200px;
}
70%{
top:-400px;
}
100%{
top:-600px;
}
}
#test ul{
-webkit-animation-name:myAnimation;
-webkit-animation-duration:4s;
-webkit-animation-timing-function:linear;
-webkit-animation-iteration-count:infinite;
}
</style>
</head>
<body>
<p id="test">
<ul>
<li><img width="300" height="200" src="../image/a.jpg" alt="" /></li>
<li><img width="300" height="200" src="../image/a.jpg" alt="" /></li>
<li><img width="300" height="200" src="../image/a.jpg" alt="" /></li>
<li><img width="300" height="200" src="../image/a.jpg" alt="" /></li>
</ul>
</p>
</body>
</html>
概要:
関連する推奨事項:
javascriptは画像切り替えのスライドショー効果のソースコードを実現します
以上がJavaScript を使用してスライドショーを実装する簡単な例の詳細内容です。詳細については、PHP 中国語 Web サイトの他の関連記事を参照してください。