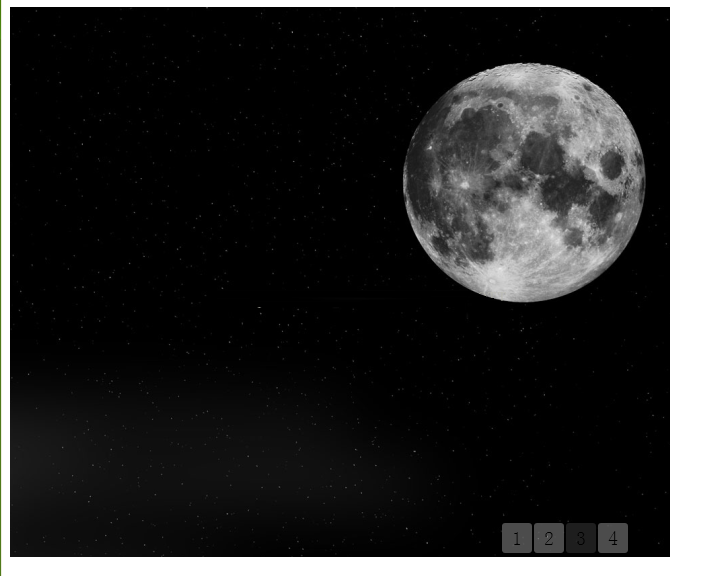
The example in this article describes how to implement a simple image carousel effect using JS. Share it with everyone for your reference. The details are as follows:
Here uses JS to create a simple image carousel effect:
The production is relatively rough, the image used is width: 660ppx, height: 550px;
The rendering is as follows:

The code part is as follows:
<!DOCTYPE html>
<html lang="en">
<head>
 <meta http-equiv="Content-Type" content="text/html; charset=utf-8" />
 <title>JS幻灯代码</title>
 <script type="text/javascript">
  window.onload = function () {
   flag = 0;
   obj1 = document.getElementById("slider");
   obj2 = document.getElementsByTagName("li");
   obj2[0].style.backgroundColor = "#666666";
   //默认被选中颜色
   time = setInterval("turn();", 5000);
   obj1.onmouseover = function () {
    clearInterval(time);
   }
   obj1.onmouseout = function () {
    time = setInterval("turn();", 6000);
   }

   for (var num = 0; num < obj2.length; num++) {
    obj2[num].onmouseover = function () {
     turn(this.innerHTML);
     clearInterval(time);
    }
    obj2[num].onmouseout = function () {
     time = setInterval("turn();", 6000);
    }
   }
   //延迟加载图片,演示的时候,使用本地图片
   //上线后请改为二级域名提供的图片地址
   document.getElementById("second").src = "images/2.png";
   //使用图片宽660,高550
   document.getElementById("third").src = "images/3.png";
   document.getElementById("four").src = "images/4.png";
  }
  function turn(value) {
   if (value != null) {
    flag = value - 2;
   }
   if (flag < obj2.length - 1)
    flag++;
   else
    flag = 0;
   obj1.style.top = flag * (-550) + "px";
   for (var j = 0; j < obj2.length; j++) {
    obj2[j].style.backgroundColor = "#ffffff";
   }
   obj2[flag].style.backgroundColor = "#666666";
  }
 </script>
 <style type="text/css">
  #wrap
  {
   height: 550px;
   width: 660px;
   overflow: hidden;
   position: relative;
   overflow: hidden;
  }
  #wrap ul
  {
   list-style: none;
   position: absolute;
   top: 500px;
   left: 450px;
  }
  #wrap li
  {
   margin-left:2px;
   opacity: .3;
   filter: alpha(opacity=30);
   text-align: center;
   line-height: 30px;
   font-size: 20px;
   height: 30px;
   width: 30px;
   background-color: #fff;
   float: left;
   border-radius:3px;
   cursor:pointer;
  }
  #slider
  {
   position: absolute;
   top: 0px;
   left: 0px;
  }
  #slider img
  {
   float: left;
   border: none;
  }
 </style>
</head>
<body>
 <div id="wrap">
  <div id="slider">
   <a target="_blank" href="#"><img src="images/1.png" /></a>
   <a target="_blank" href="#"><img id="second" /></a>
   <a target="_blank" href="#"><img id="third" /></a>
   <a target="_blank" href="#"><img id="four" /></a>
  </div>
  <ul>
   <li>1</li>
   <li>2</li>
   <li>3</li>
   <li>4</li>
  </ul>
 </div>
</body>
</html>I hope this article will be helpful to everyone’s JavaScript programming design.


