Troubled by the problem that DingTalk’s face recognition cannot be set up? PHP editor Zimo brings you a detailed setup guide to help you solve this problem easily. This article will guide you step by step through the settings of DingTalk’s face recognition, allowing you to use DingTalk’s biometric recognition function efficiently. Continue reading below to learn the detailed setup steps and precautions, so that DingTalk face recognition can provide you with a convenient and safe experience.
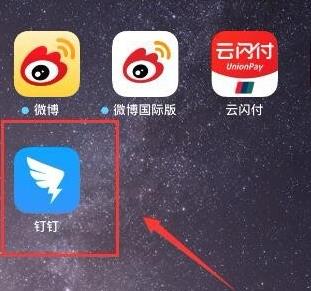
First, open the installed DingTalk app and log in to your account. As shown in the picture:

Then, enter the DingTalk interface and click [Avatar or Name] in the upper left corner. As shown in the picture:

Then, select [Settings] in the pop-up sidebar. As shown in the picture:

Next, select [Security Center] in the settings interface that opens. As shown in the picture:

Then, in the security interface you enter, select [Account Settings]. As shown in the picture:

Next, enter the account setting interface and select [Face] in the interface. As shown in the picture:

Next, in the DingTalk face recognition interface that opens, select [Set Up Now] below. As shown in the picture:

Next, in the pop-up dialog box, enter the DingTalk login password, and click [OK] after completion. As shown in the picture:

Next, perform face recognition according to the system prompts. After completion, click [Experience Now] below. As shown in the picture:

The above is the detailed content of How to set up face recognition on DingTalk. For more information, please follow other related articles on the PHP Chinese website!


