
How to use geometric sketchpad to draw a realistic convex lens? PHP editor Zimo brings you a detailed step-by-step guide to help you easily master the technique of drawing convex lenses. By following the tutorials in this article, you will learn how to accurately reproduce the shape and properties of a convex lens using the power of Geometry Sketchpad. Continue reading below to learn about each step in the painting process, including setting up the canvas, drawing circles, creating lens shapes, and adding light paths.
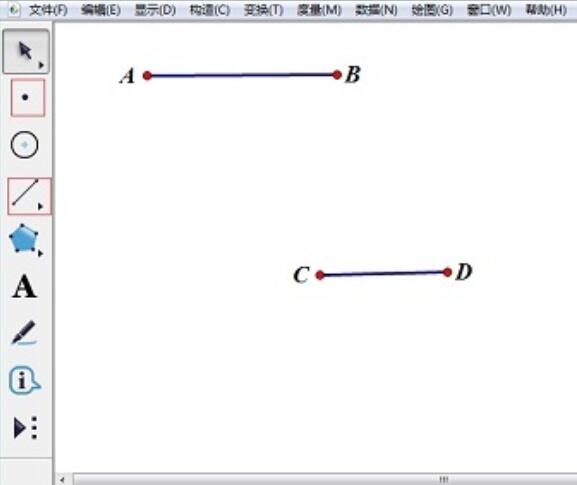
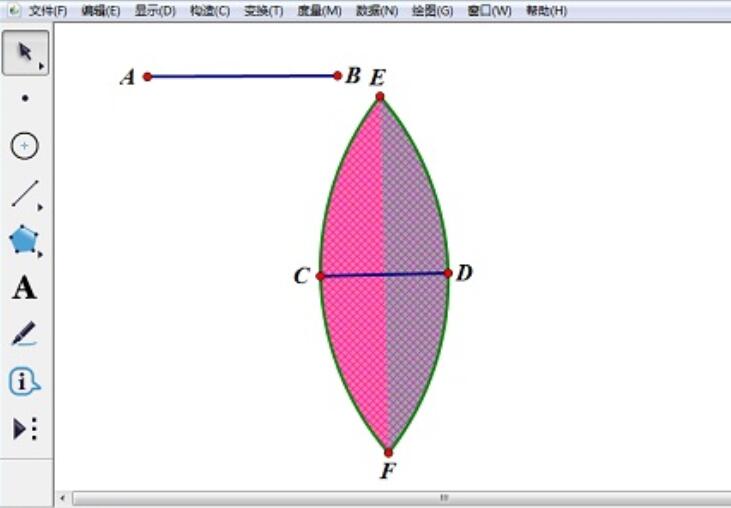
1. Construct line segments. Select [Line Segment Tool] to draw line segment AB. Select [Point Tool] to draw point C and point D, and construct line segment CD.
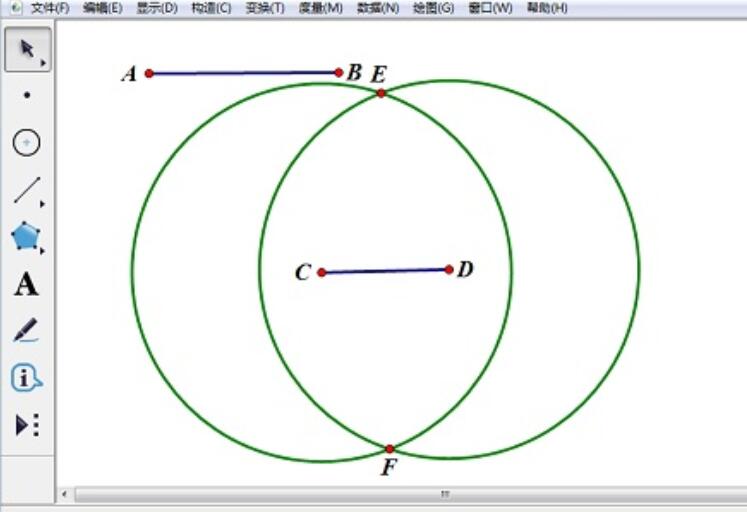
2. Construct a circle. Select line segment AB and point C, select [Construction]-[Draw Circle with Center and Radius] command to make circle C. Draw circle D in the same way. The intersection points of the two circles are point E and point F.
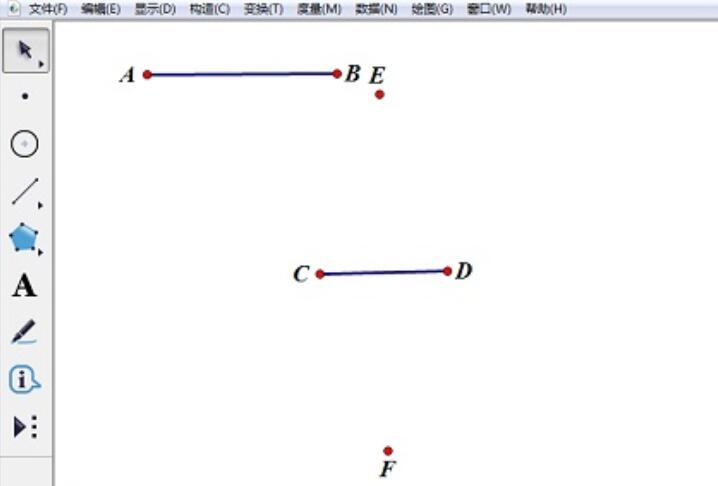
3. Hide the two circles. Select circles C and D, and select the [Show]-[Hide Circles] command.
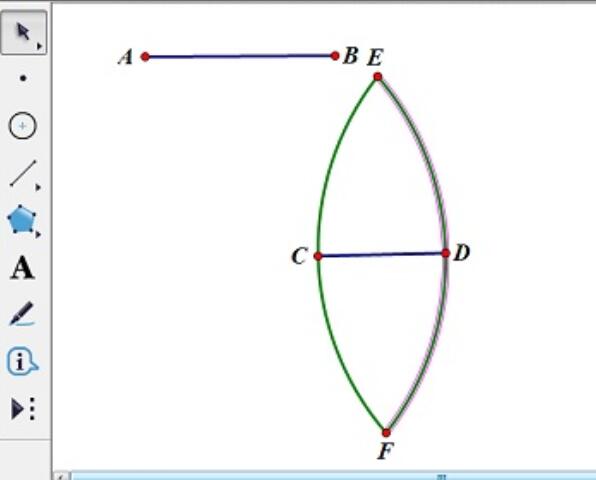
4. Construct an arc. Click point E, point C, and point F in sequence, select the [Construct]-[Arc passing through three points] command to create an arc ECF. Make arc EDF in the same way.
5. Draw a convex lens inside the construction arc. Select two arcs and select the [Construction]-[Arc Interior]-[Arc Interior] command. The convex lens drawing is completed.
The above is the detailed content of Detailed method of drawing convex lens on geometric sketchpad. For more information, please follow other related articles on the PHP Chinese website!


