
php editor Zimo has carefully compiled a detailed tutorial on PPT clip art settings to help you quickly master this technique. PPT clipart is a commonly used function in the PPT production process, which can add lively and interesting elements to slides. With simple settings, you can easily insert various graphics, pictures or text into PPT to make your presentation more colorful. Next, let us learn how to set PPT clipart to make your slides more attractive and creative!
1. Open PPT2010 and click the "Insert" tab.
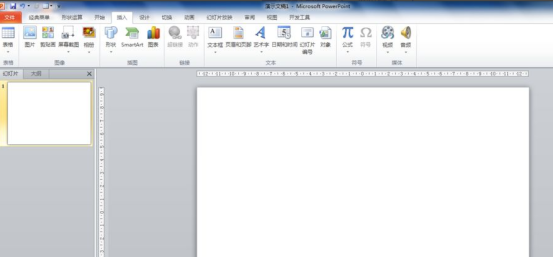
#2. Click the "Clip Art" button in the "Image" group. For slides with insertable content, you can insert clip art by clicking the (Clip Art Pane) button. When you click (Clip Art Pane), the Clip Art work window appears.
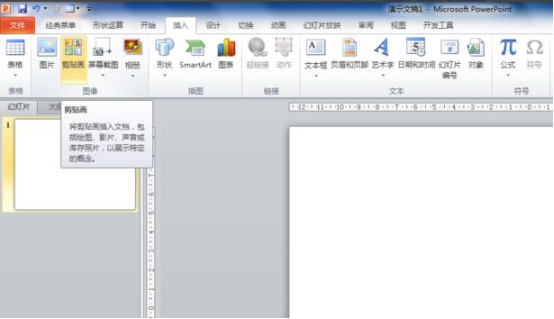
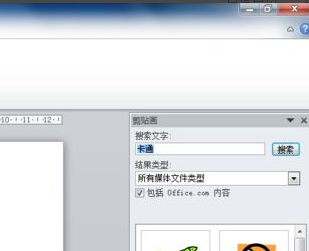
#3. The "Clip Art" pane appears on the right side of the PPT window. Enter the name or keyword of the clip art to be searched in the "Search Text" column.
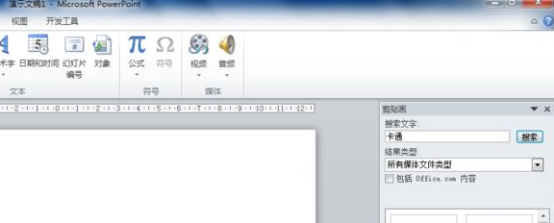
#4. Select the type of clip art to be searched in "Result Type" as needed.
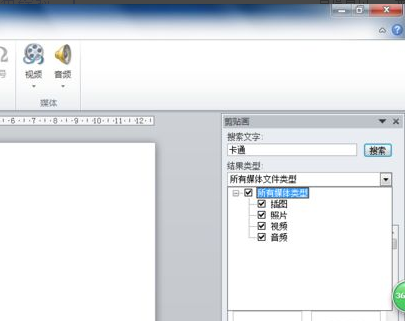
#5. After completing the previous type settings, click "Search" behind the "Search text" column to enter automatic search, and the search results are displayed in the clip art window.
6. Click on the searched clip art, and the clip art will enter the PPT page, and then adjust the size and position of the clip art.

7. Click the "Clip Art" icon in the PPT layout that contains "Clip Art", or you can open the Clip Art window, and then follow the above steps to set it.

The above is the detailed content of How to set ppt clipart?. For more information, please follow other related articles on the PHP Chinese website!


