
Dear readers, have you ever encountered a problem when using Windows 10 system that reminds you that you may not have the right to use network resources? This phenomenon usually occurs because some of our default settings have not been adjusted. .
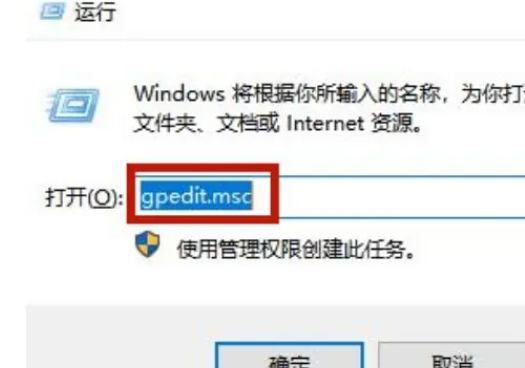
1. First, we can pop up the run window by pressing the "Win R" key on the keyboard, and in this box Enter "gpedit.msc" and click OK.
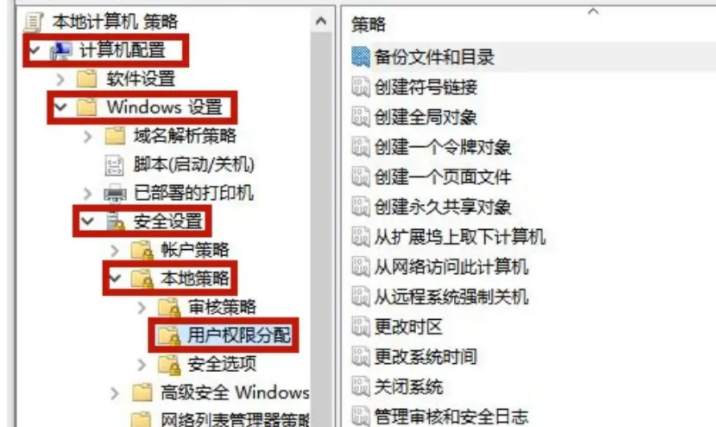
2. Next, we will see the "Computer Configuration - Windows Settings - Security Settings - Local Policies - User Rights Assignment" path expanded step by step.
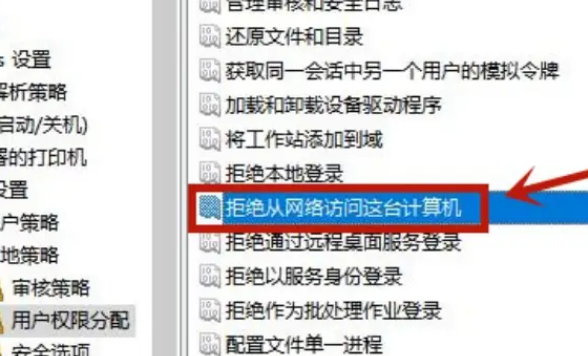
3. In the right column, you need to find and double-click the "Deny access to this computer from the network" option.
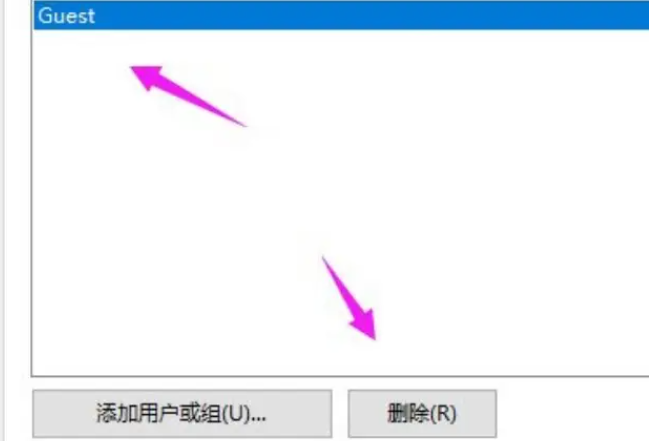
4. In the pop-up dialog box, select "Guest" and delete it.
5. After completing the above steps, we need to start the sharing mode. First, follow the same path as above to expand to the "Computer Configuration - Windows Settings - Security Settings - Local Policy - Security Options" path.
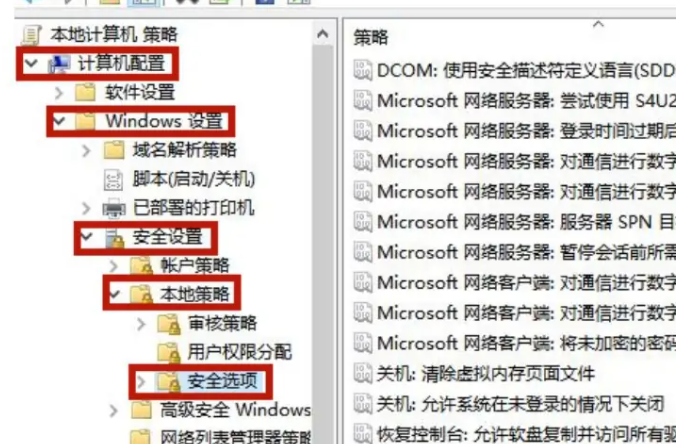
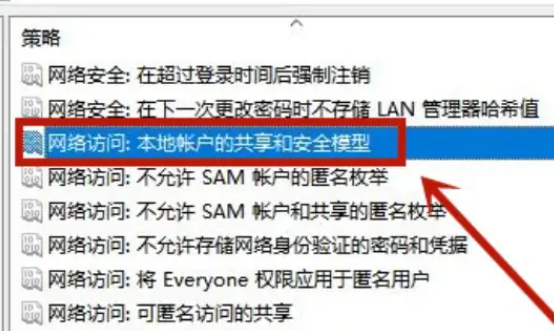
6. In the right column, find and double-click the "Network Access: Sharing and Security Model for Local Users" option.
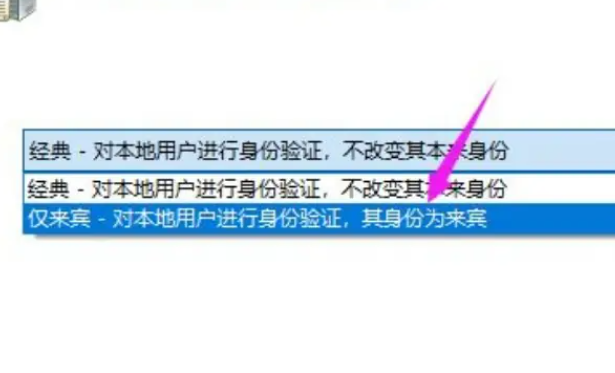
7. Finally, set this option to "Trust Only" mode.
The above is the detailed content of Win10 Home Edition You may not have permission to use network resources. For more information, please follow other related articles on the PHP Chinese website!


