
CentOS is a free version and it is recommended to download it directly from the official website.
https://www.centos.org/download/
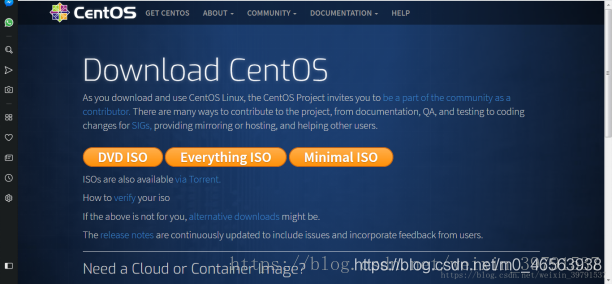
DVD ISO: Ordinary CD complete installation version image, which can be installed offline to the computer hard drive , including a large number of commonly used software, generally choose this image type.
Everything ISO: Contains the contents of the complete installation version, supplements it, and integrates all software.
Minimal ISO: This version is a simplified version of the image, which can install a basic CentOS system and contains the minimum installation package required for a bootable system.
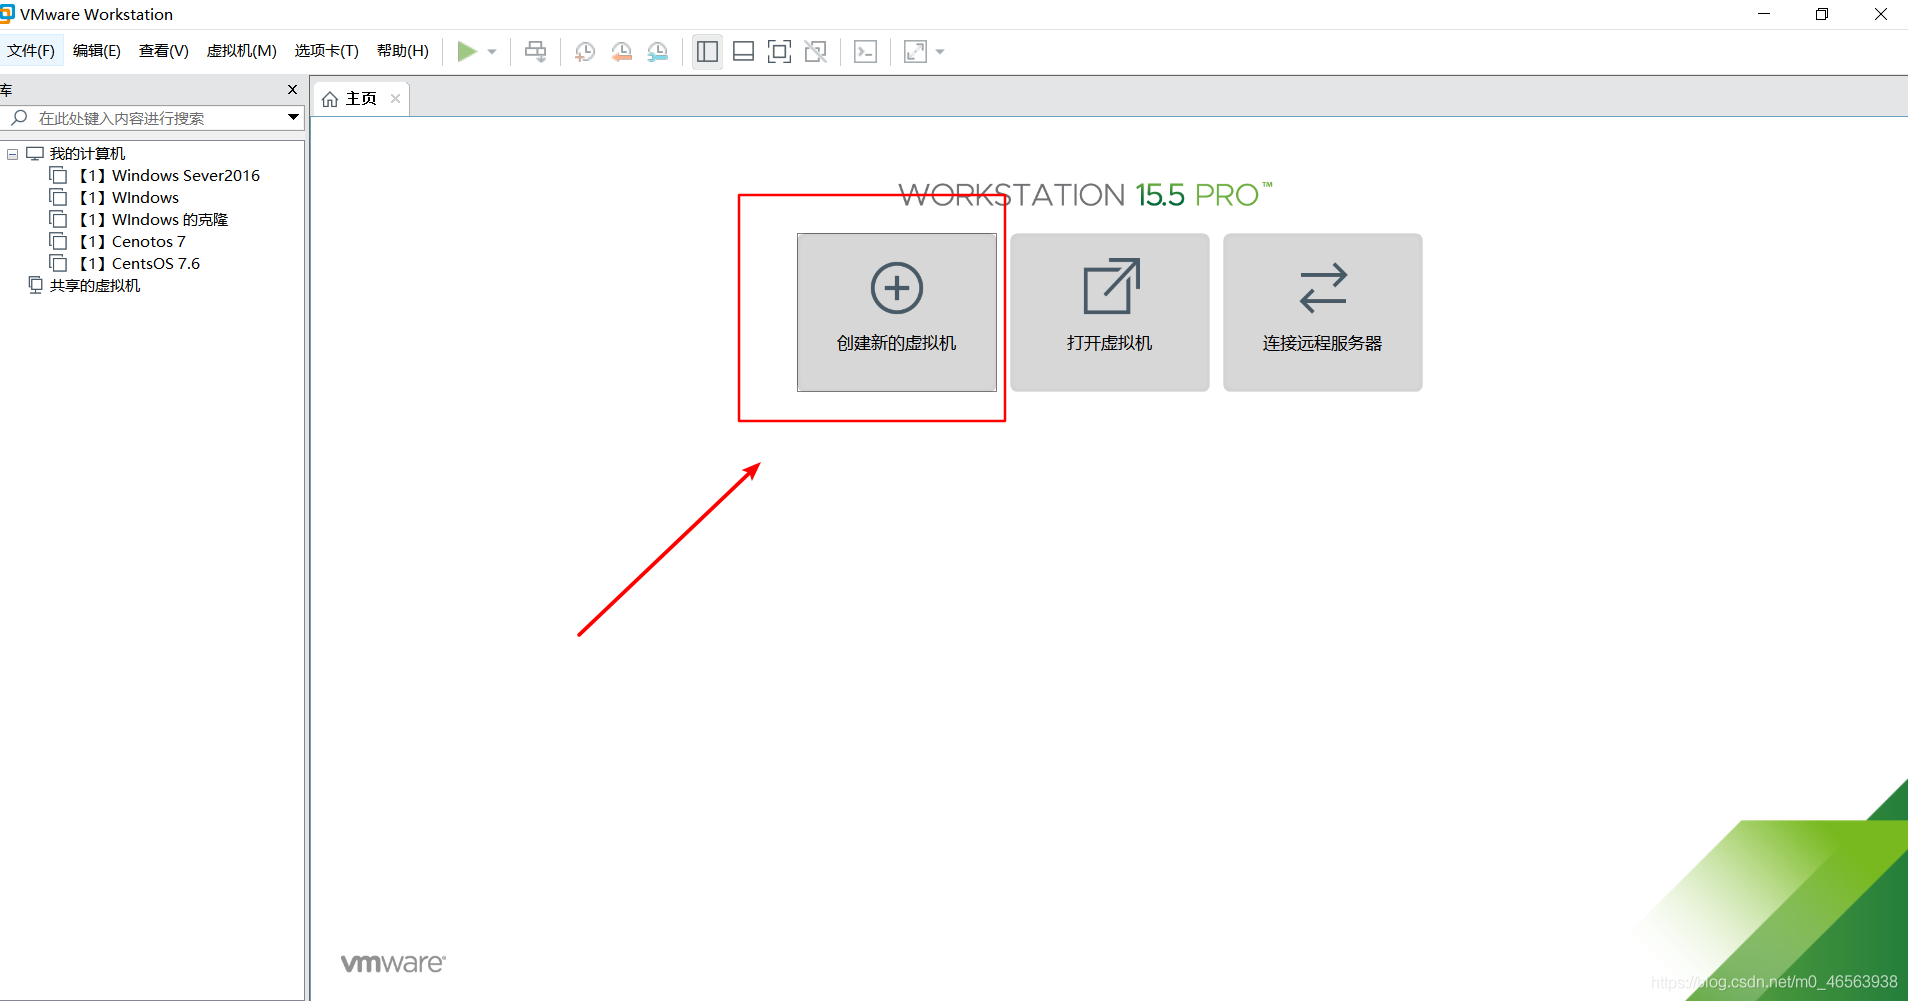
First we open VM15.5, and then click to create a new virtual machine.
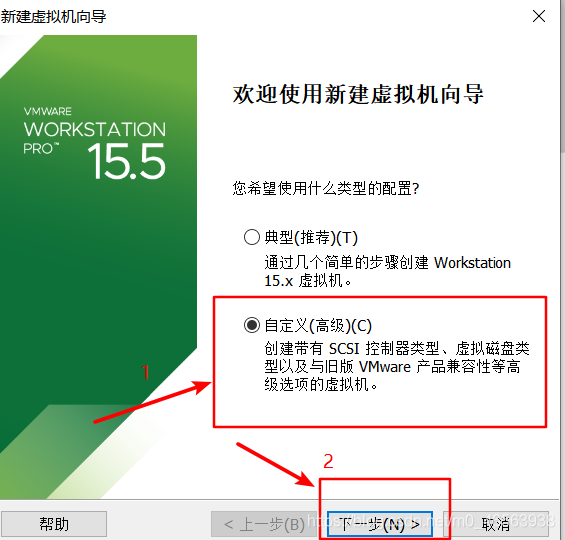
In the pop-up "Welcome" window, click the "Next" button to enter the next step
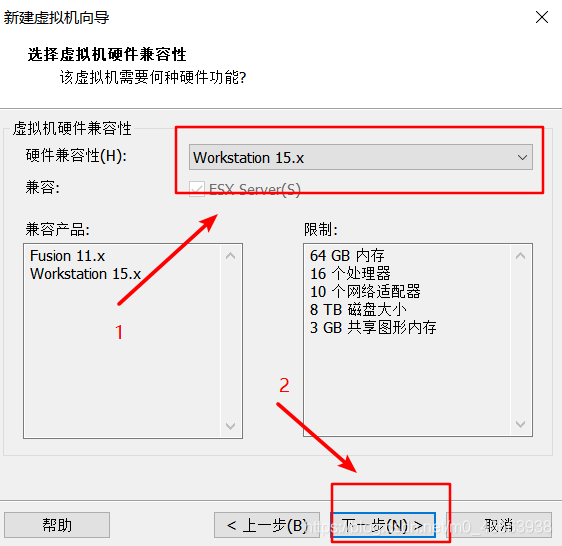
Software Compatibility Select the default, and then select the next step
Here select install later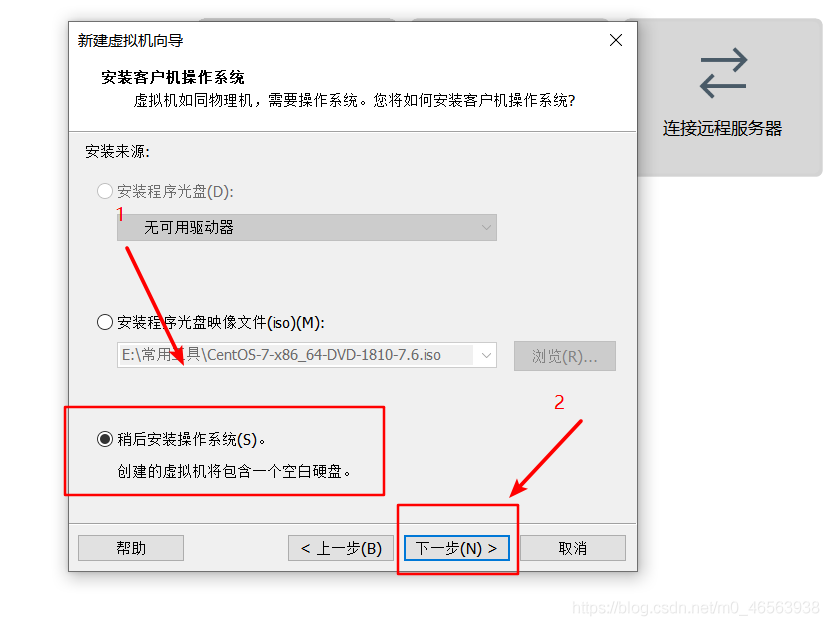
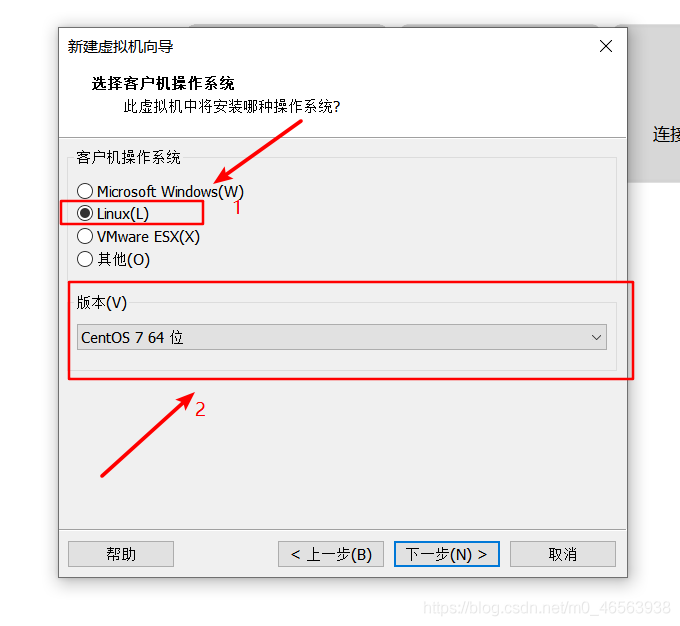
Then we select Linux and find it in the drop-down box CentOS 7 64-bit
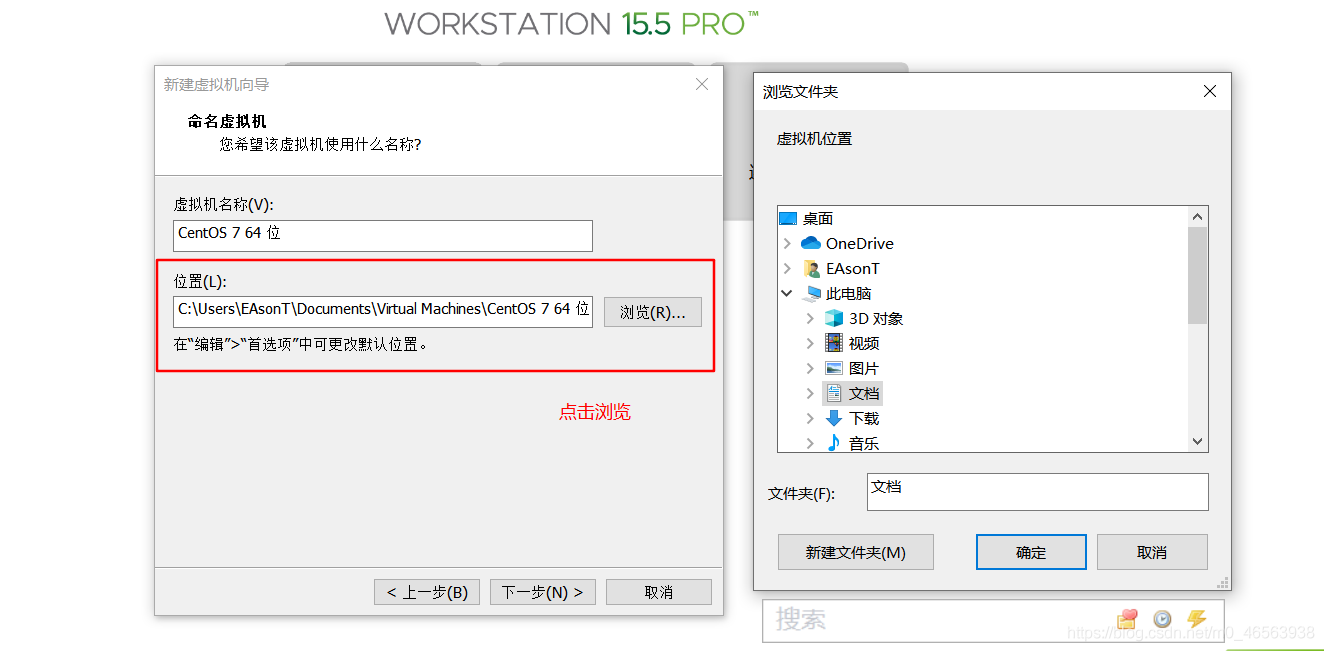
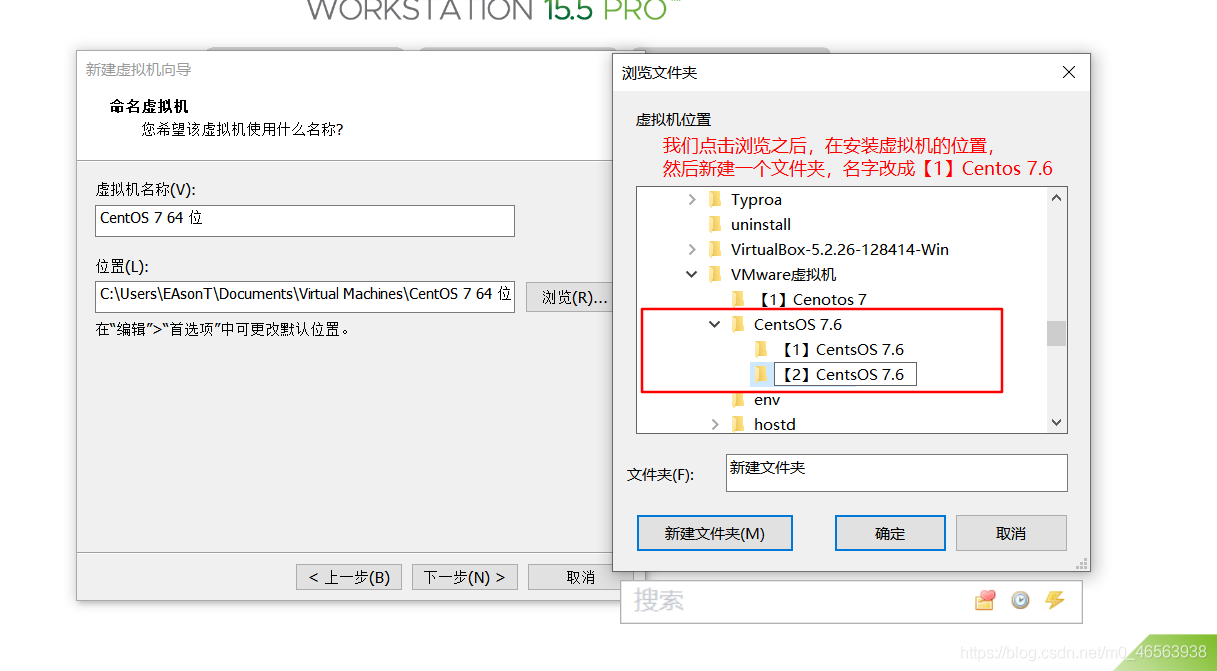
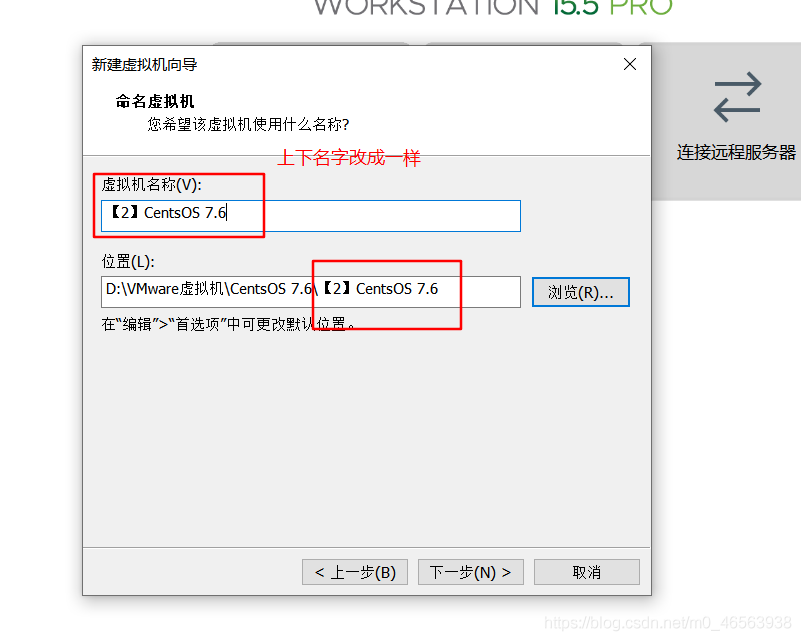
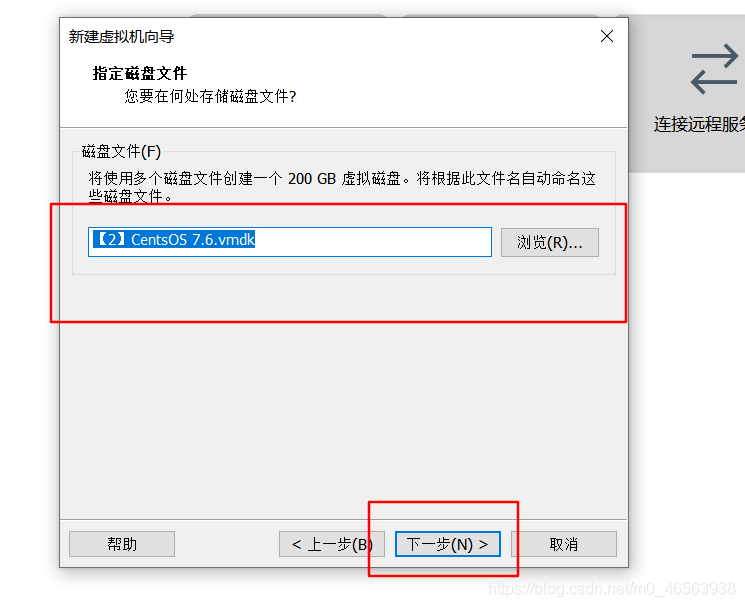
We choose to browse, then create a CentOS folder where the virtual machine is installed, and create a folder in this folder to store this system. Then the name of the virtual machine must be the same as the name of the location below. See my screenshots for details.
The number of processors here is changed to 2
Cores per processor Change the quantity to 2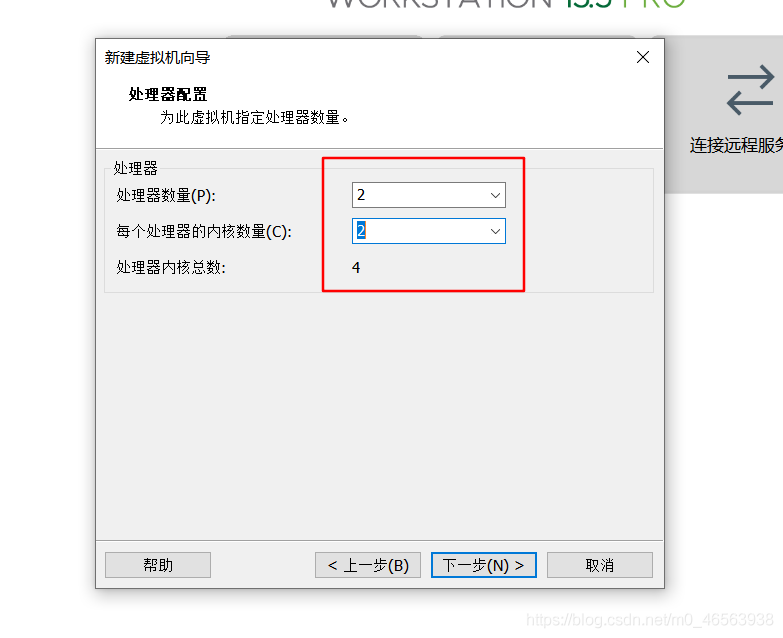
Here you can choose the memory of the virtual machine according to the memory of your real machine. Generally 4G is enough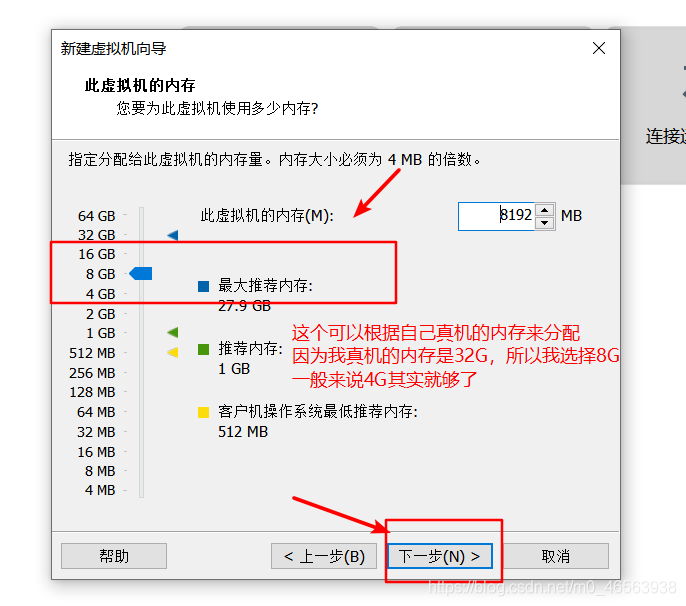
Here we use Network Address Translation (NET)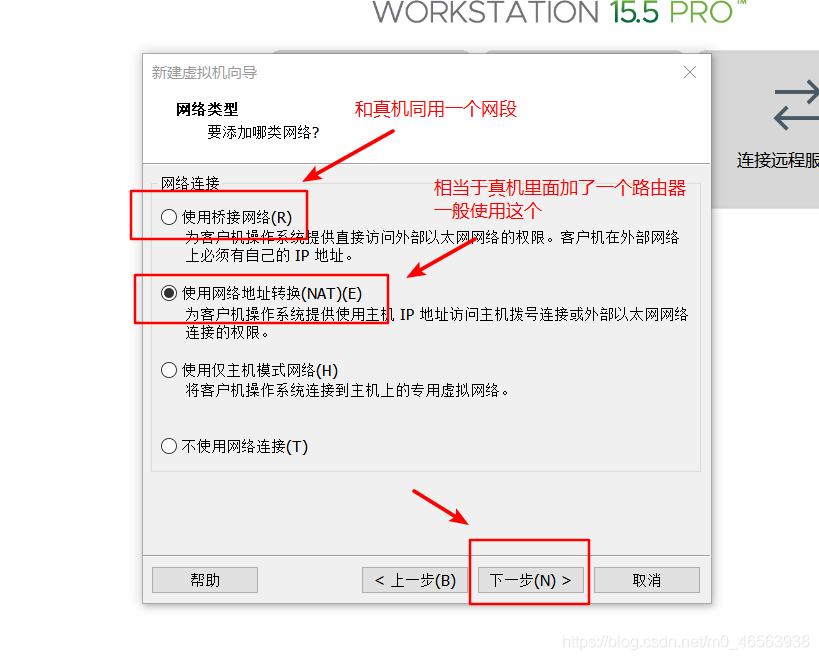
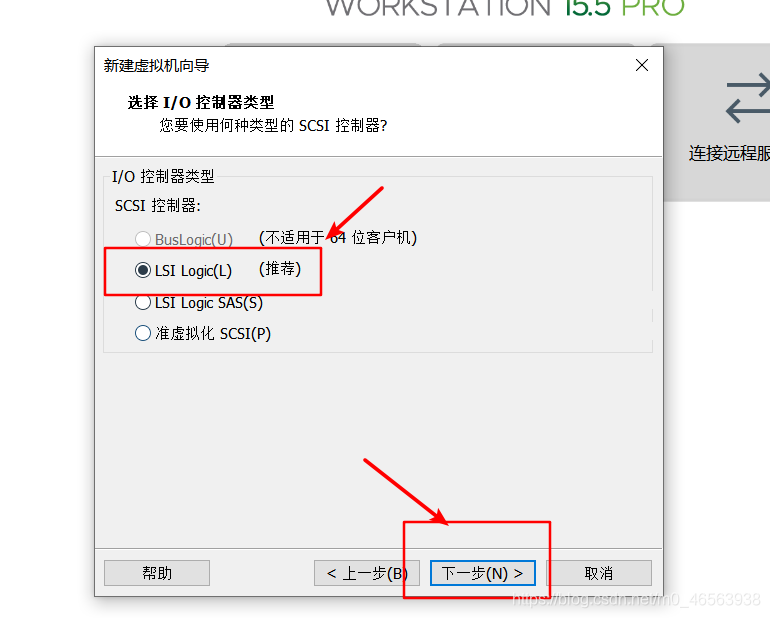
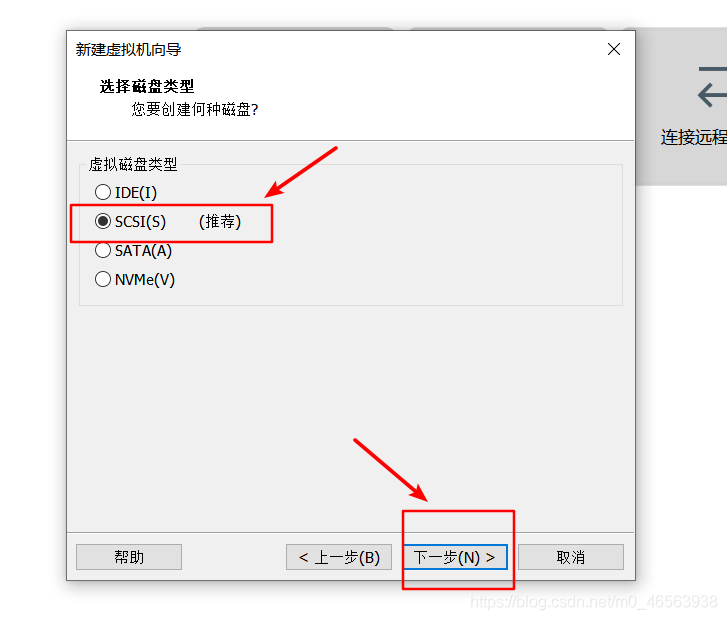
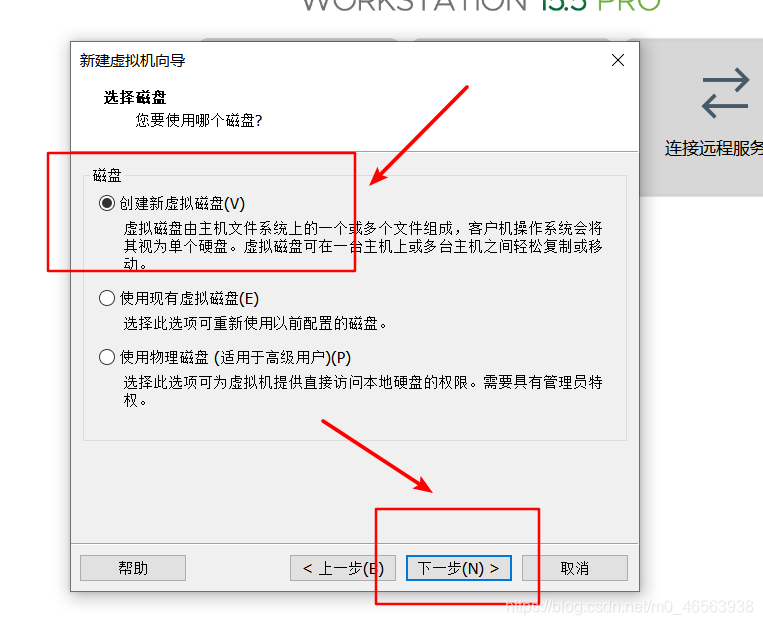
Here we allocate 200G memory, not immediately divide 200G from our own real machine; this 200G is just a maximum range 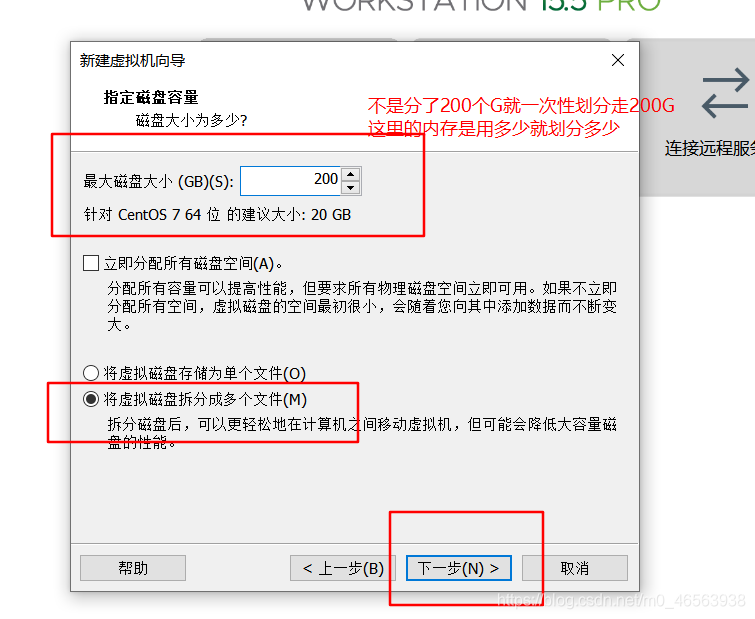
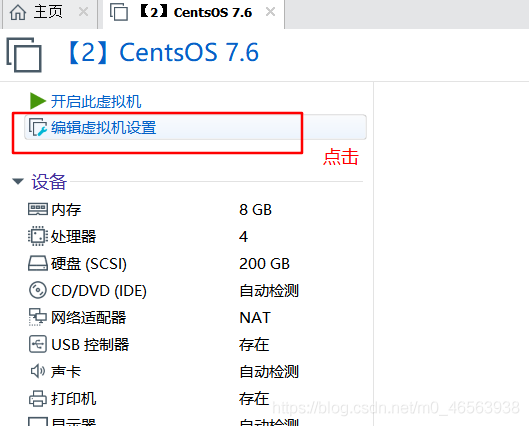
Here we turn on virtualization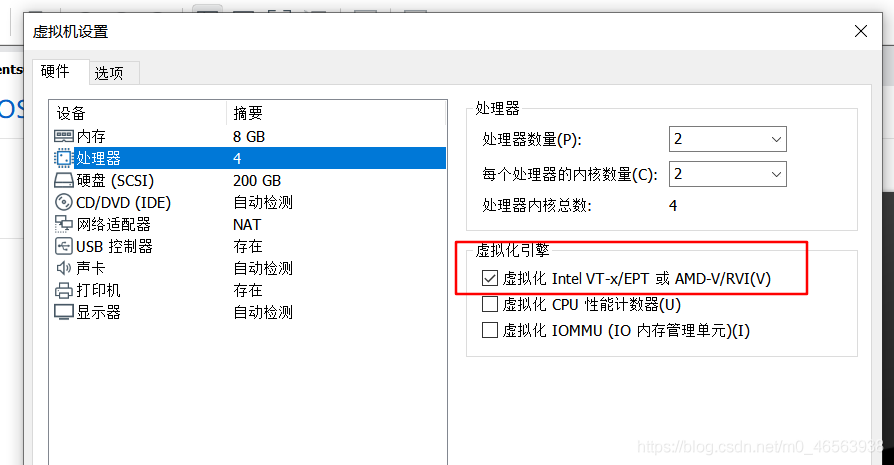
and then We choose the image file of CentOS 7 that has been downloaded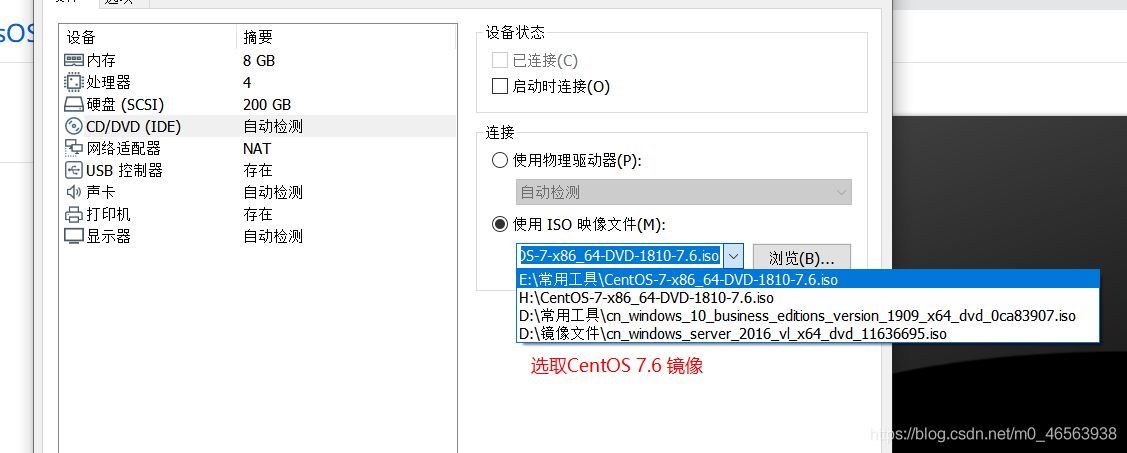
The sound card and printer here can be removed if they are not needed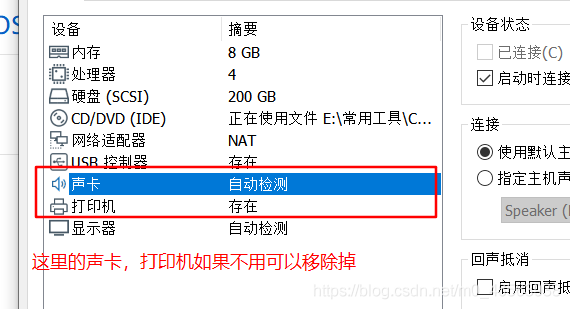
After setting up, click to start this virtual machine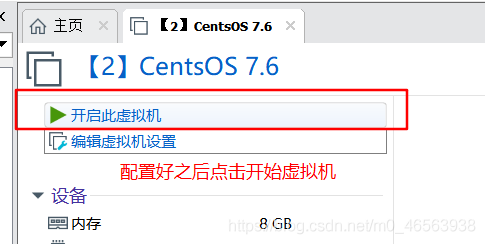
Here we select the first one, and then press Enter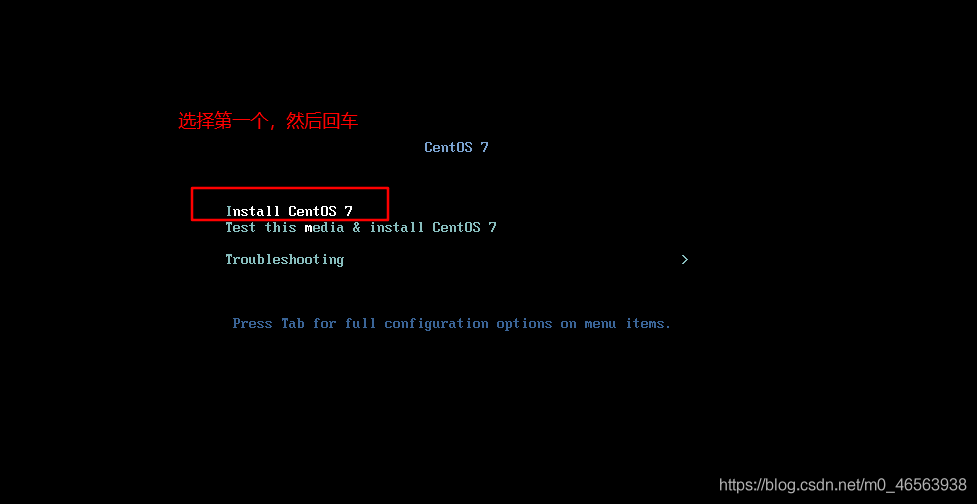
Select Chinese, and then click Step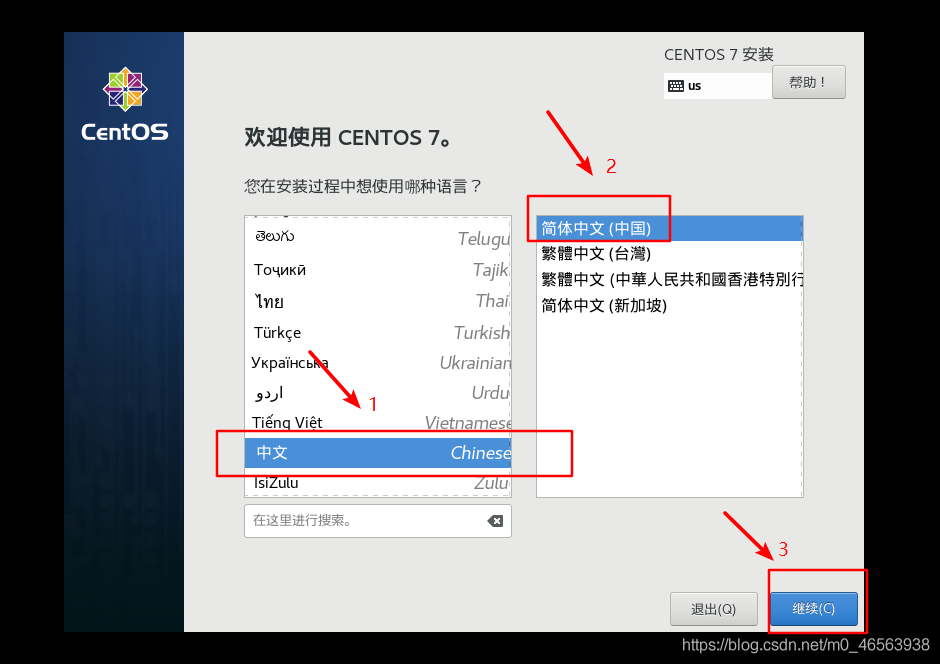
Click on the software selection and select according to my picture. We use visualization. After setting up, click Finish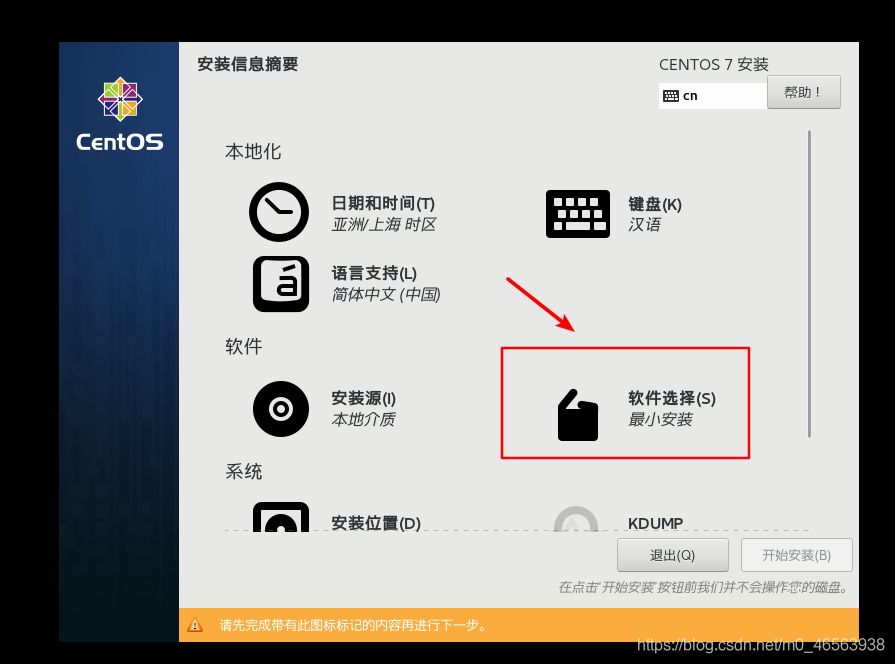
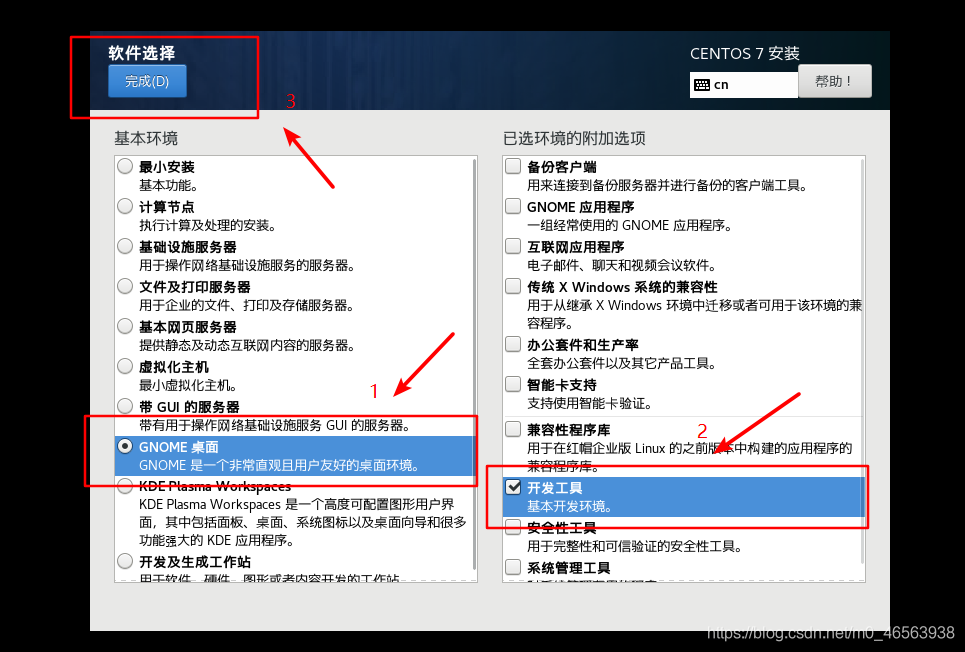
Choose the installation location or follow my pictures. After setting up, click Finish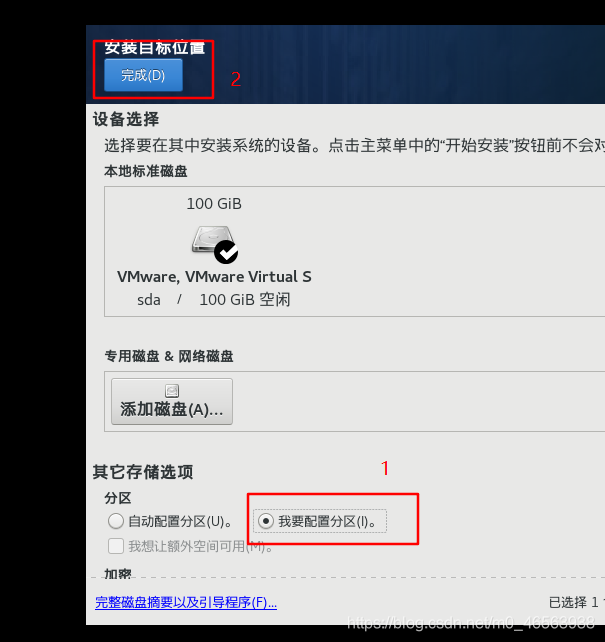
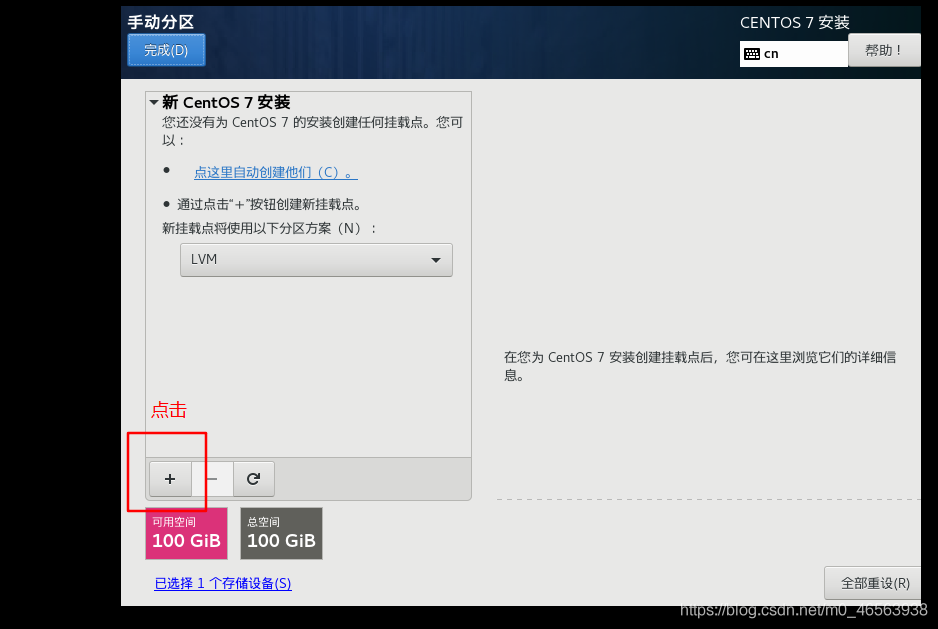
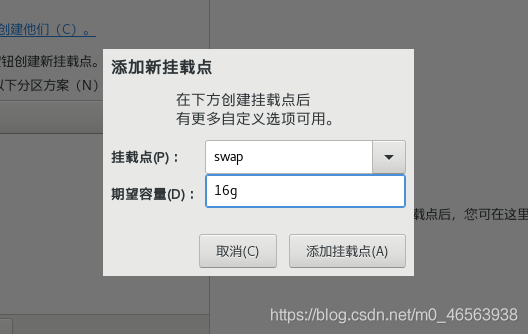
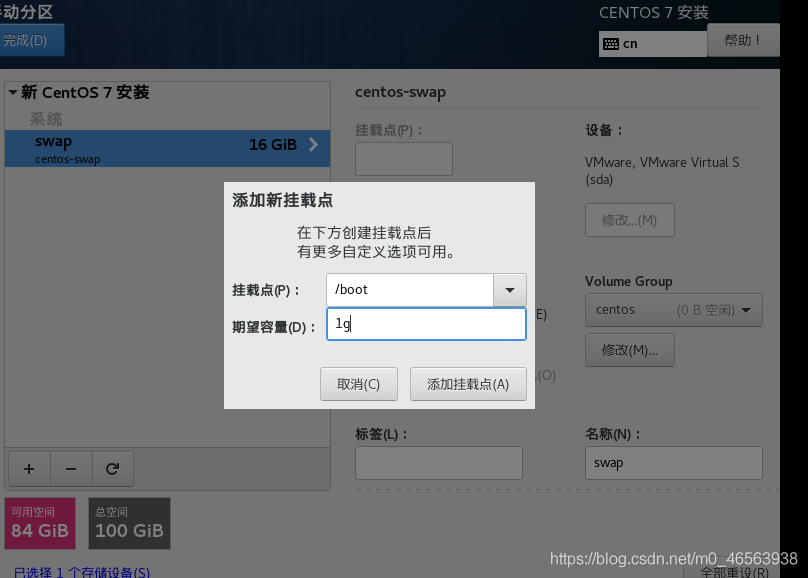
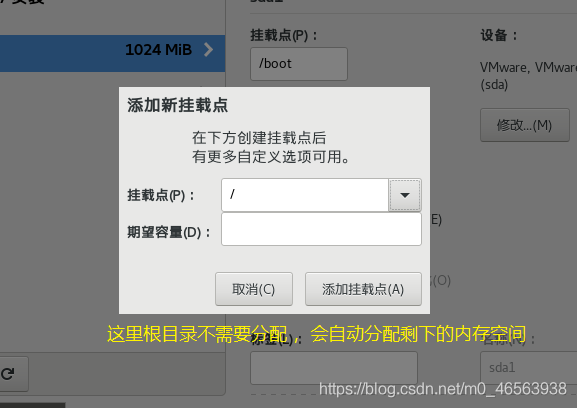
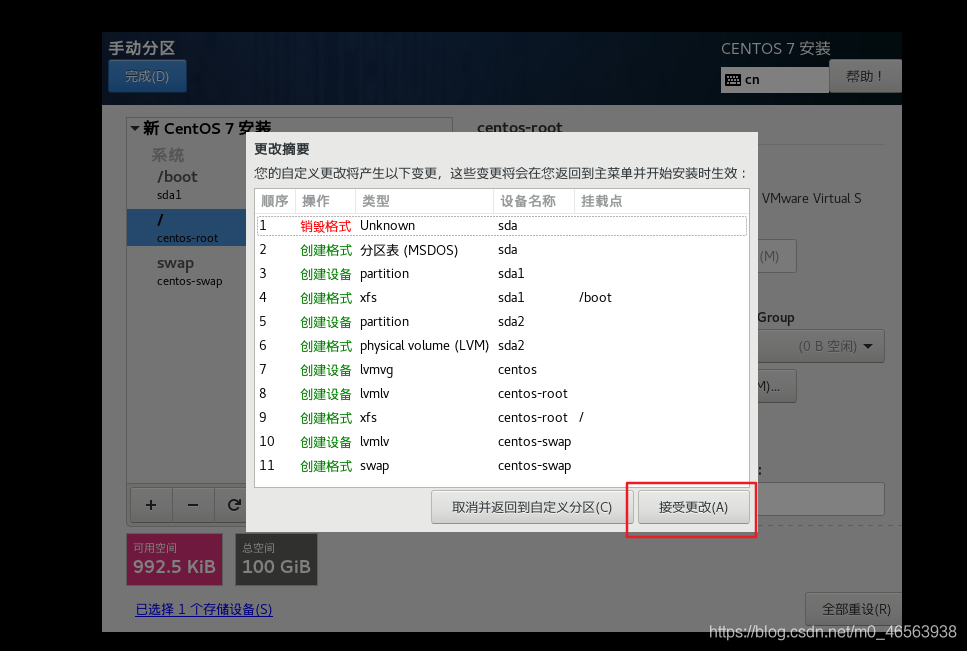
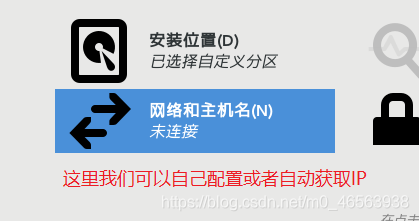
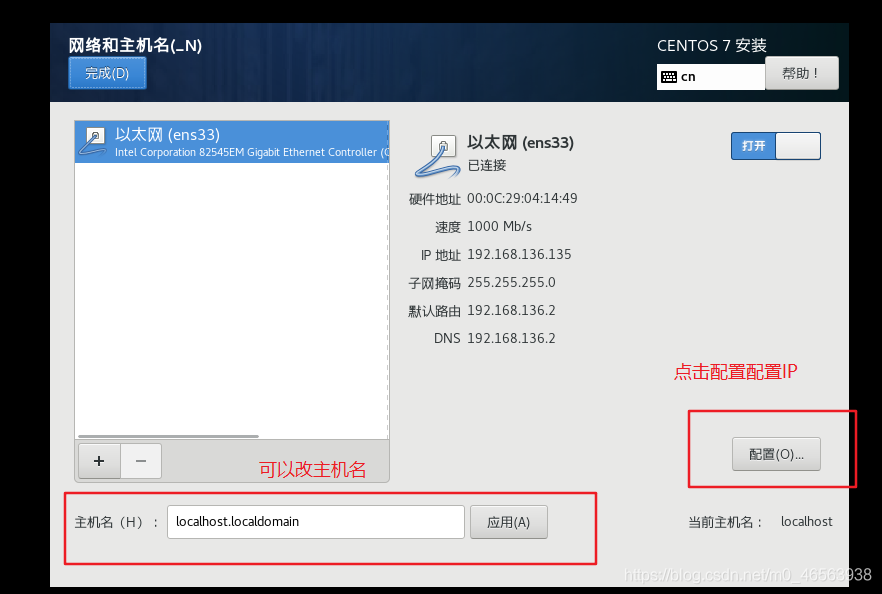
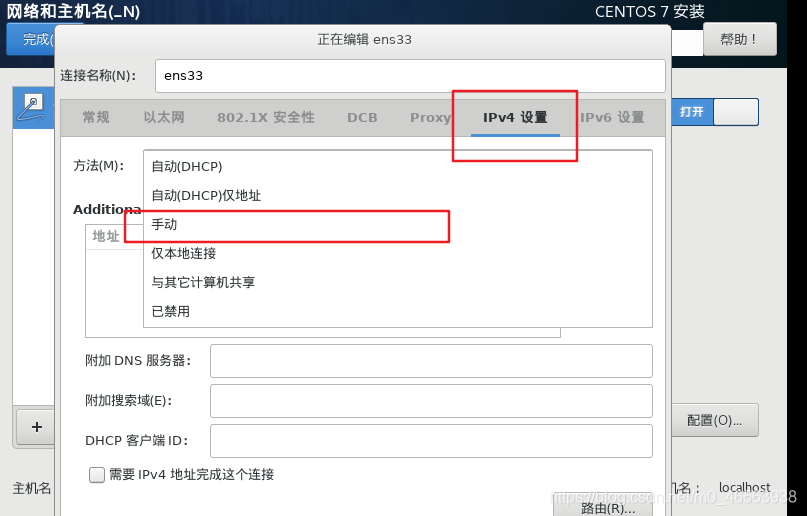
If you want to write, I recommend writing 8.8.8.8, 114.114.114.114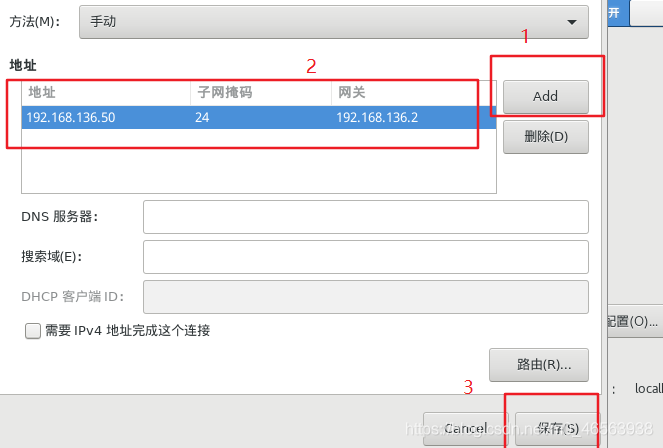
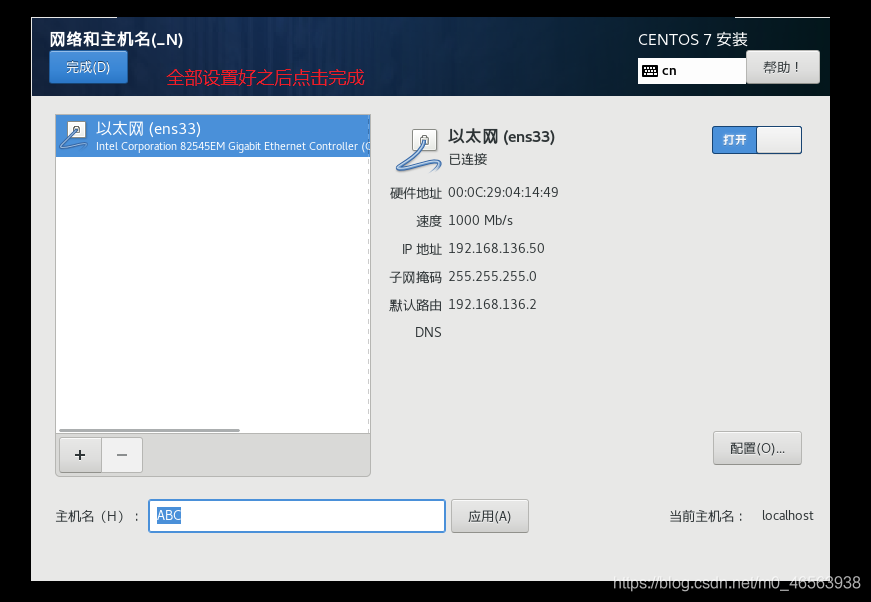
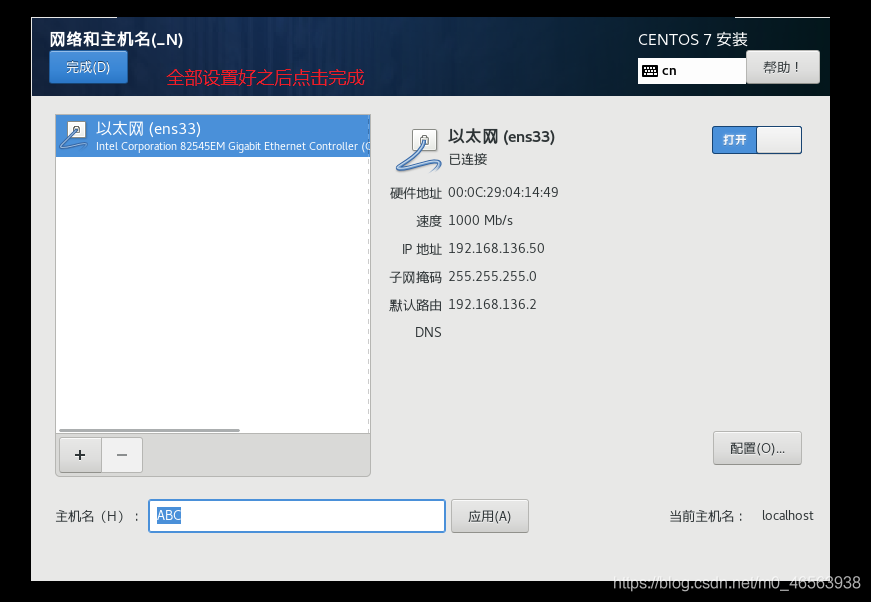 ## and then all After setting up, click Start Installation in the lower right corner
Then here we have the ROOT password and set it when creating a user

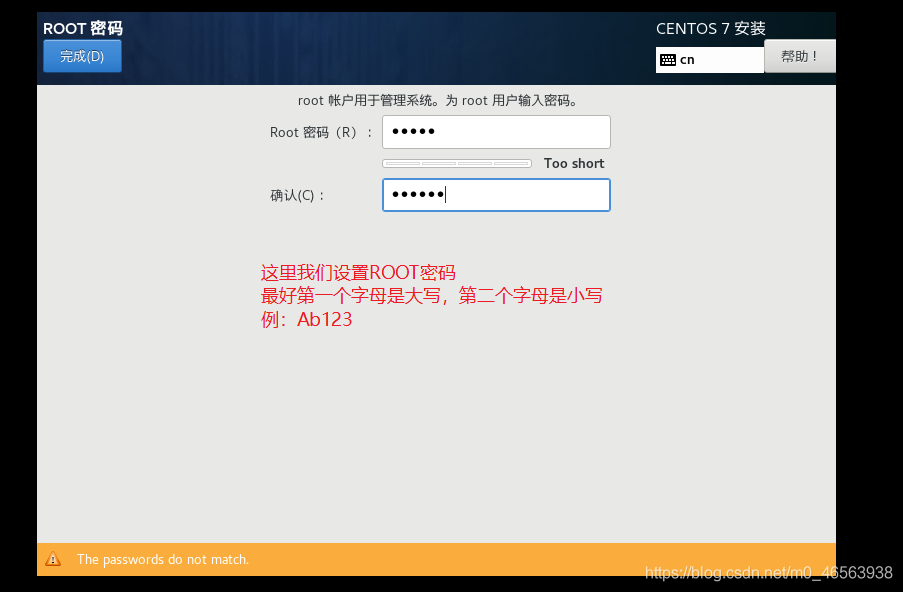
##After setting up, wait for the system installation to be completed, click Restart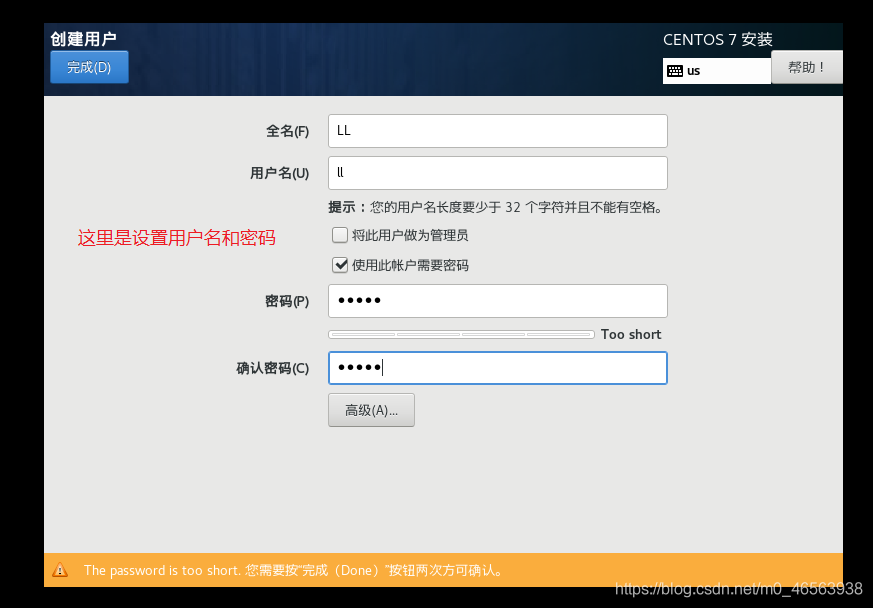
After the installation is completed, this interface will appear, we click on the 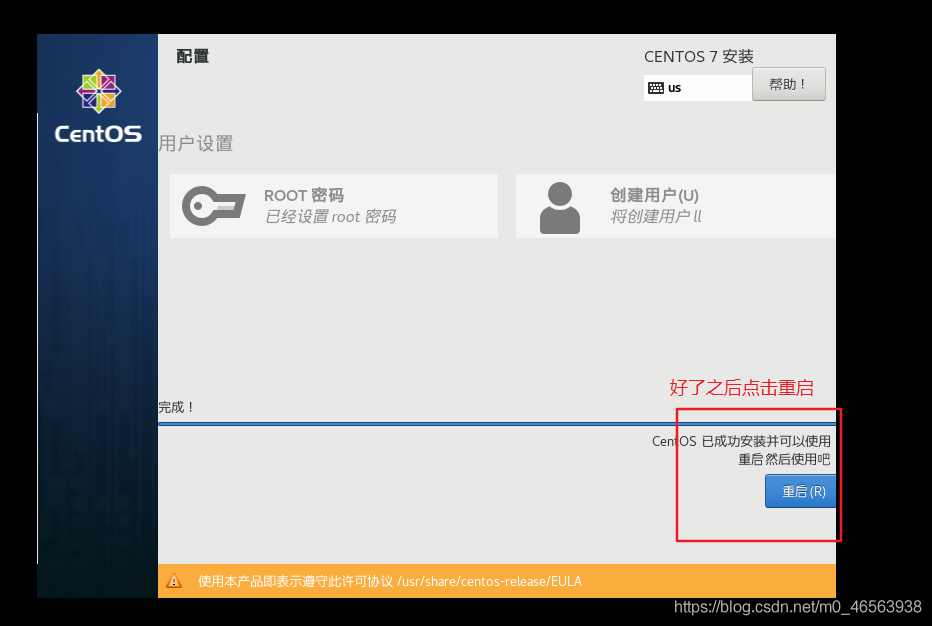 # selected in the red box
##Then click I agree, then click Finish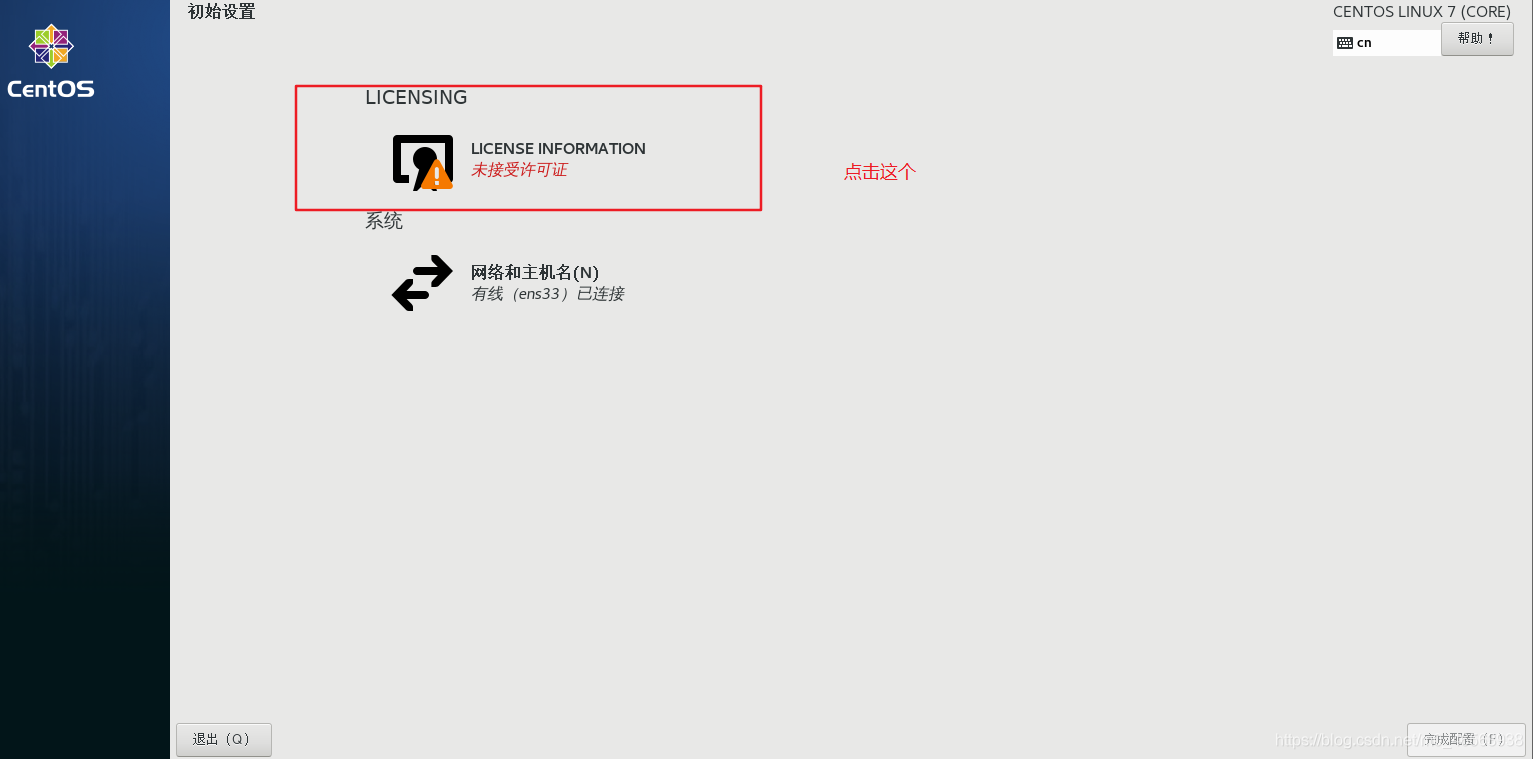
Then click to complete the configuration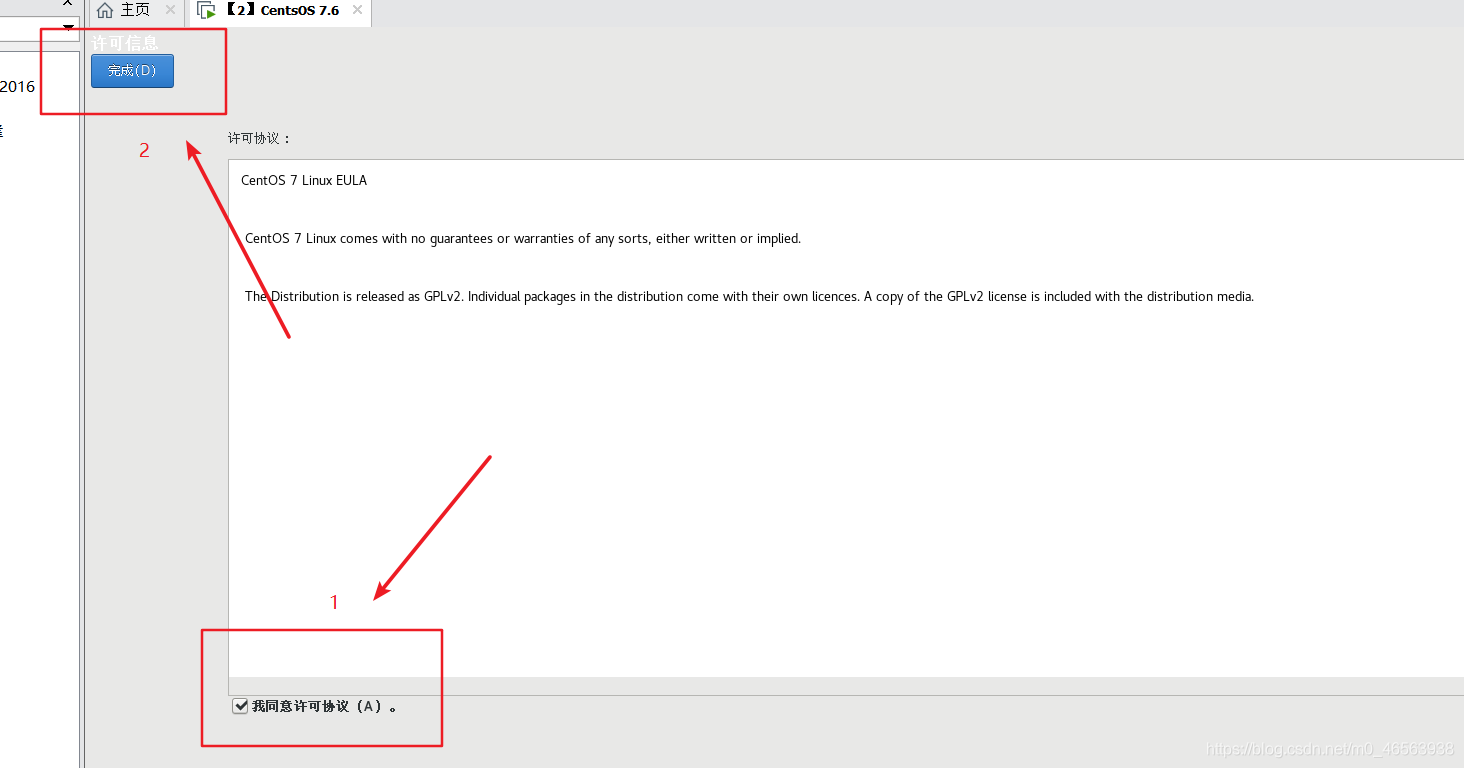
Wait for a while The user login interface will appear
We can see that these three words are not listed. We click this to choose to log in as an administrator. 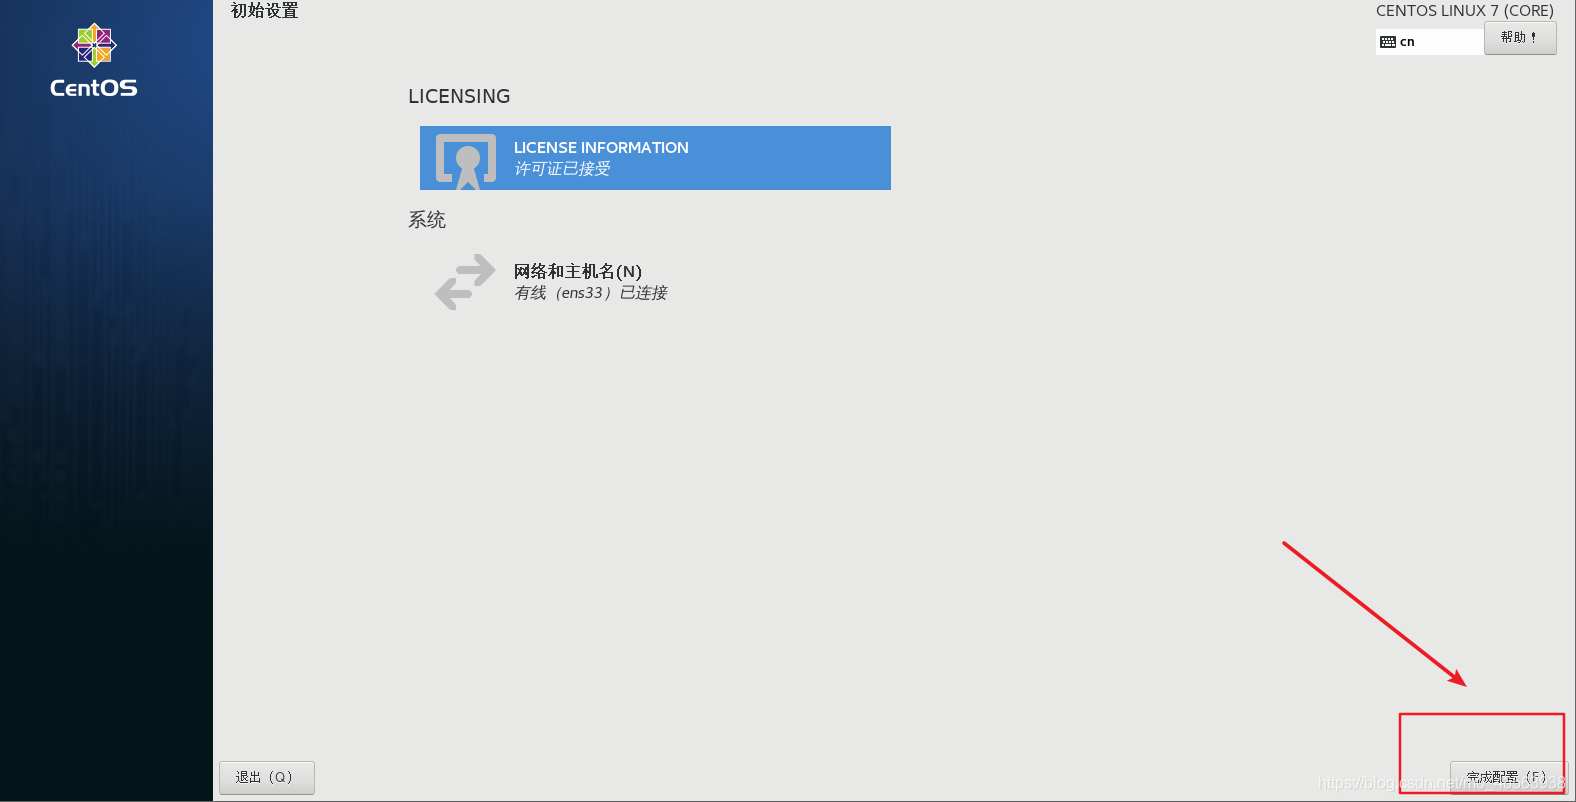 If the user logs in, enter the password we just set
Account: root
Password: Also the password we just set
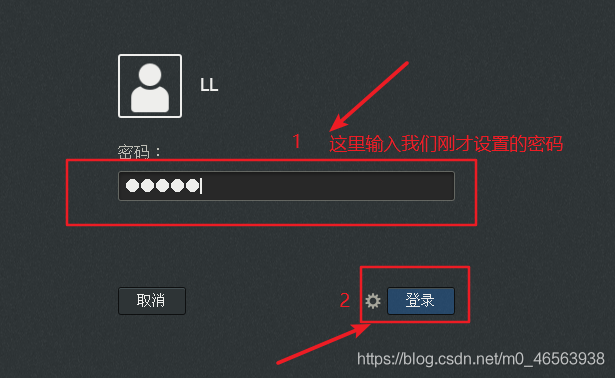
After filling in, click login, the following interface will appear, we select Chinese, and then in the next selection box, we just click forward
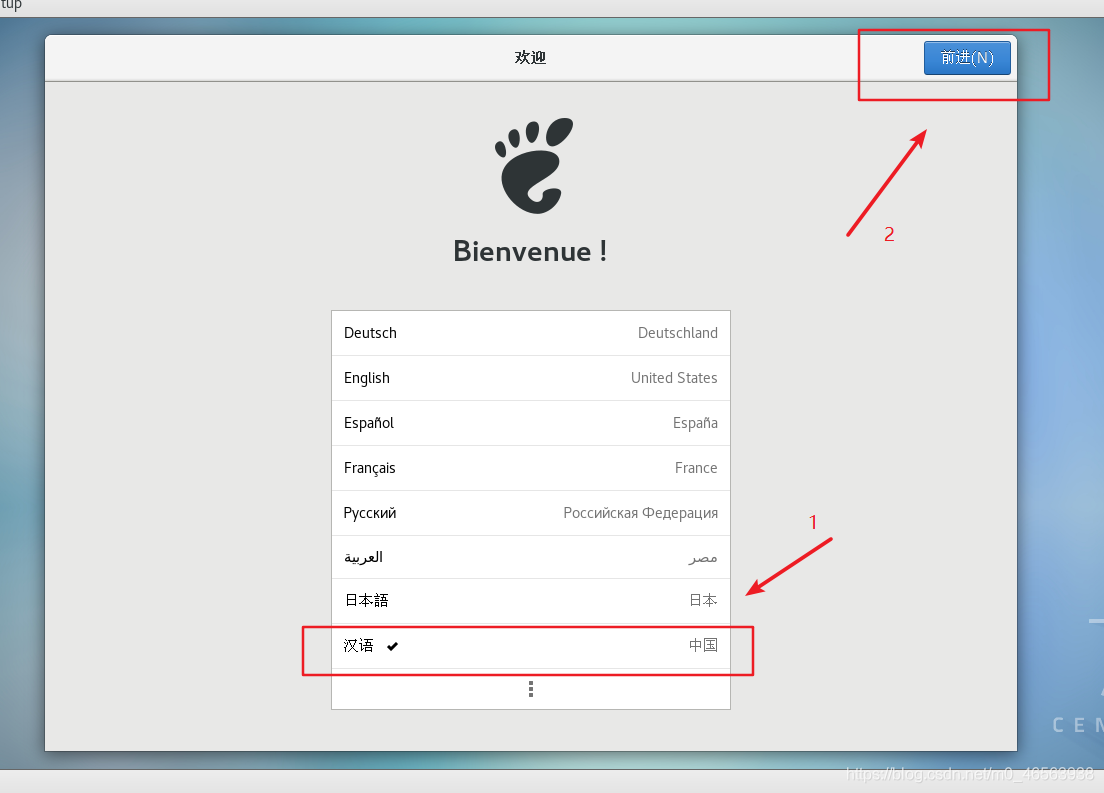
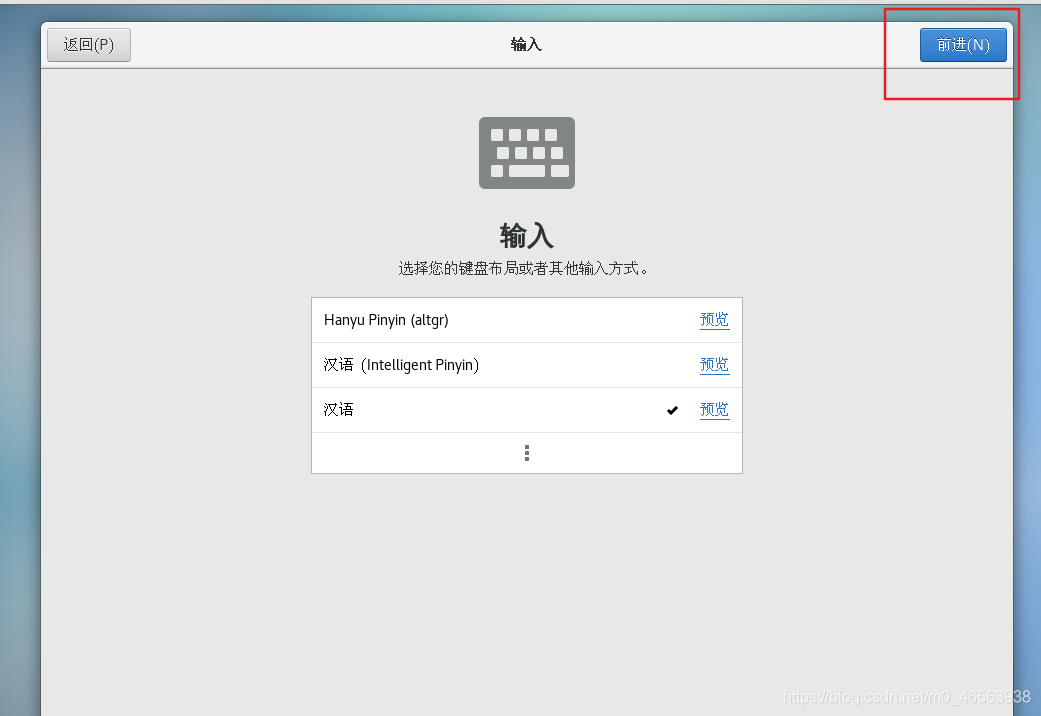

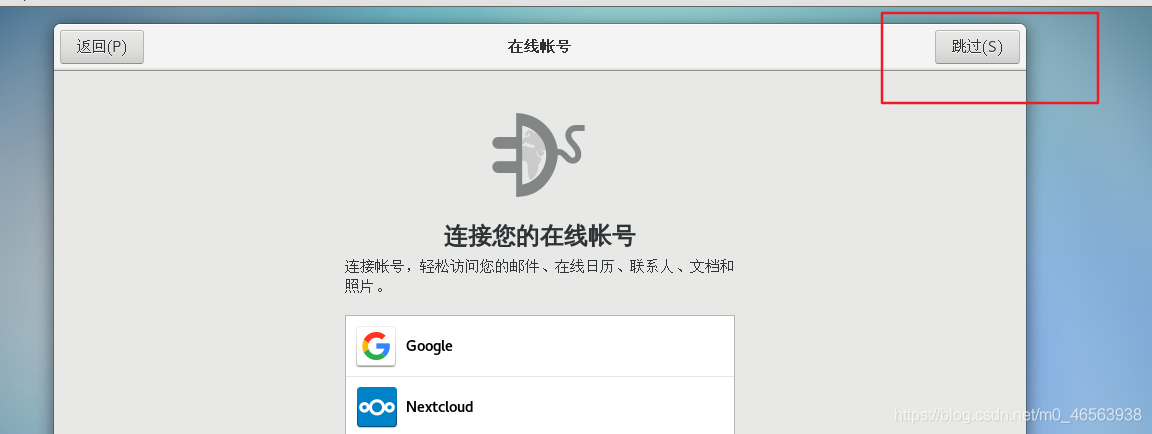
Friends who have made it this far, congratulations on completing the installation of CentOS 7.6. This is the Linux operating system we have added to use!
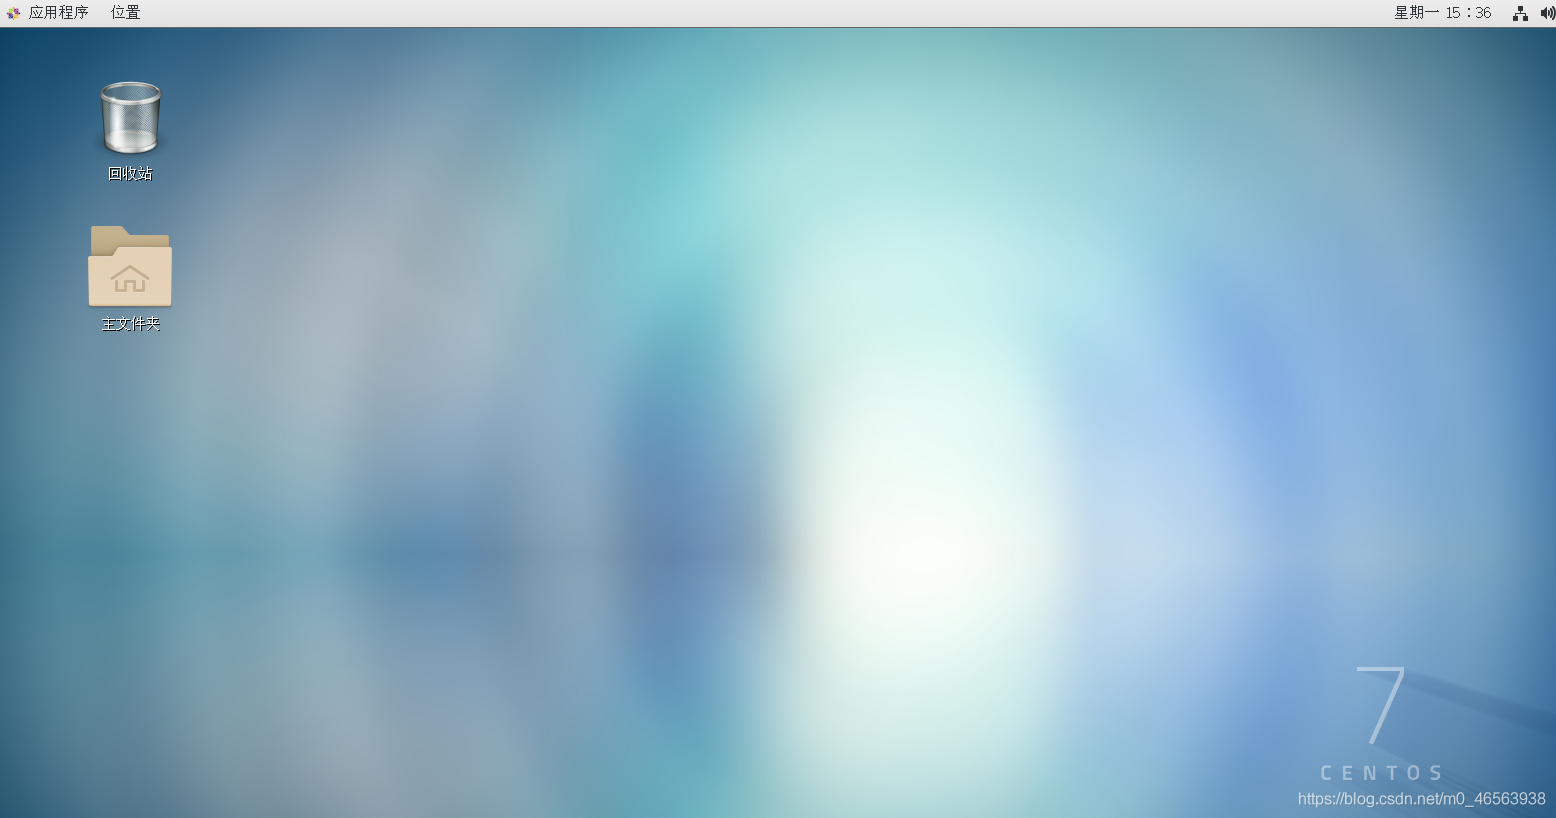
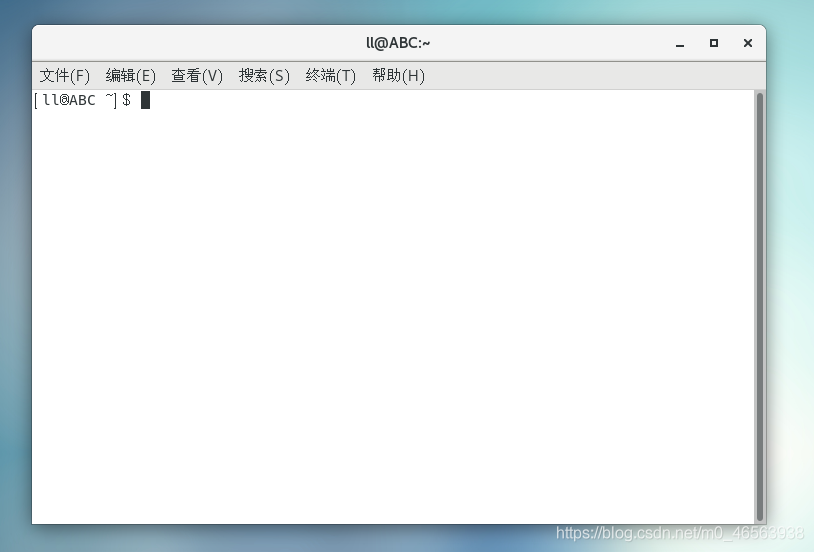
Right-click in our interface, click to open the terminal, and you can type commands in it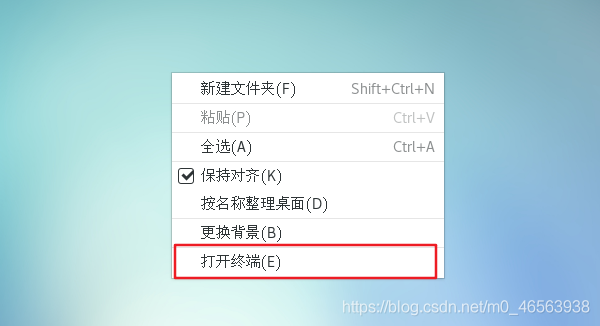
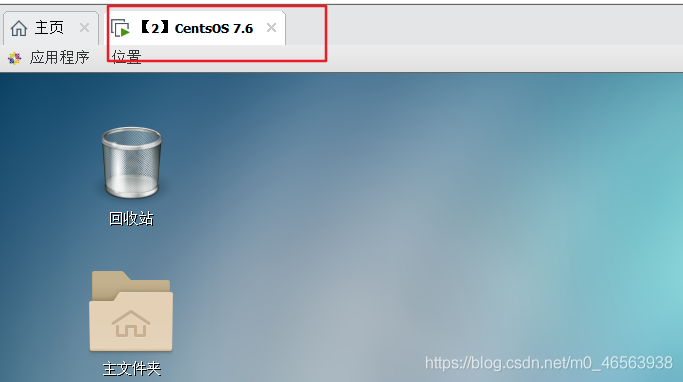
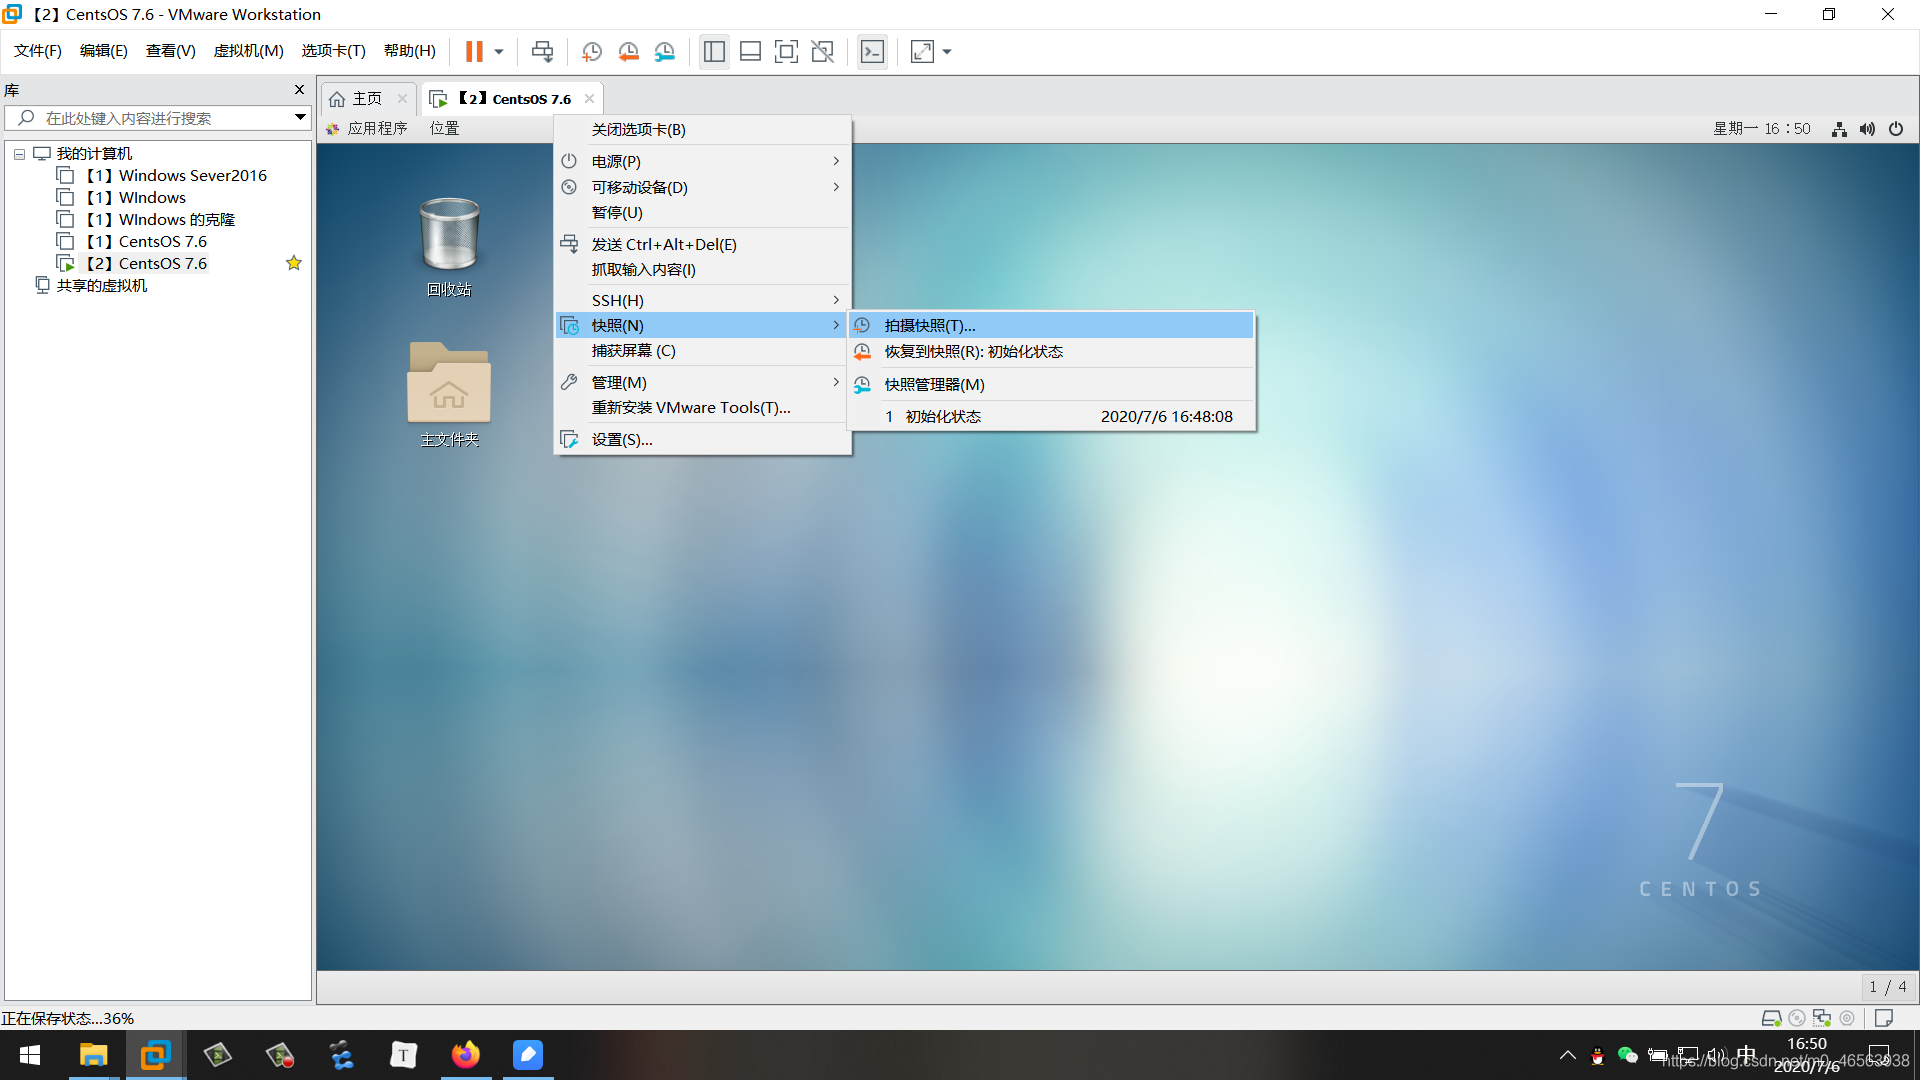
Let’s talk about snapshot teaching again. Right-click on the area selected by the red box, place the mouse on the Snapshot option, and then click Take Snapshot.
Let me explain the snapshot here. For example: Everyone has been to the Internet cafe. No matter what software we download on the computer in the Internet cafe, when we restart the computer again, the software we downloaded The software will disappear. This is the same as the principle of snapshots. No matter what software we download on the virtual machine or accidentally crashes the system, we can click restore snapshot to return the virtual machine to the state when the snapshot was taken.
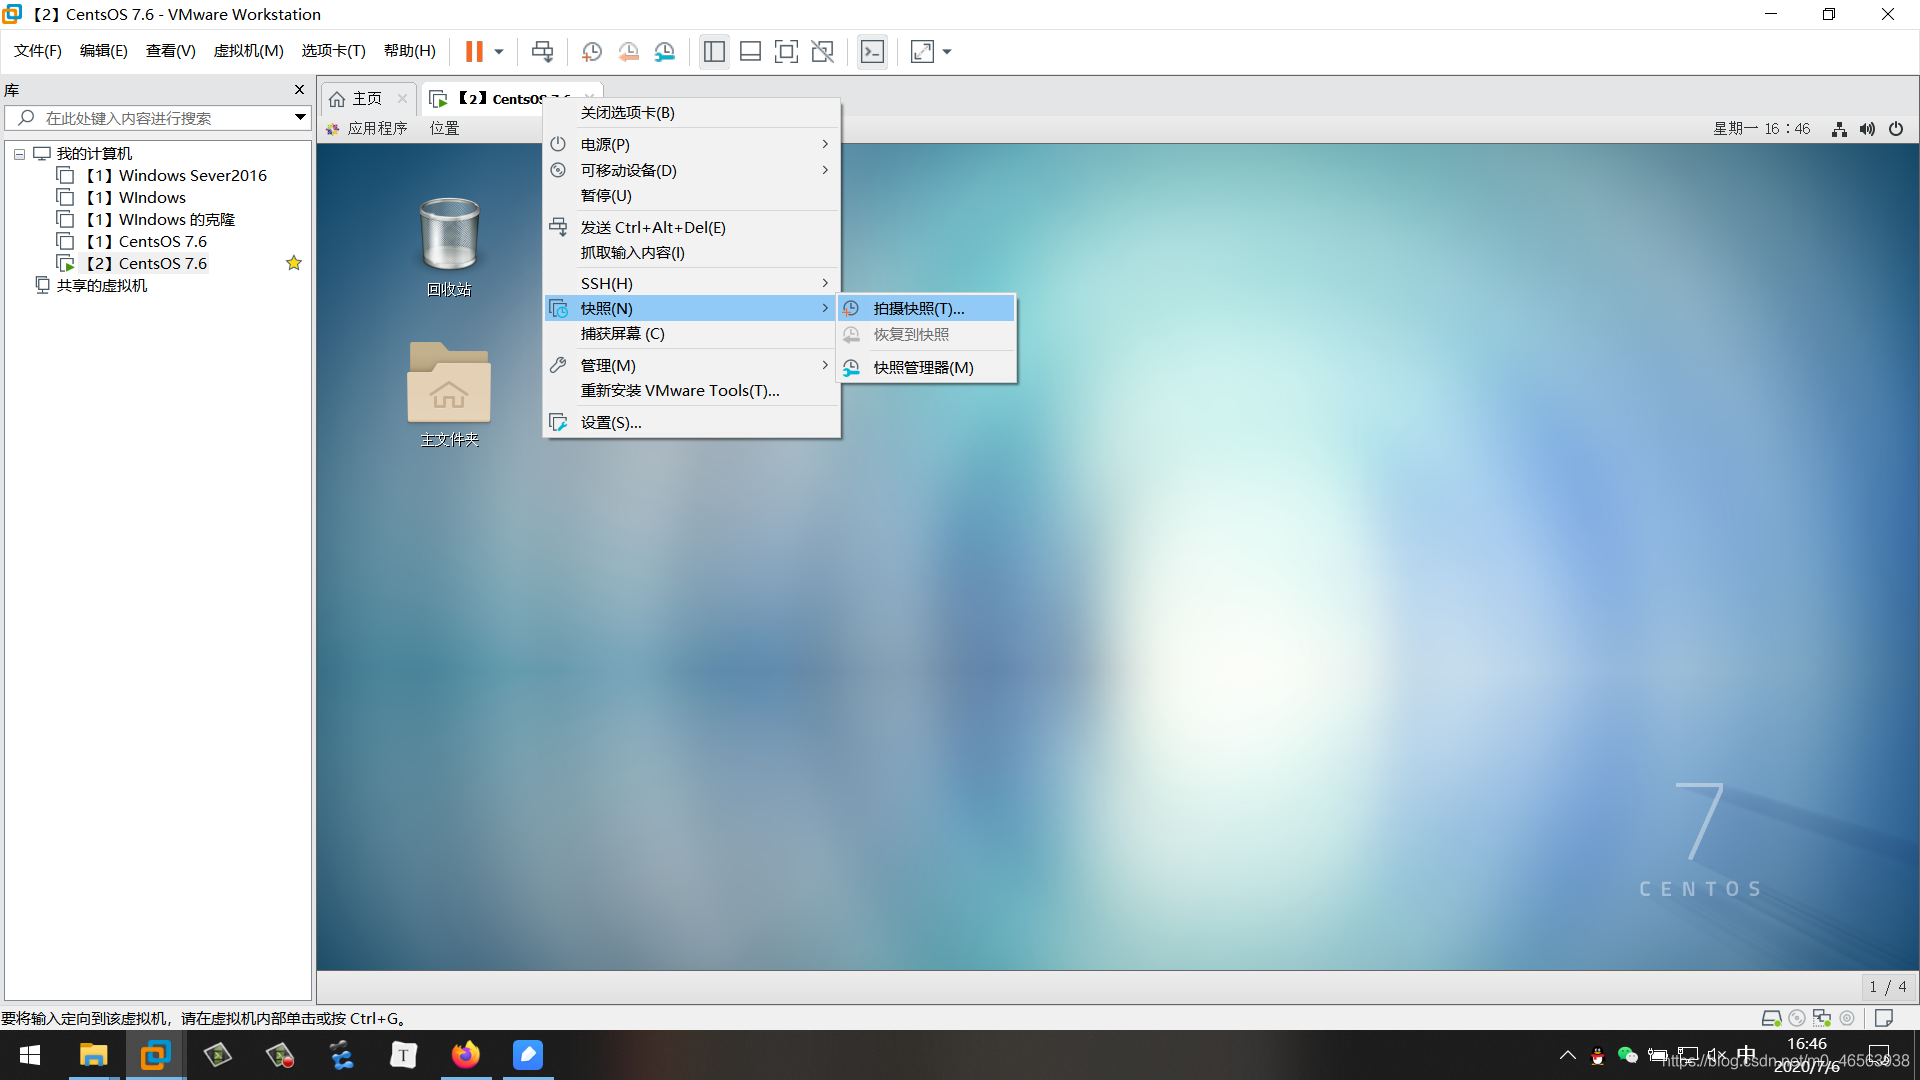
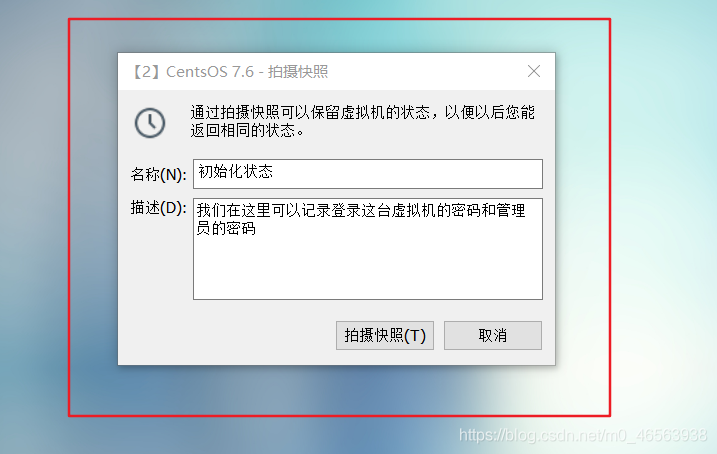
Click the snapshot manager to view the snapshots that have been taken
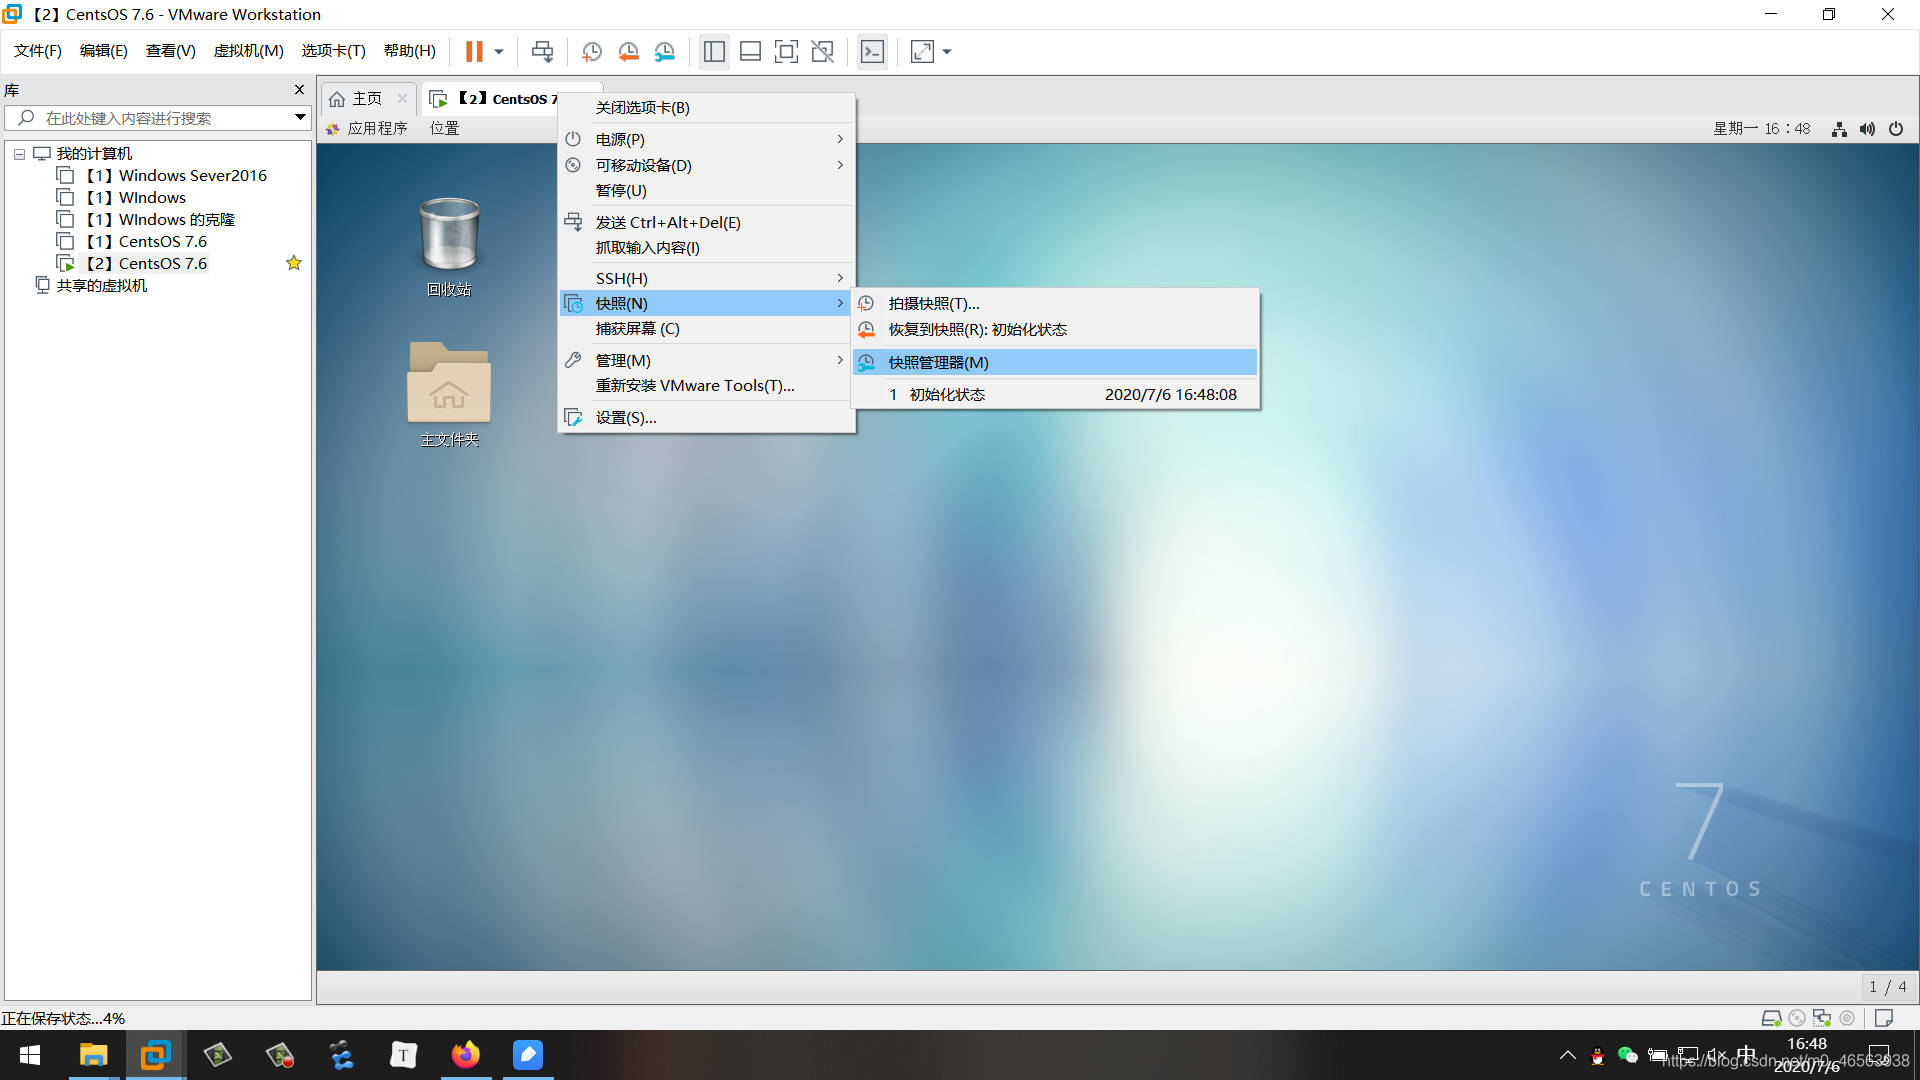
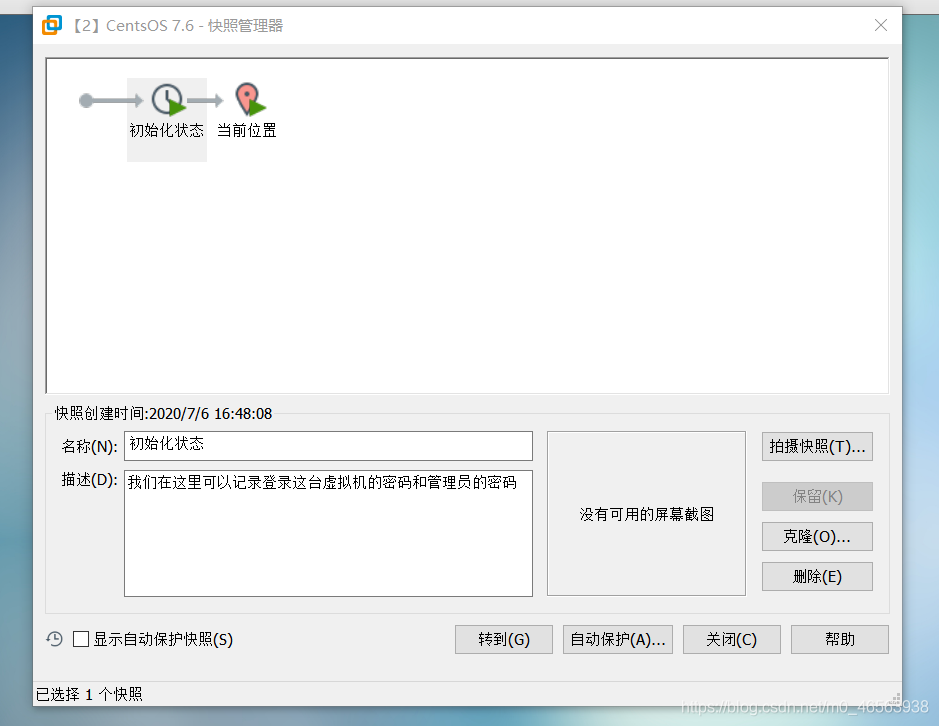
Then we click Restore Snapshot to restore the state of the snapshot taken at that time
3. Realize the connection between the virtual machine and SecureCRT
3.1. We click on this small triangle, and then click the button in the lower left corner to open the settings window
3.2. Then we Find the network in the settings window, and then click the red box button on the right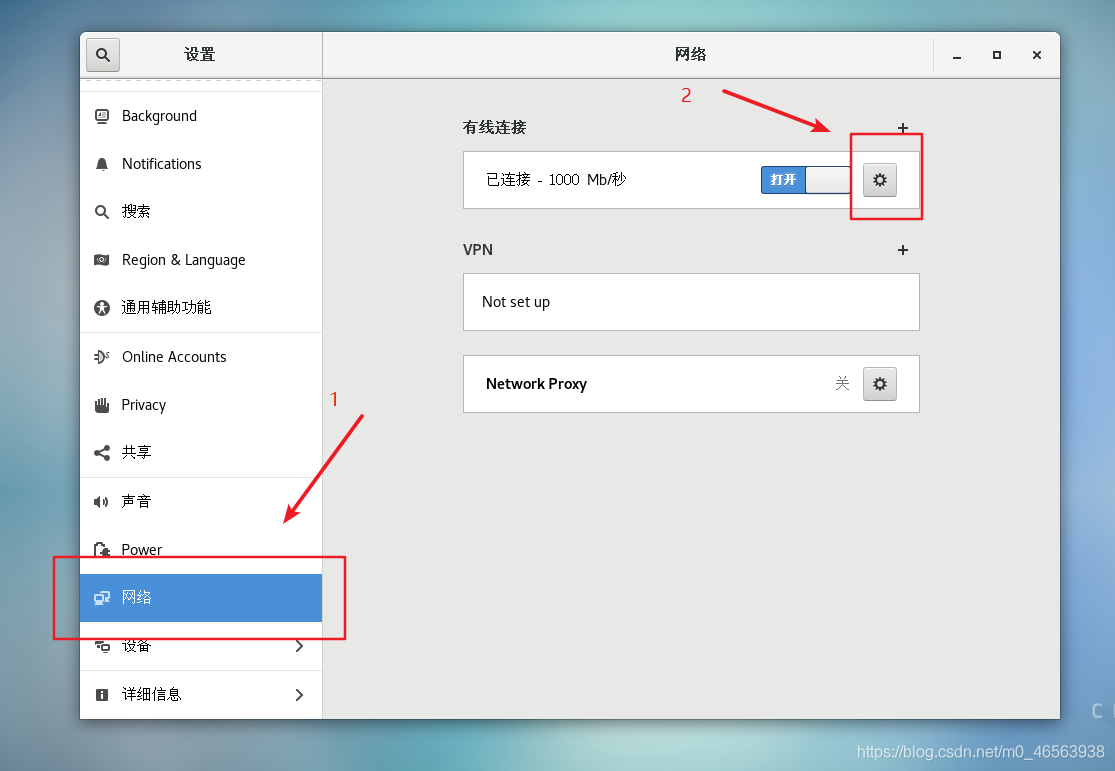
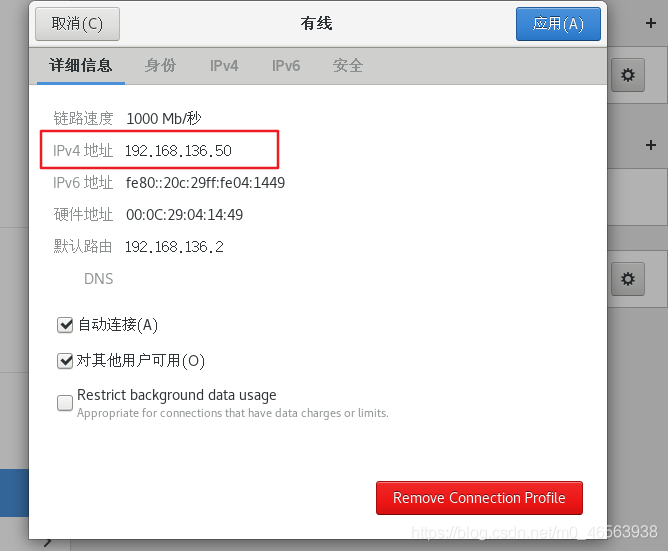
3.3. Check the IP address of our virtual machine
3.4, then click the lightning button
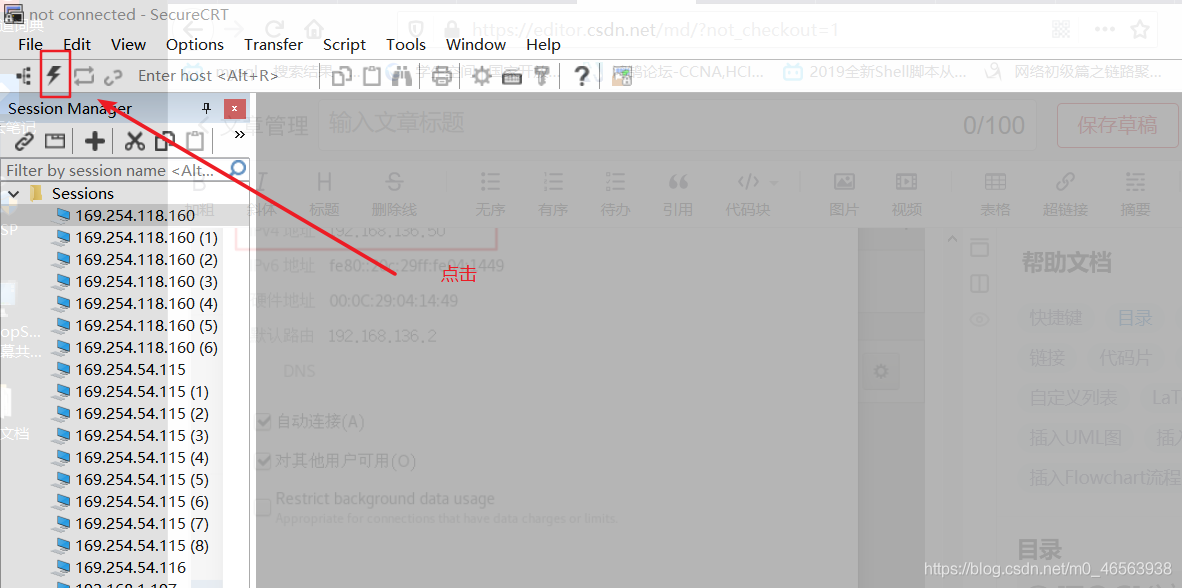
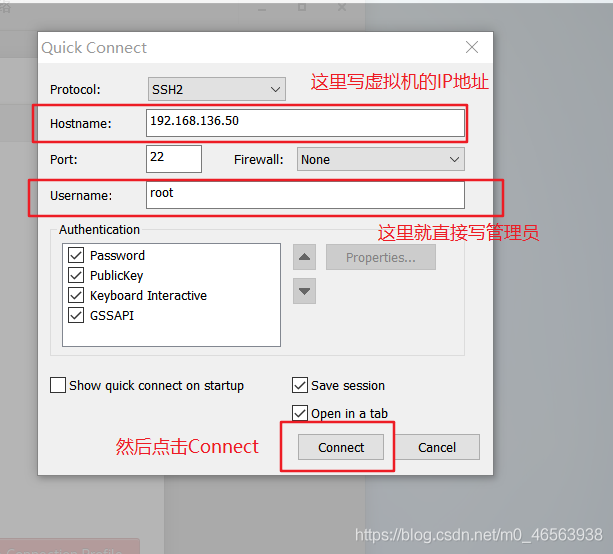
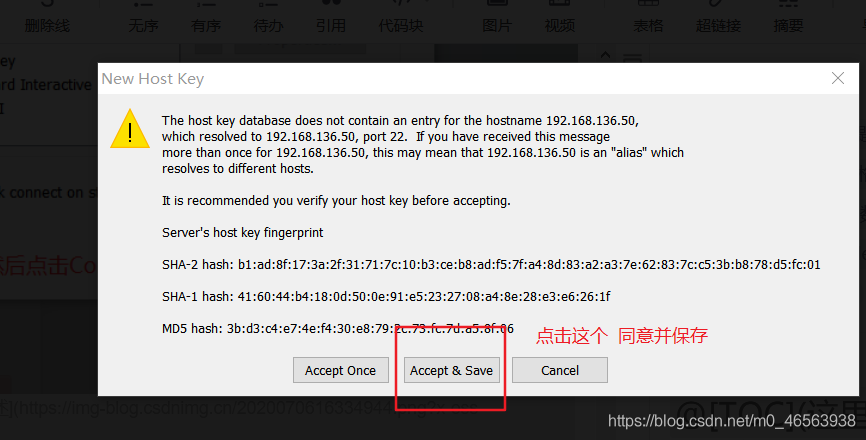
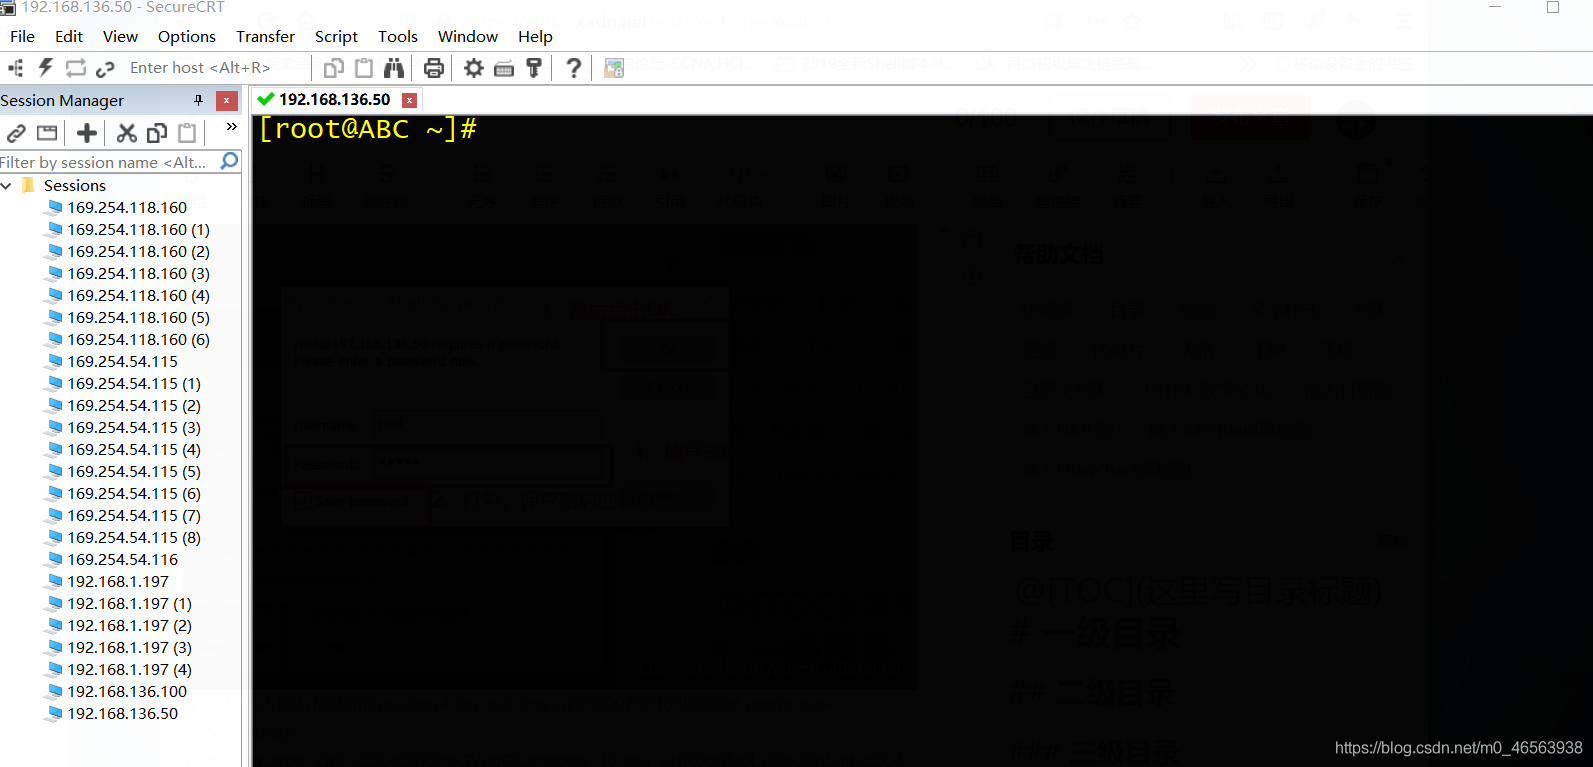
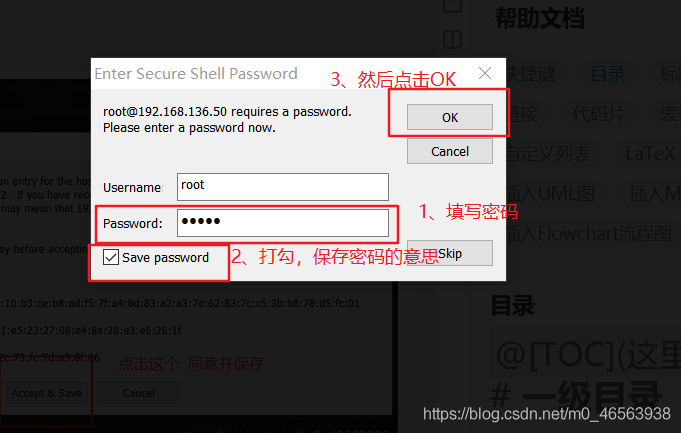 ##3.8. When we see this interface, it means that our virtual machine and SecureCRT have been successfully connected! ! !
 The most detailed CentOS installation tutorial on the entire network! ! !
The above is the detailed content of CentOS7 installation tutorial: Install Linux system in vmware virtual machine. For more information, please follow other related articles on the PHP Chinese website!


