Home > Common Problem > body text

How to crop screenshots on Mac

WBOY
Release: 2023-11-07 11:29:18
forward
1986 people have browsed it

1. Crop Screenshots Using Keyboard Shortcuts

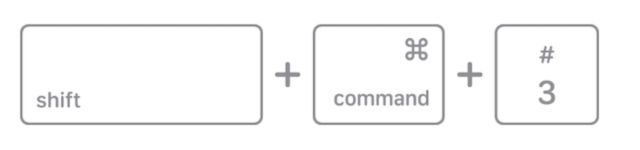
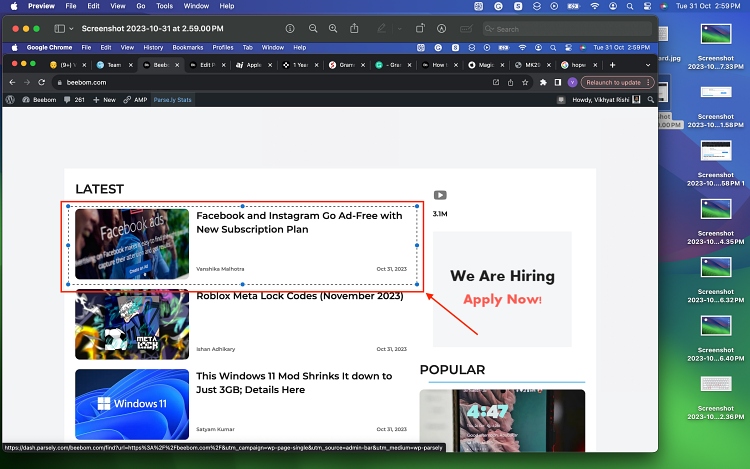
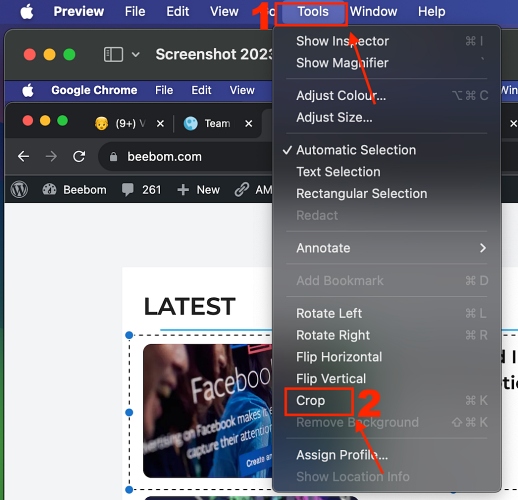
While you can use your Mac’s built-in screenshot tool to capture a screenshot, sometimes the specific part you need to focus on may show up later. In this case, you can use the preview tool to crop the screenshot on your Mac or MacBook. Not only can you crop screenshots using the preview tool, you can also resize them or annotate them. With that said, here's how to crop a screenshot on Mac using keyboard shortcuts:

  • In your preferred Mac window, press "Shift Command 3” keyCapture a screenshot of the entire screen.
How to crop screenshots on Mac
Image credit: Apple
  • Now, by clicking the thumbnail in the lower right corner Open the screenshot directly, or wait for it to appear on the desktop and then open it.
  • In the screenshot preview window, use your MacBook's mouse pad to select the rectangle of the area you want to crop from the screenshot.
How to crop screenshots on Mac
  • When finished, simultaneously press the "Command K" key on your Mac keyboard, from the screenshot Crop the selected area.

2. Crop screenshot on Mac using menu bar

  • Follow the first three steps of the previous method to take a screenshot and select a part of it.
  • When finished, click "Tools" in the top menu bar and select "Crop" from the drop-down menu.
  • This way, the area you selected in the previous step will be cropped out of the screenshot.
How to crop screenshots on Mac

3. Crop screenshots on Mac using Touch Bar

While cropping screenshots on Mac using keyboard shortcuts is simple, Older MacBook Pro models make the process simpler. You can crop the screenshot using the Touch Bar It works like this:

  • As we already mentioned, capture the screenshot and make a rectangle like above choose.
How to crop screenshots on Mac
  • Now, find and click the Crop icon (the square icon with extended corners) to crop on your MacBook Pro’s TouchBar The area you selected previously.
How to crop screenshots on Mac
  • Here’s how the cropped screenshot looks in all the above methods:
How to crop screenshots on Mac

NOTE: Your Mac will automatically save the cropped screenshot, so always remember to create a copy of the original screenshot in advance to protect yourself from any data loss.

4. Crop screenshots using the Photos app

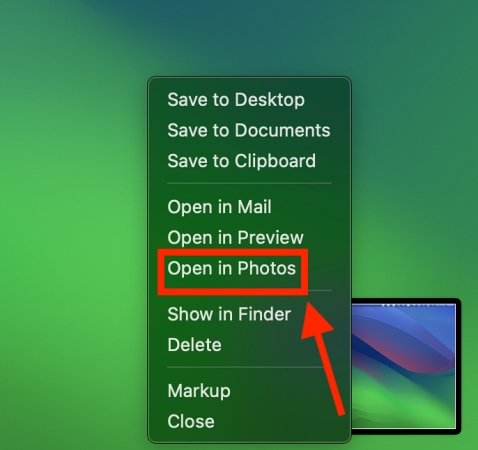
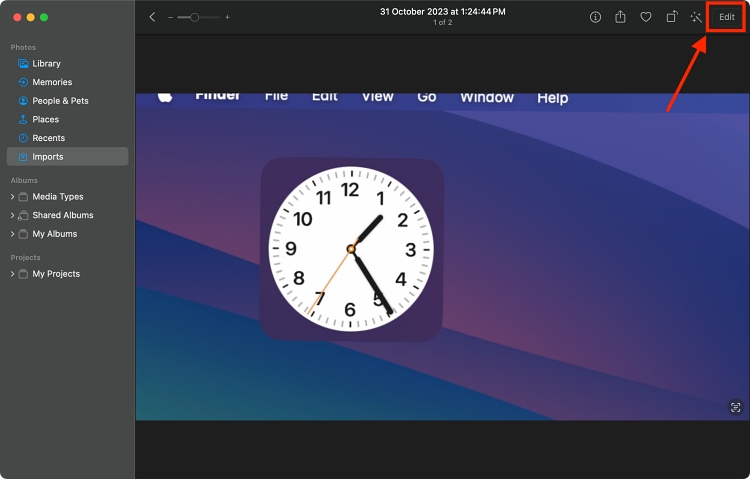
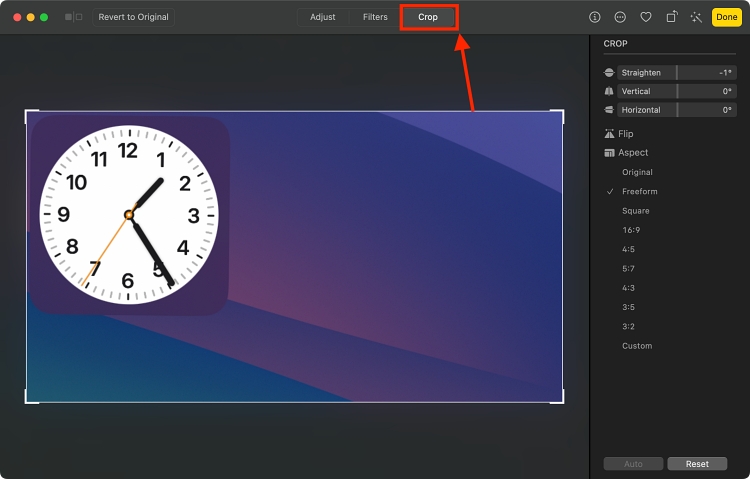
In addition to the preview tool, you can also use Mac’s Photos app to edit and crop screenshots. In addition to cropping, the Photos app also allows advanced editing, allowing you to adjust colors, resize images, apply filters, and more. Here's how to edit screenshots on Mac using the Photos app:

  • On your preferred Mac application, press the "Shift Command 3" key to capture a screenshot of the entire screen.
  • Now, right-click on the preview thumbnail of the screenshot shown in the lower right corner and select the Open in Photos option from the pop-up menu.
How to crop screenshots on Mac
  • Now, click the Edit button in the upper right corner of the Photos app.
How to crop screenshots on Mac
    Here,
  • click the Crop button at the top of the editing toolbar that appears.
  • Crop handles will now appear around your screenshot, allowing you to adjust the crop area.
How to crop screenshots on Mac
    Click and drag the handle to resize the
  • cropping box on the screenshot. You can also move the entire crop box around the screenshot by clicking inside it and dragging.
  • When you are satisfied with your crop selection, press Enter or click the
  • Done button in the upper right corner of the window.
How to crop screenshots on Mac
After clicking the "Done" button, the Photos app will automatically save the cropped screenshot. Your perfectly cropped screenshot is now ready on your Mac, so you can share it with others or print it instantly.

The above is the detailed content of How to crop screenshots on Mac. For more information, please follow other related articles on the PHP Chinese website!

Related labels:
source:yundongfang.com
Statement of this Website
The content of this article is voluntarily contributed by netizens, and the copyright belongs to the original author. This site does not assume corresponding legal responsibility. If you find any content suspected of plagiarism or infringement, please contact admin@php.cn
Popular Tutorials
More>
Latest Downloads
More>
Web Effects
Website Source Code
Website Materials
Front End Template
About us Disclaimer Sitemap
php.cn:Public welfare online PHP training,Help PHP learners grow quickly!