


In the previous articles in this series about WooCommerce, I discussed the different setups and their configuration, including adding products. We then explored adding four different types of products along with featured images and product galleries.
In the product section, there are options for product tags, categories, and attributes. That’s what I’m going to discuss today.
Generally speaking, categories act as filters that group all related posts into one place. This is also what categories do in WooCommerce, but this time categories are used to group all related products for the convenience of your customers. For example, the T-shirts category will contain a variety of T-shirts, the Hats category will contain a variety of hats, and so on.
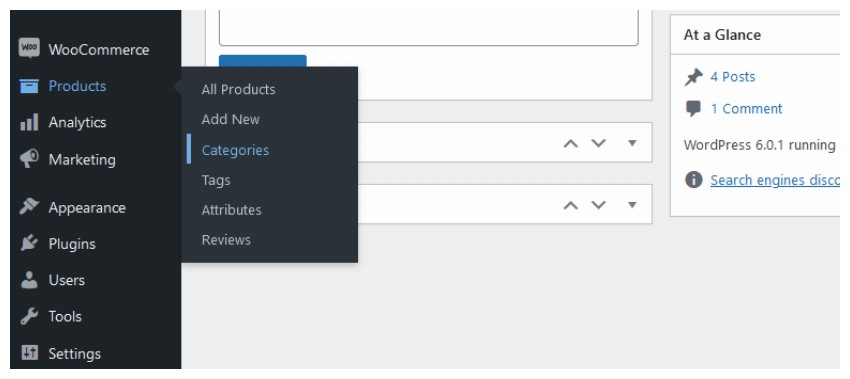
In WooCommerce, product categories can be created from Products > Categories .

Once you enter this section, you will find a category page almost identical to the one pictured above, where you can enter the Name, Slug, and DescriptionIf the newly created category is a child category of any parent category, you can also select 类别。如果新创建的类别是任何父类别的子类别,您还可以选择Parent Category. Like any other post category, you can edit, update, and delete product categories.
You can use the drag and drop functionality to decide the order of categories (i.e. how they appear on the frontend).
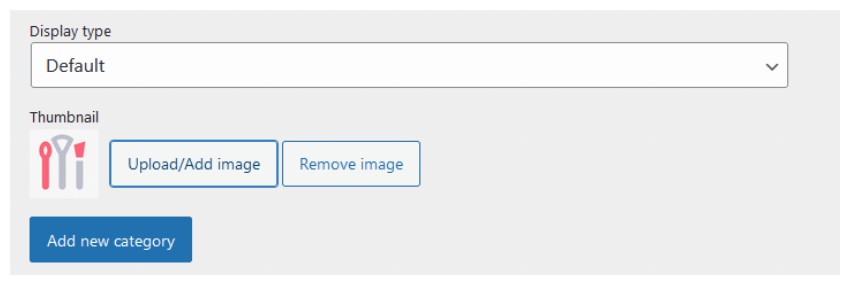
Product categories have two different options than normal post categories. At the end of the page you can find the Display type and Thumbnails options.
Using this option you can decide how specific categories are displayed. You can find various options in the drop-down menu, such as Default, Product, Subcategory, and Both.
The name of this option explains its purpose quite well. It allows you to upload images for newly created categories. This image will be displayed on the front-end of your online store along with the category name. However, this image may not appear on all themes. It depends on how your theme is made.
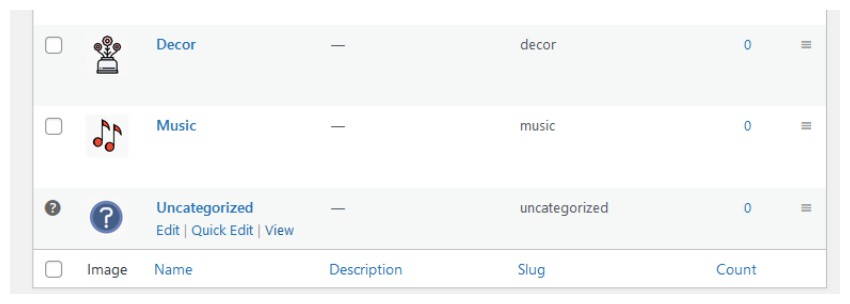
After filling in the details, click Add New Product Category. The category will appear in an adjacent window listing all product categories on the Add Product page.
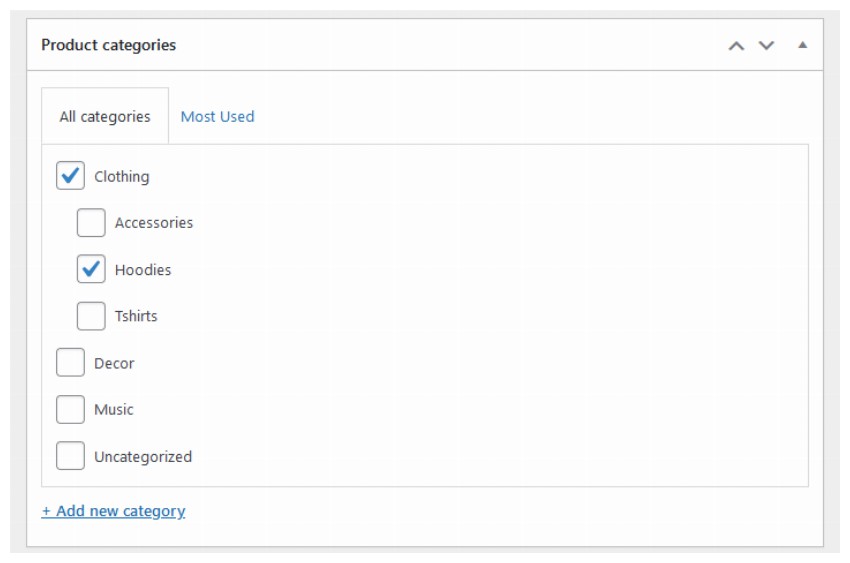
So, whenever you create any product in WooCommerce, you can check its related categories and/or subcategories.
WooCommerce also requires you to specify a default category that will apply to all products to which you do not explicitly assign a category. By default, the category is set to Uncategorized. However, you can also make any other category the default category. For example, if most of the products you add to your site are T-shirts, you can make them the default category.
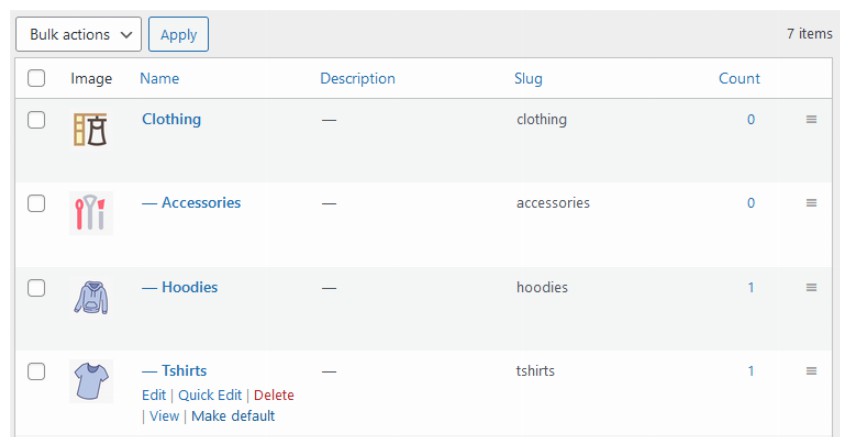
One thing to also keep in mind is that default categories cannot be deleted. This means you won't be able to get rid of the "Uncategorized" category unless you set another category as the default.
If you are uploading any content on the internet, you should ensure that your visitors can search for the content. Tags provide this opportunity to your visitors. If used correctly, these tags can get you ranked on Google as they are an excellent source of internal link multipliers.
We call tags in WooCommerce Product Tags. These product tags work similarly to publishing tags. But product labels are different from product categories. Product categories are often used for broad product categories such as T-shirts. Product labels, on the other hand, describe specific aspects of the product such as color, target customers, cost, etc. T-shirt labels can be casual, boys, blue, cotton, etc.
You can access product tags by navigating to Products > Tags through your WordPress admin navigation.

Once in this section, you will find the option to create a new product label. These options are identical to those for post tags. So, to create product tags in WooCommerce, fill in the Name, Slug, and Description fields. Then click the Add New Product Tag button and your work is done.

WooCommerce users can also add product tags directly through the Add Product page when creating products. Underneath the Product Categories section, you'll typically find a meta box for Product Tags. You can enter relevant tags here, separating each tag with a comma, and click the Add button.
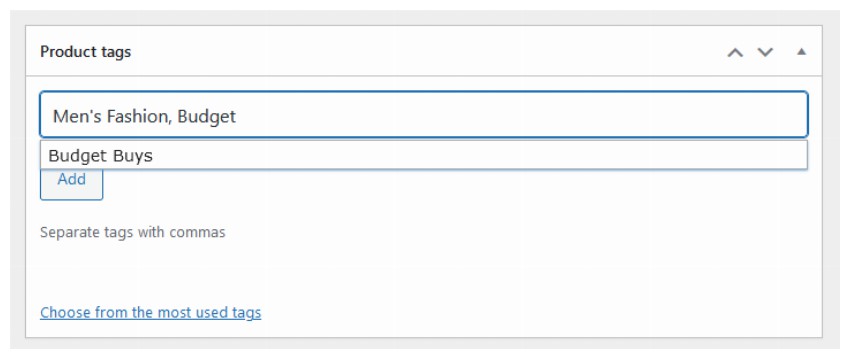
I recommend that you don’t add a lot of tags to your posts. The general rule is to add a maximum of three tags per product.
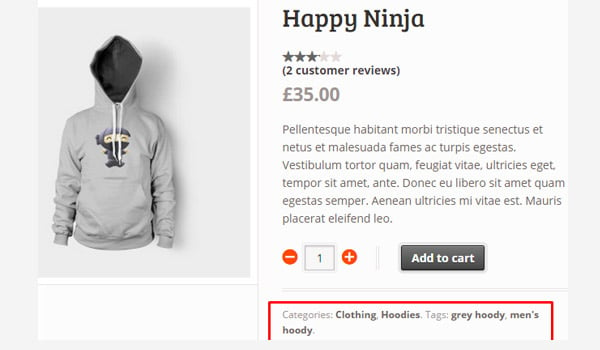
To display product labels on the frontend, click the Save Draft or Update button. You will see results similar to the one shown above.
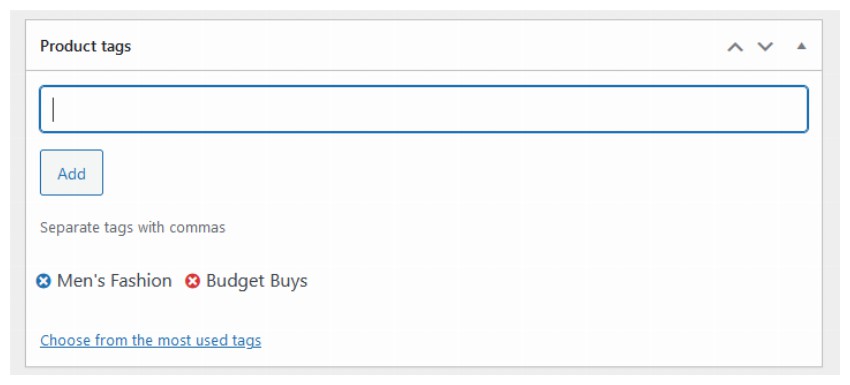
If you want to remove a tag from a specific product, simply go to the edit page in your WordPress dashboard and find the meta box for Product Tags. Hover over the cross symbol that appears on each label. The cross mark will appear as red. Just click on it and that particular tab will disappear. But to remove it from your WordPress installation, you have to find it through the Products > Tags section. This is pretty much how we use post tags. product properties
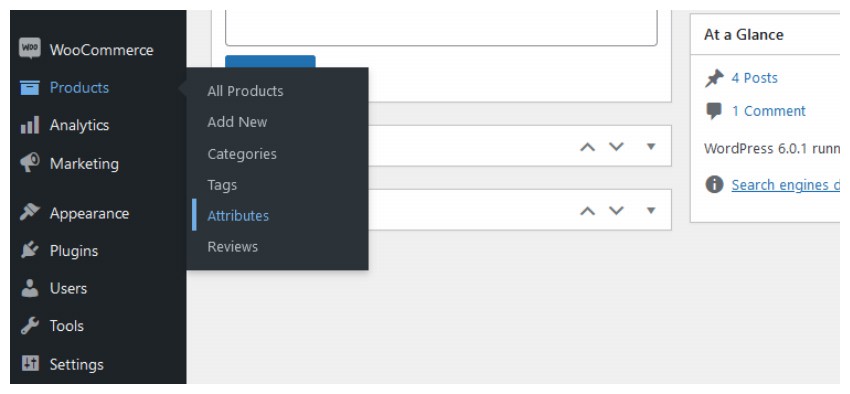
To create any new properties, go to
Product > Properties.
 Add product attributes
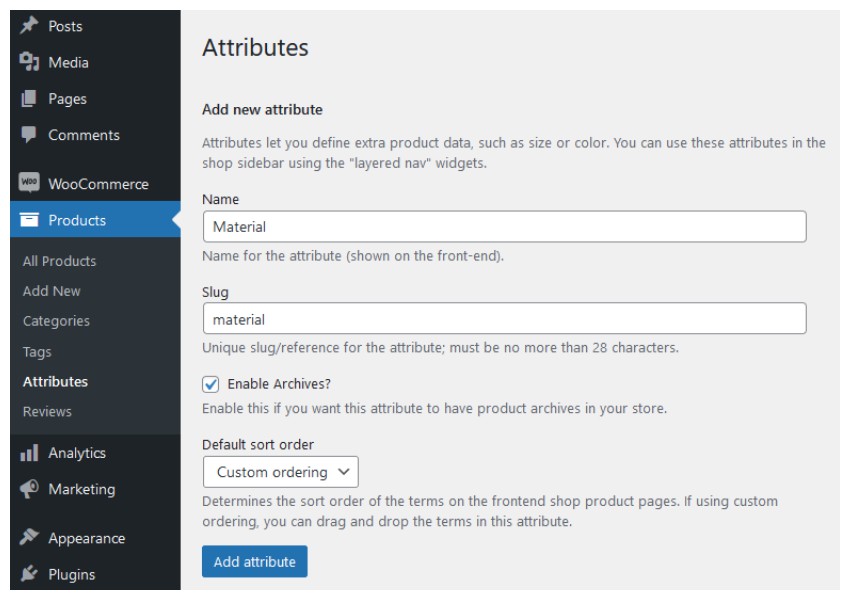 As with categories and tags, the first two fields to fill in when creating any attribute are
and Slug. The next two options are
Enable archiving?as a checkbox, and default sort order as a drop-down menu. Enable archiving?
.
Default sort order
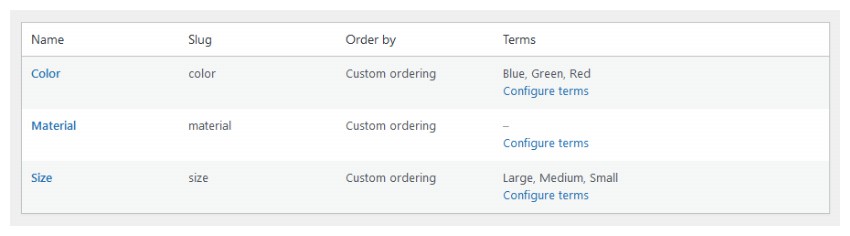
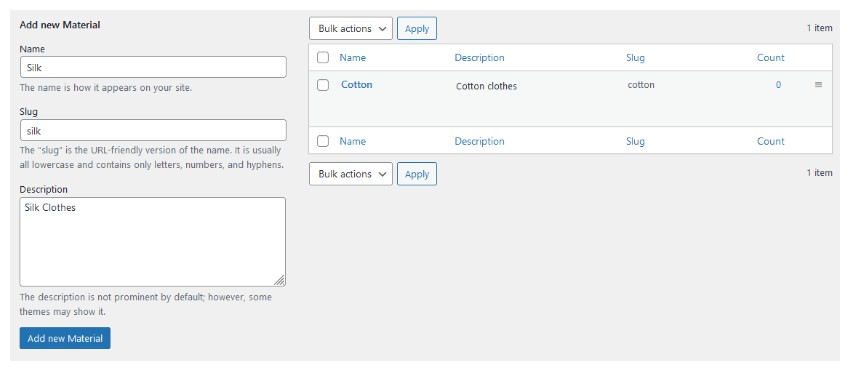
, Name, Name (Number) and Term ID. If you choose Custom sorting, you can easily drag and drop various terms within the properties. Selecting Name will sort the elements alphabetically. Selecting name(number) will sort the elements in numerical order. You should consider choosing name(number) for the numeric value because sorting values of size (e.g. 9, 5 and 10) using name will give you 10, 5 and 9 instead of 5 , 9 and 10. After filling in all these fields, click the Add Attribute button. Once a product attribute is created, it will appear in an adjacent tab that will display all other product attributes. The image above shows such a representation where three properties are created, namely Color, Material and Size. Here you will see a new Term column that did not exist when I created the property. Terms The column contains the values of the attributes, for example the Color attribute has blue, green and red terms (values). Likewise, the "size" attribute also has the terms "large", "medium", and "small". However, Material properties have no such term. So the question is: how to add these terms? You can do this by clicking on the Configure Terms link that corresponds to the term Material. After clicking the link you will find a similar layout again to add terms to your properties. So, add as many terms as you like for the property using the Name, Slug, and Description fields, then click the Add New Material button. Determine the order of terms by dragging and dropping and your work is done. This concludes our exploration of the Products section in WooCommerce. This article has been updated with a contribution from Nitish Kumar. Nitish is a web developer with experience in creating e-commerce websites on various platforms. He spends his free time working on personal projects to make his daily life easier, or going for walks with friends in the evenings. Add terms to attributes
in conclusion
The above is the detailed content of A comprehensive introduction to WooCommerce: Leveraging product tags, categories, and attributes. For more information, please follow other related articles on the PHP Chinese website!


![[Web front-end] Node.js quick start](https://img.php.cn/upload/course/000/000/067/662b5d34ba7c0227.png)


