
Many users now use the win10 system on their computers. After some netizens install the win10 system, there will be a watermark in the lower right corner indicating that it is not activated. In fact, if we activate the system directly, there will be no problem. The following is the same as Let’s talk about how to remove the activation watermark of win10 system.
1. Create a new text document on the desktop and copy the following code into it, as shown in the figure: slmgr /ipk W269N-WFGWX-YVC9B-4J6C9-T83GX slmgr /skms kms.03k.org slmgr /ato.
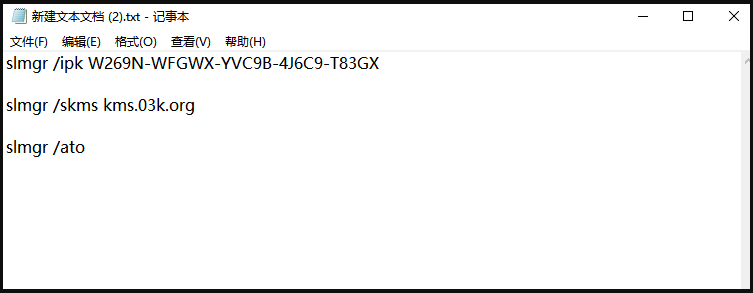
#2. Click the file and select "Save As". In the pop-up interface, select the save location on the desktop, change the save type to All Files, and change the file name to . bat format file, and then click the "Save" button.

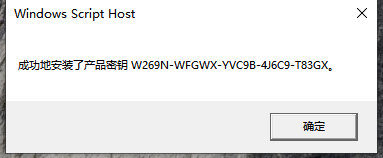
#3. Right-click on the desktop and double-click the file you just saved, select [Run as Administrator], and then the prompt "Product Key Installed Successfully" will pop up. Click the "OK" button.
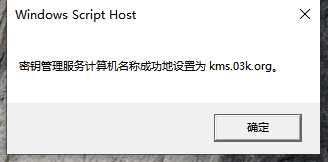
#4. Then the prompt "Key Management Service Computer Name Successfully Set to kms.xspace.in" will pop up. Click the "OK" button.
#5. Then the "Product activated successfully" prompt will pop up, click the "OK" button.
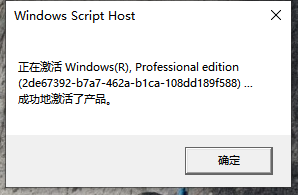
#6. At this time, when we open the computer system properties, we can see that Windows has been activated.
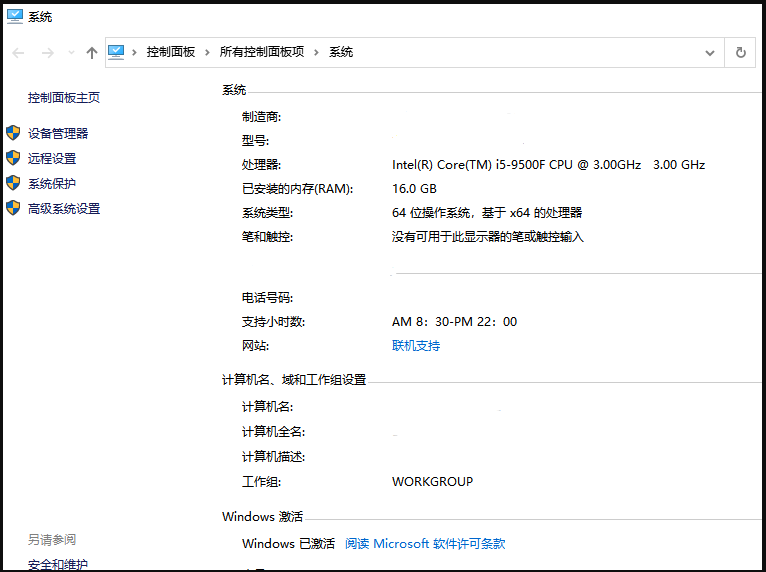
Through the above method, we can complete the activation process of win10 system. Now after the activation is completed, will you not see the activation watermark? Hurry up and try it out.
The above is the detailed content of How to remove watermark from activation windows 10. For more information, please follow other related articles on the PHP Chinese website!


