When we use computers, the most important software is the system. When a computer encounters a system failure, many users feel at a loss. However, in fact, reinstalling the operating system can often solve most problems. So how to download and install Windows 10 on MSI computers? Don't worry, today I will share with you a very simple one-click method to install Windows 10. Let’s take a look below!
Detailed tutorial for downloading and installing Windows 10 on MSI computers:
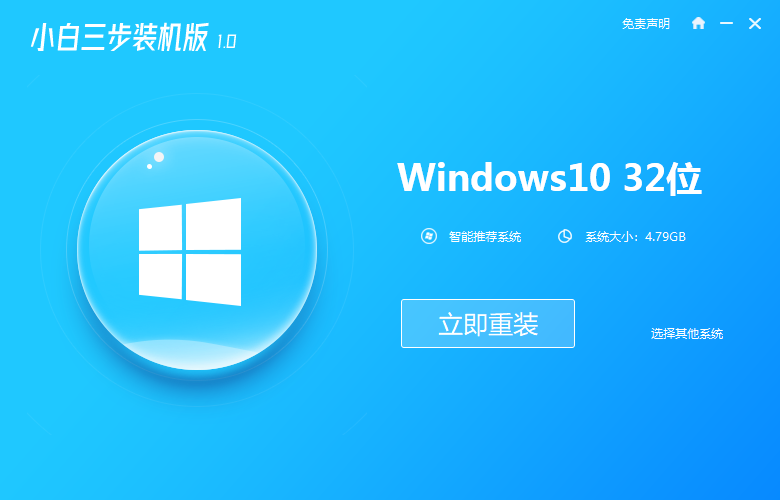
1. Search the browser to download the Xiaobai three-step installation software and open it, exit the security software on the computer, and choose to install Win10 , click Reinstall now.

#2. Wait for the download, installation and deployment. After the deployment is completed, the software will prompt us to restart the computer.

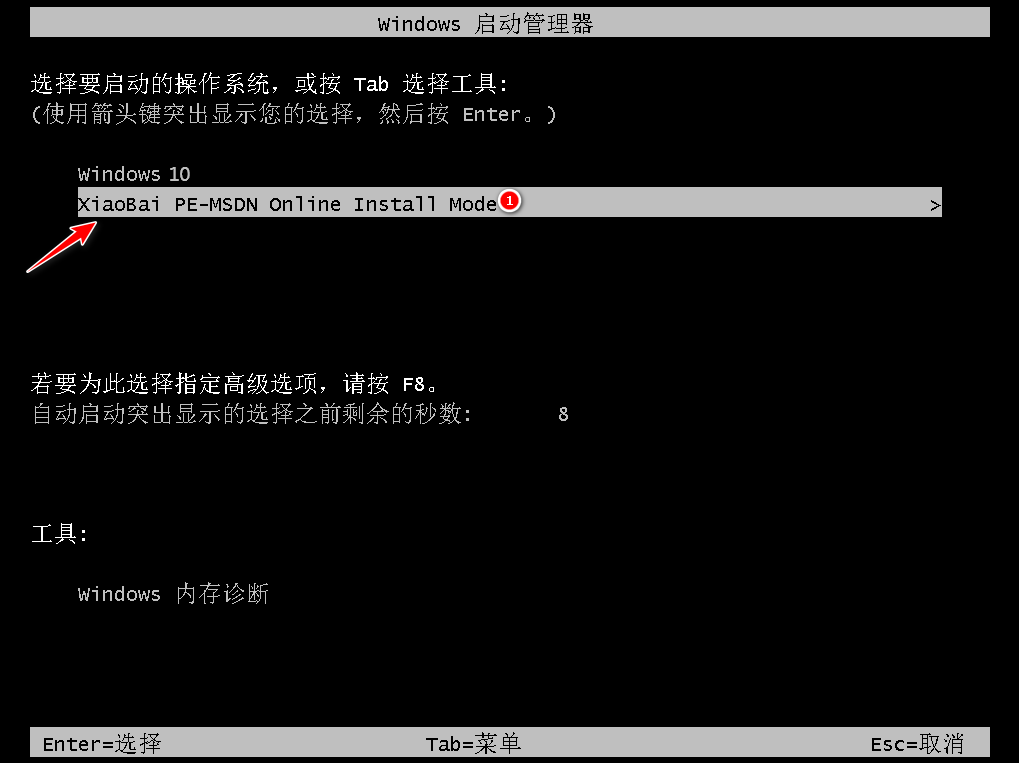
#3. After restarting, select the second one to enter the PE system.

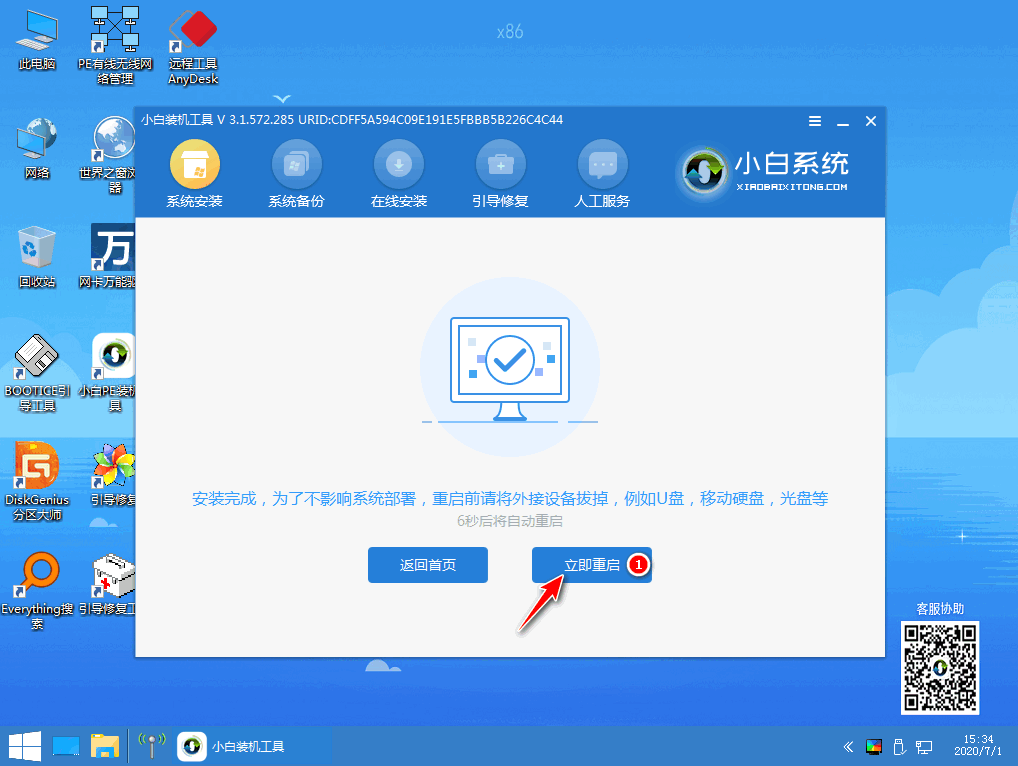
4. Next, when entering the Pe system, the Xiaobai installation tool will open to help us install the system. The installation is completed. Then click Restart Now.

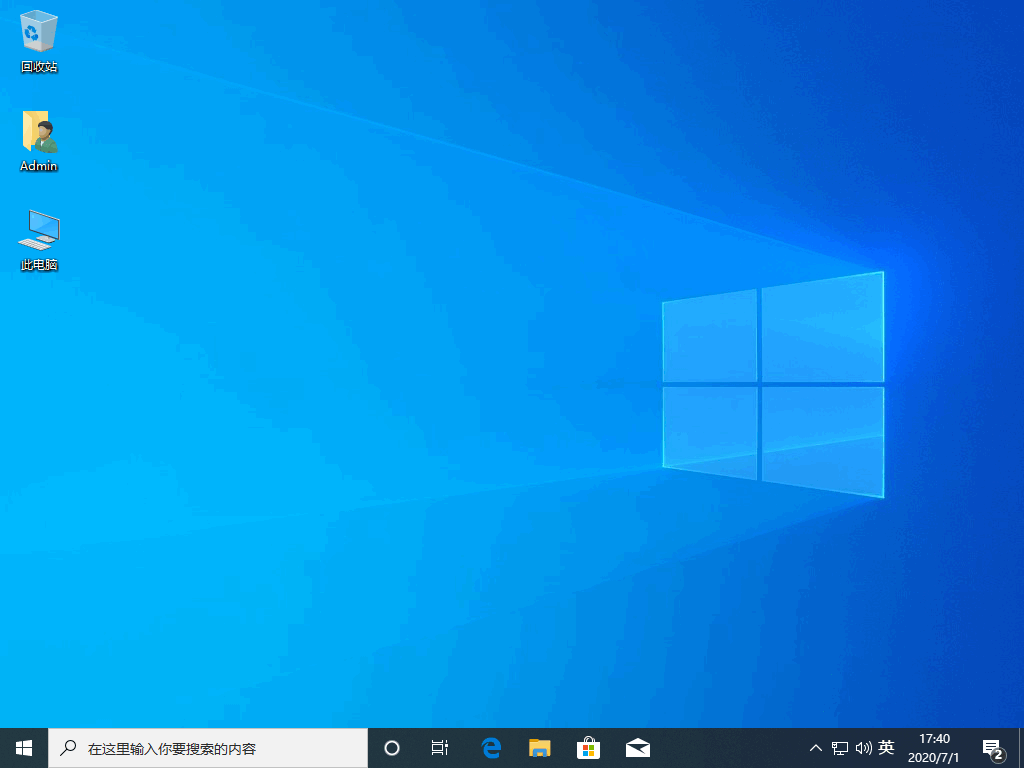
5. After restarting several times, entering the desktop means that our system is installed.

#The above is a detailed tutorial on how to download and install Windows 10 on MSI computers! Hope it helps everyone!
The above is the detailed content of Detailed tutorial for downloading and installing Windows 10 on MSI computers. For more information, please follow other related articles on the PHP Chinese website!


