


Although printers are now an office necessity, shared printers are not for everyone. How to set up printer sharing in win7? . So, how do we set up a shared printer? Today, the editor will tell you about the step-by-step tutorial on how to set up a shared printer in win7. Let's take a look.
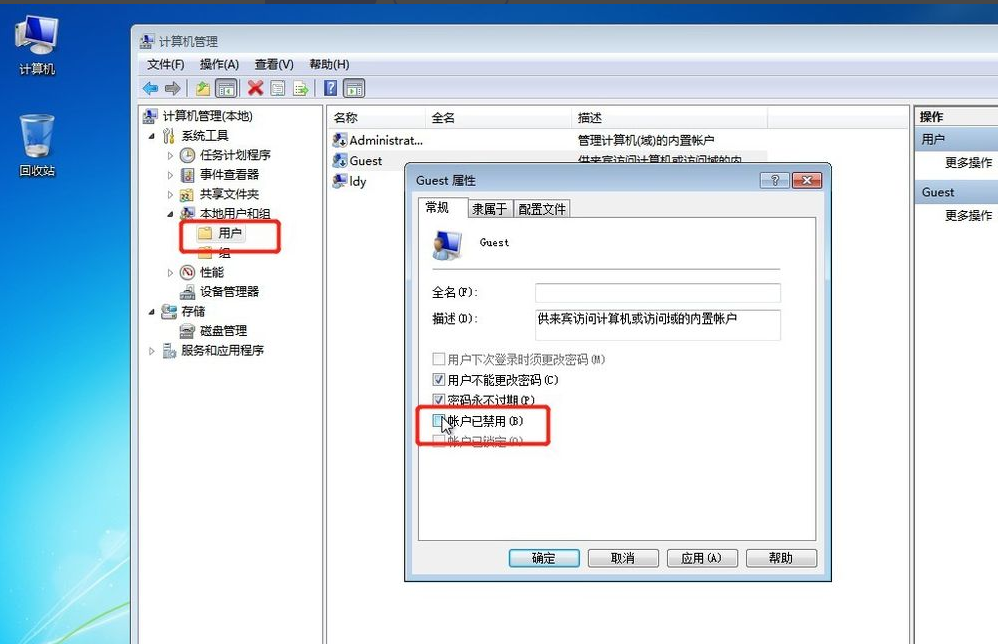
1. Right-click [Computer] and select [Manage]. In the pop-up [Computer Management] window: System Tools->Local Users and Groups->Users. Find [Guest] on the right and double-click it. , uncheck the account is disabled.
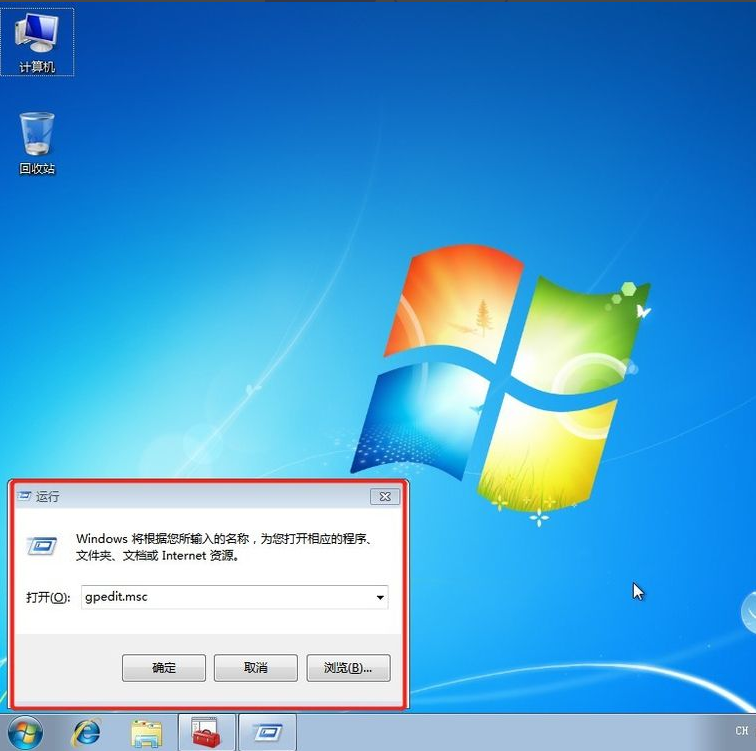
2. Return to the computer desktop, press the win R shortcut key to pop up Run, or click Start in the lower left corner of the computer, find Run on the Start menu, and enter: gpedit in Run .msc to enter the Local Group Policy Editor.
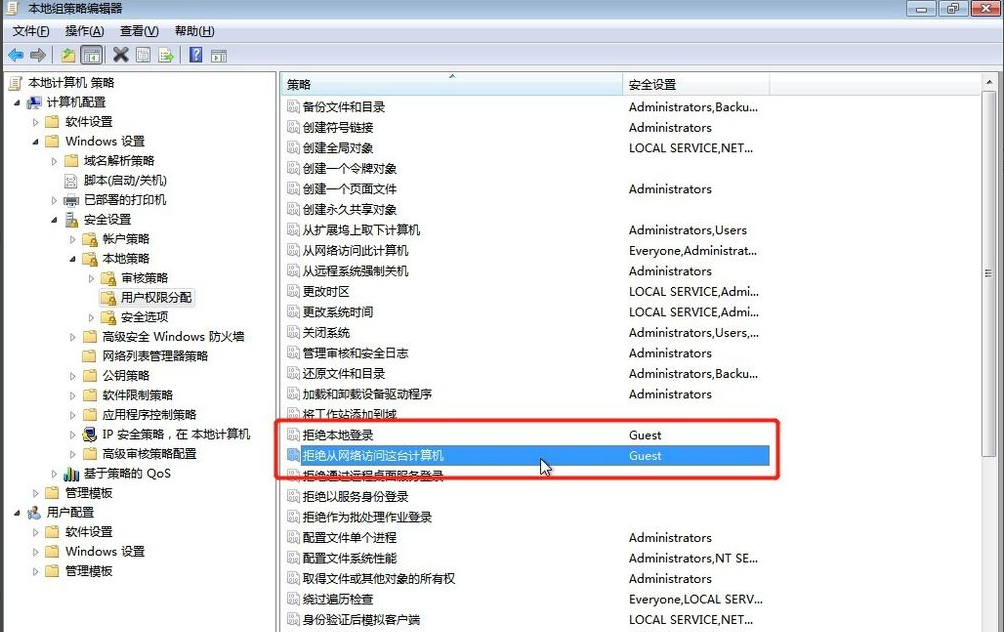
3. In the Local Group Policy Editor interface, Computer Configuration->Windows Settings->Security Settings->Local Policy->User Rights Assignment, on the right Find [Deny local login] and [Deny access to this computer from the network], double-click them and delete the Guest.
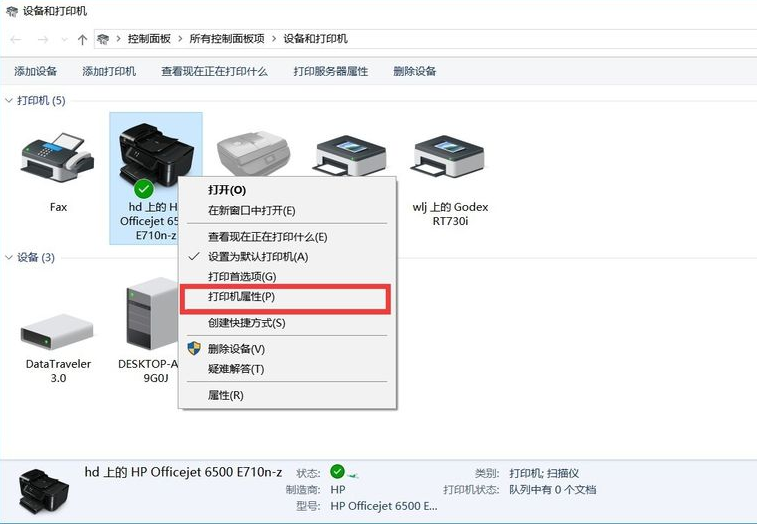
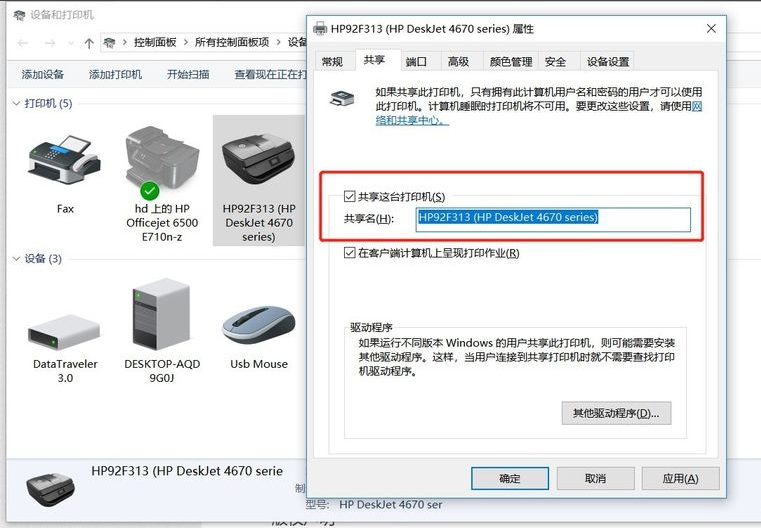
4. Click the [Start] button, select [Devices and Printers], and find the printer you want to share in the pop-up window (provided that the printer is correctly connected and the driver is installed) correctly installed), right-click on the printer and select [Printer Properties].
5. Switch to the [Sharing] tab, check [Share this printer], and set a share name, as shown below.
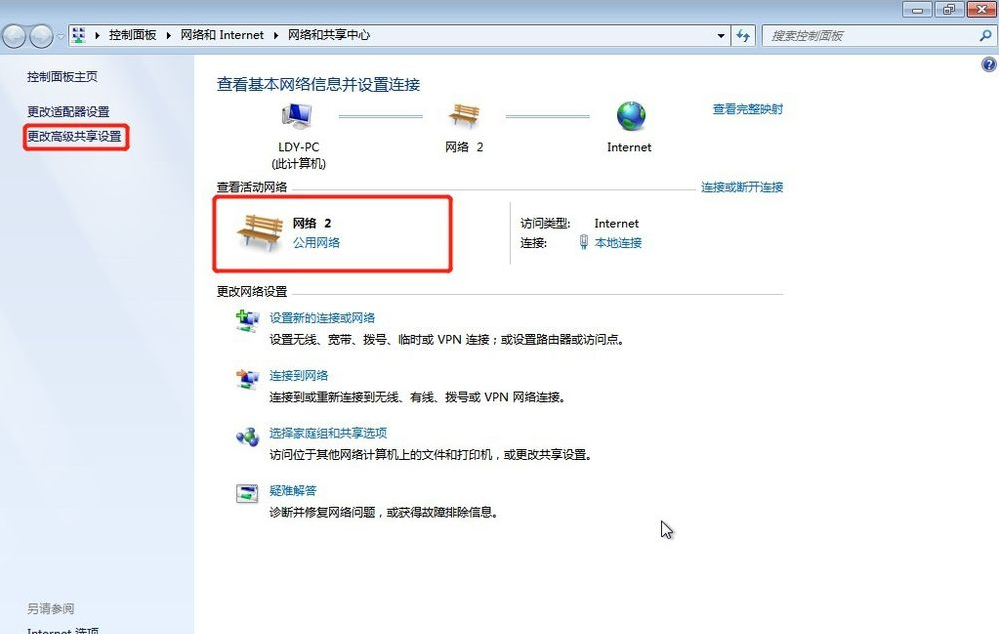
6. Right-click on the network connection icon in the system tray and select [Open Network and Sharing Center], as shown below:
7. Remember whether your network is home, work or public, and then click [Advanced Sharing Settings], as shown below
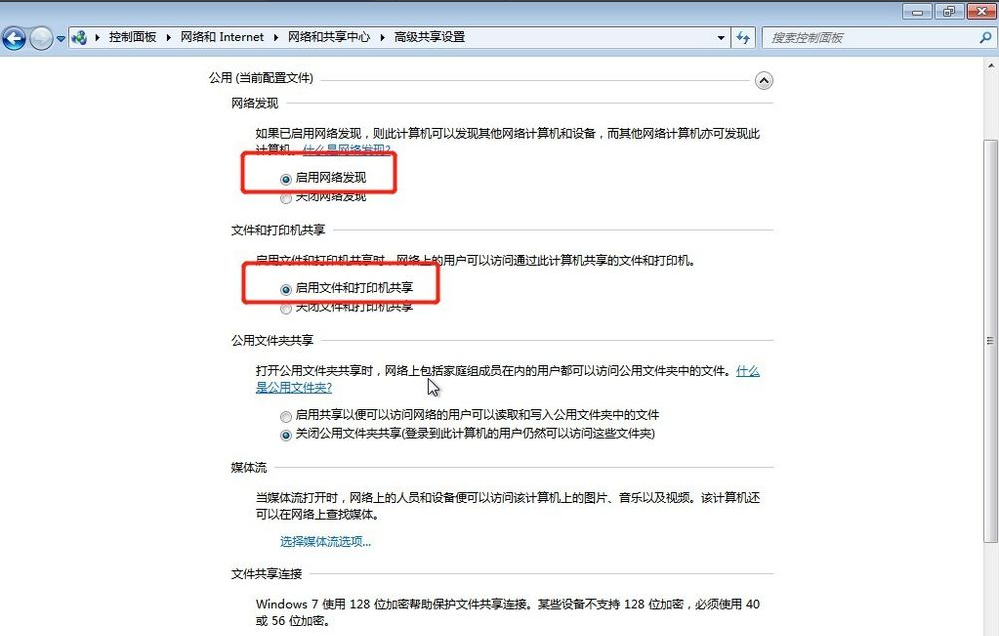
8. Select the corresponding network , just now my network is a public network, then I will select the public network to set up, [Enable network discovery], [Enable file and printer sharing], [Turn off password protected sharing], the settings are as shown below
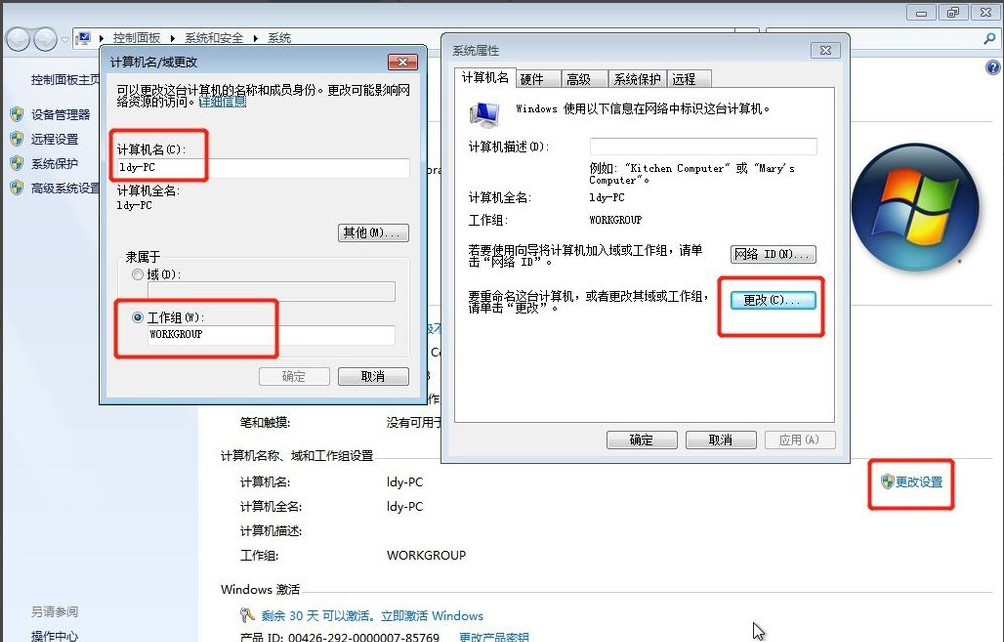
9. Right-click [Computer] and select Properties. Click [Change Settings] in the properties interface. Click [Change] in the computer name tab that pops up. Remember the computer name and workgroup of your computer. The name should be consistent with that of other computers.
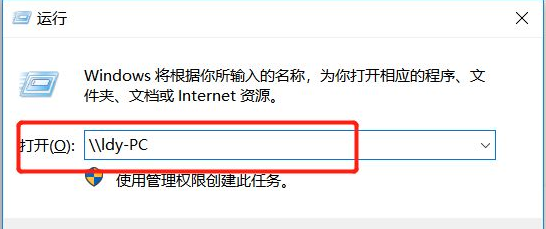
10. Go to another computer and press the win R shortcut key to pop up Run, or click Start in the lower left corner of the computer, find Run on the Start menu, and enter: \\ldy -PC, ldy-PC is the name of the computer sharing the printer.
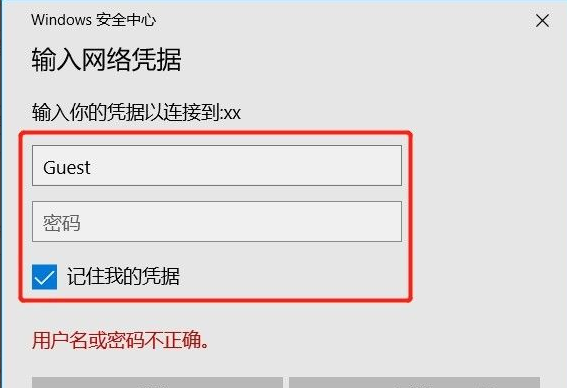
#11. In the pop-up input credentials, the username is: Guest, and the password is empty. Remember to check Remember my credentials.
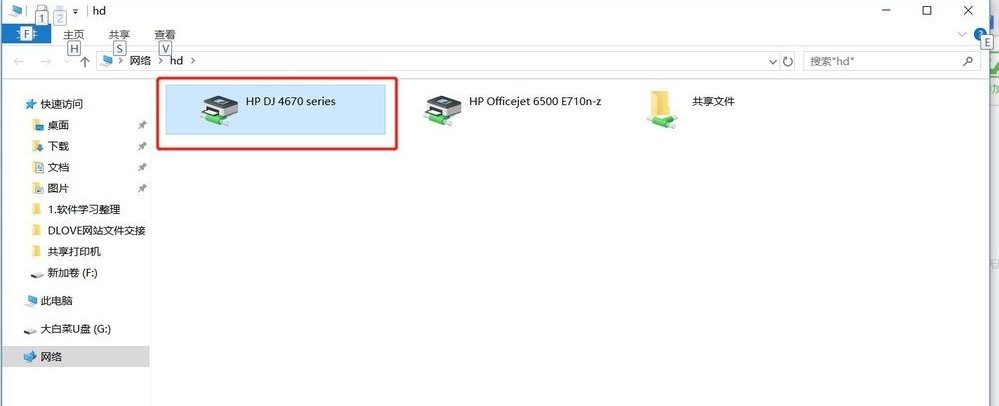
#12. After finding the shared printer, double-click to install it. The printer sharing is now complete.
The above is the step-by-step tutorial on how to set up a shared printer in win7. I hope it can help everyone.
The above is the detailed content of Step-by-step tutorial on how to set up a shared printer in win7. For more information, please follow other related articles on the PHP Chinese website!


![[Web front-end] Node.js quick start](https://img.php.cn/upload/course/000/000/067/662b5d34ba7c0227.png)


