


The Windows search indexing option is designed to make searches on your computer faster. It indexes all your files, documents, and more to find content faster. Windows Search creates an index of files, photos, videos, folders, and more that users can search based on location, size, name, author name, and more. Searching becomes very easy and fast. But keeping the Windows search index open is not mandatory, and now you may be wondering what happens if it is turned off. If you do this, it will stop indexing your documents and searches will still work, but may consume more time. The most interesting option in indexing is to select only those locations where you need to add indexing functionality. In this article, we will discuss how to add, remove, or modify search index locations on Windows 11.
We can add locations or remove locations from the index. Including indexing options makes searching faster, removing indexing options may reduce size but the application may be slower and search results may be delayed. So modifications can be done in two ways, let's see what they are.
Step 1: Also use the key (Windows I) to open Windows Settings, or you You can click the "Start" button and then click "Settings".
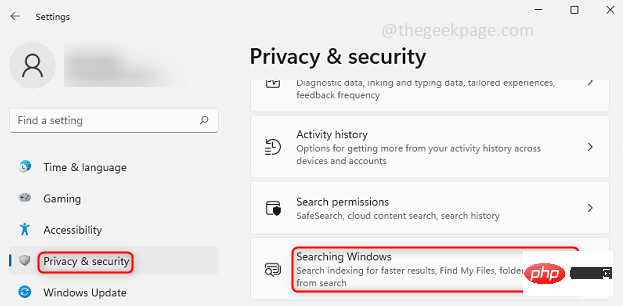
Step 2: ClickPrivacy & Securityin theleftpane, then clickrightClickSearch Windowsin the pane.
Step 3: Toexclude a folderfrom indexing, this means if you don't need indexing, just Clickon the right to add excluded folders, then browse and select the folders or drives you want to exclude.Excluded files and folders will be listed in the same window below.

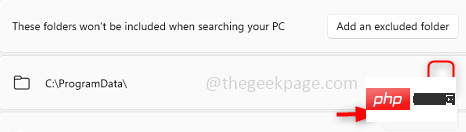
Step 4: To remove a folderfrom theexclude list, click on the file you want to remove from the list Clip the3 pointson the right side. Clickto delete. This also means that from now on, specific folders will have indexing options.
Step 1: Also use the key (Windows I) Open Windows Settings, or you can click the Start button and then click Settings.
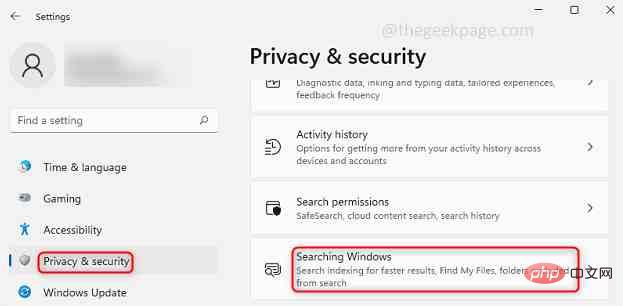
Step 2: ClickPrivacy & Securityin theleftpane, then clickrightClickSearch Windowsin the pane.
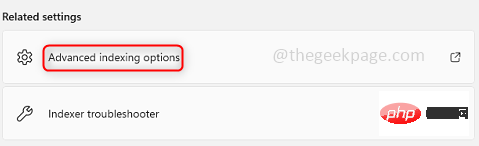
Step 3: ClickAdvanced Indexing Options.
Step 4: Clickat the bottom to modify the options.
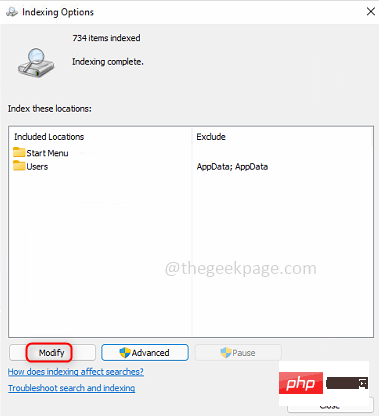
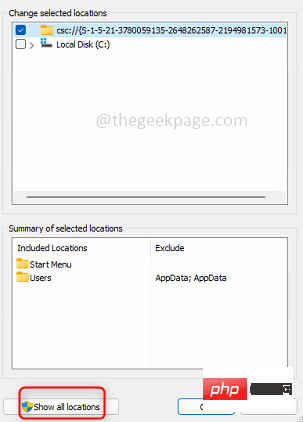
Step 5: ClickShow All Locationsto applyall users, And note that you must be logged in asadmin. If youdo not click Show all locations, the changes will only apply to thecurrent user.
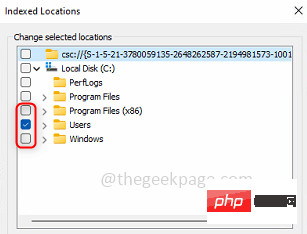
Step 6: A window appears where you can have all your drives and folders and there is a checkbox next to it. Toincludea folder for search indexing,clickthe checkbox for the specific folder you want to include. Toexcludea folder from search indexing,uncheckthe checkbox for that specific folder.
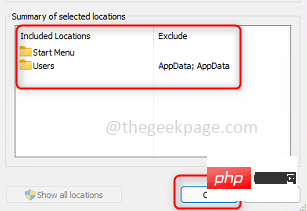
Step 7: You can also view the included and excluded folders in theSummarysection. ClickOK.
Step 8: Now the changes have been applied, so you can go ahead and close the window by clicking theClosebutton.

The above is the detailed content of How to modify search index location in Windows 11. For more information, please follow other related articles on the PHP Chinese website!


![[Web front-end] Node.js quick start](https://img.php.cn/upload/course/000/000/067/662b5d34ba7c0227.png)


