
How to use the CAD area measurement command: 1. Open the CAD editor and enter the command [AREA] to query the area on the command line; 2. Directly specify the boundary line in the figure to measure the area, or you can choose one For closed objects, areas can be added or subtracted.

The operating environment of this article: Windows 7 system, autocad2020 version, Dell G3 computer.
How to use the cad measurement area command:
1. Use the query area command (AREA)
①First, Use the CAD Editor Professional Edition to open the CAD drawing you need to calculate the area, or you can temporarily draw a drawing for practice.
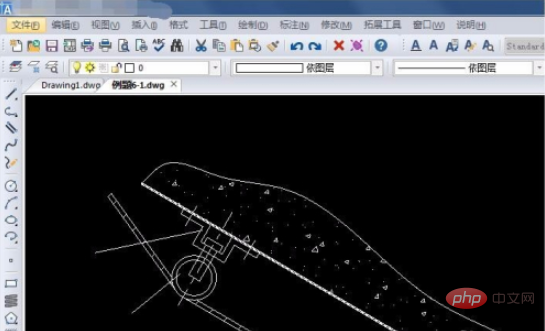
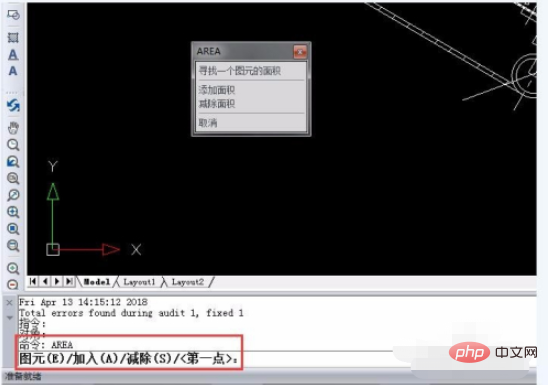
② Enter the command to query the area on the command line: AREA (the shortcut key is AA). After input, press the Enter key, and the command line prompts: Graph element (E)/Add (A)/Subtract (S)/
According to the prompts, we can directly The area is measured by specifying boundary lines in the figure; you can also select an enclosed object and the area can be added or subtracted. We can choose the corresponding method to calculate the area based on the soft graphics object. If it is a circle, closed polyline, or area, we can directly select the object to query the area.
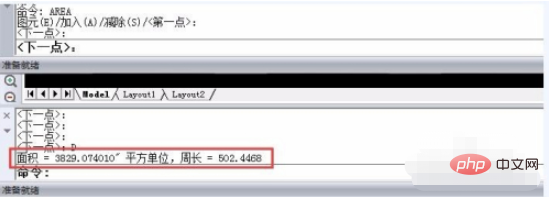
③ If the object to be calculated is not a closed figure, but a cross line or separate straight line or arc, then you can select several corner points of the picked area in sequence. After selecting, click Finish to specify the area. You can see the area of the specified area on the bottom command line. As shown in the figure:
2. Execute the query area command on the toolbar
①Execute [Tools]-[Query] -[Area] command.
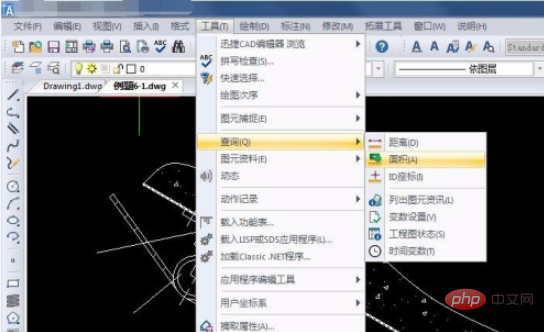
②According to the pop-up prompt, find the area of a graphic element, select the first point, the second point... of the graphic object to be measured, the operation is the same as the first method same.
3. Use the Boundary command to generate a polyline or area
①If the object we need to measure the area has irregular shapes such as arcs , it is relatively simple to use the edge command to calculate the area of such a figure.
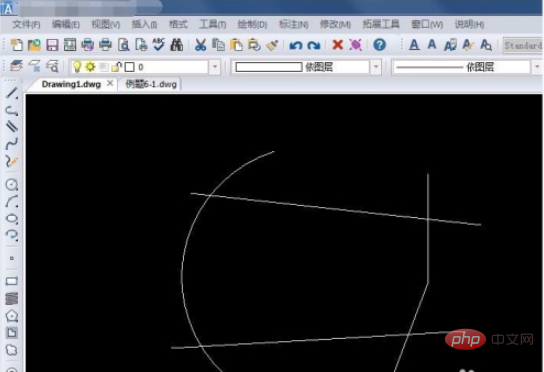
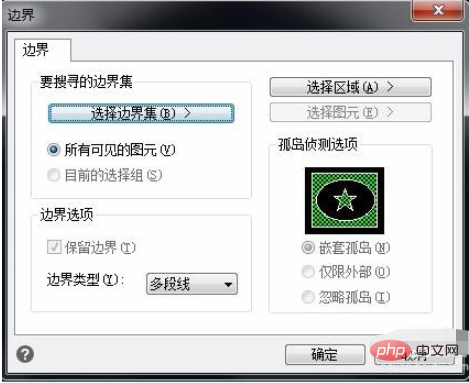
②Enter BO on the command line, press Enter, then set the options in the [Boundary] dialog box, click [Select Area], and then follow the command line prompts Specify several internal points and press Enter to generate the boundary.
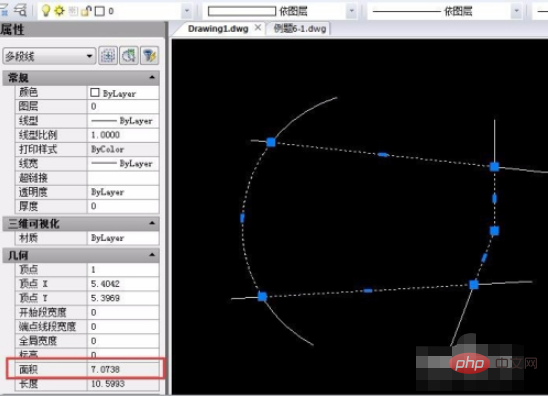
#③After generating the boundary, press Ctrl 1 to pop up the properties window, and select the object to view the area of the graphic.
Related free learning recommendations:php programming(video)
The above is the detailed content of How to use the CAD measurement area command. For more information, please follow other related articles on the PHP Chinese website!


