


[Related learning recommendations:php programming(video)]
Self-written certificates are often used in learning or testing environments. If the project is commercialized To operate, you should purchase a certificate issued by an authoritative third-party CA organization.
Create the directory/etc/httpd/caand execute the command
# 非对称加密 rsa 算法生成2048 比特位的私钥 openssl genrsa -out server.key 2048
to generate a csr certificate signature Request file
# 指定私钥 server.key 生成新的 server.csr 文件 openssl req -new -key server.key -out server.csr
to fill in the registration information. Fill in your domain name or IP address in this column.
Common Name (eg, your name or your server's hostname) []:lamp.test.com
Copy the newly generated private key and certificate to the ssl configuration directory.
cp server.key /etc/pki/tls/private/cp server.crt /etc/pki/tls/certs/
Changessl.confConfiguration file
Visithttps://lamp.test.com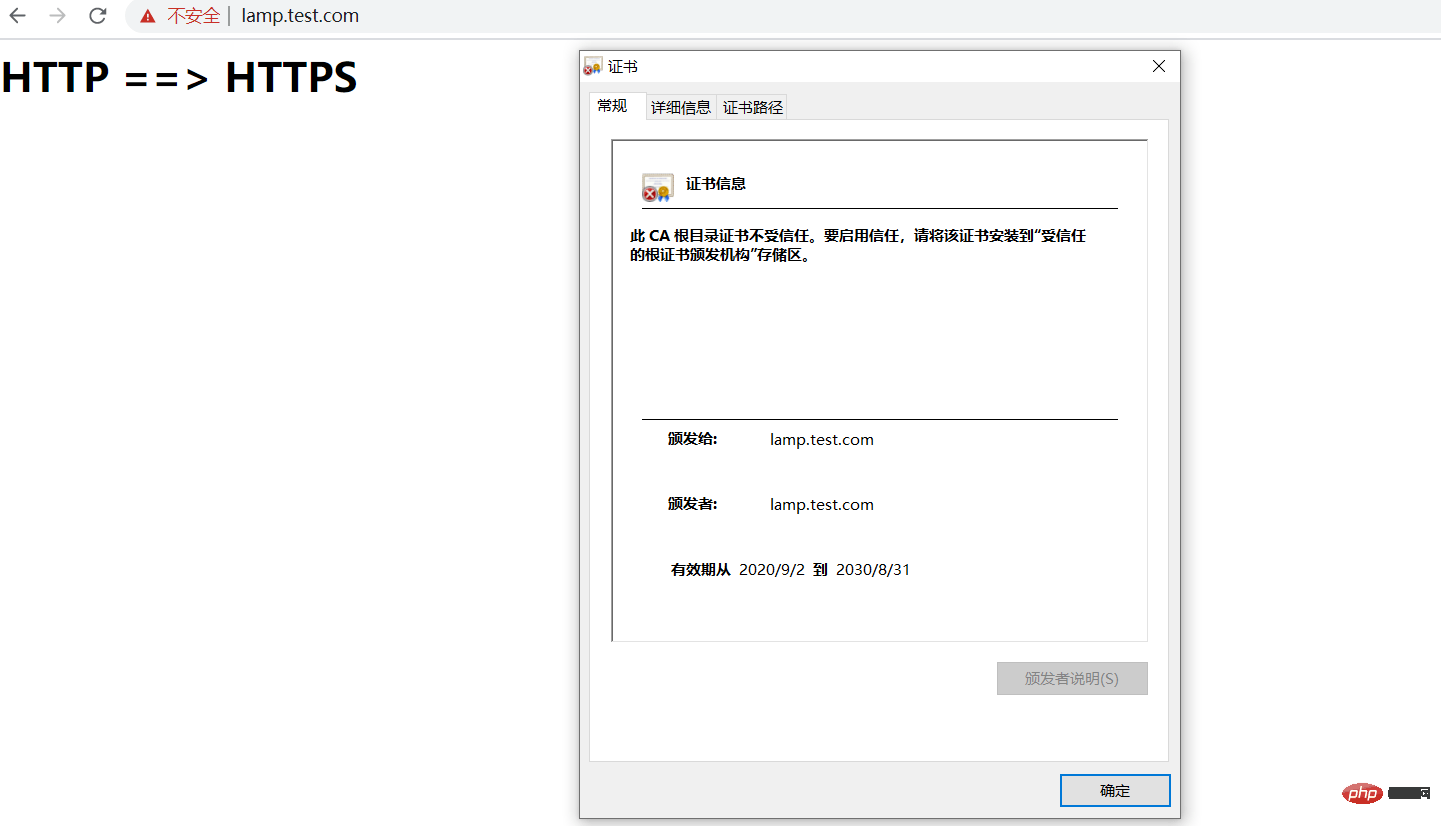
The validity period of the certificate has been changed from 1 year to 10 years.
First check whether the local nginx has thehttp_ssl_modulemodule installed. If not, reinstall nginx from the source code and use the parameters--with-http_ssl_module.
nginx -V

Enter the/etc/ssldirectory and execute the command
# 使用 des3 算法 生成 4096 比特位服务器私钥 openssl genrsa -des3 -out server.key 4096# 生成证书签名请求文件 openssl req -new -key server.key -out server.csr # 生成 4096 位 ca 私钥 openssl genrsa -des3 -out ca.key 4096# 去除服务器私钥避免以后每次载入文件需要输入密码 openssl rsa -in server.key -out server.key # 以 x509 证书格式标准生成 10 年的 crt ,注意填写域名或者 IP 地址 openssl req -new -x509 -key ca.key -out ca.crt -days 3650# 请求有效期为 3650 天 传入文件为server.csr 指定 CA 文件为 ca.crt 指定私钥文件为ca.key 并自动创建 CA 序列文件 输出证书文件 server.crt 至此签名成功 openssl x509 -req -days 365 -in server.csr -CA ca.crt -CAkey ca.key -CAcreateserial -out server.crt
Modify the nginx configuration file
listen 80;# 监听 443 端口 listen 443 ssl;server_name lnmp.test.com;# 配置服务器证书 ssl_certificate /etc/ssl/server.crt;# 配置服务器私钥 ssl_certificate_key /etc/ssl/server.key;
Restart nginx
nginx -t nginx -s reload
Visit lnmp.test.com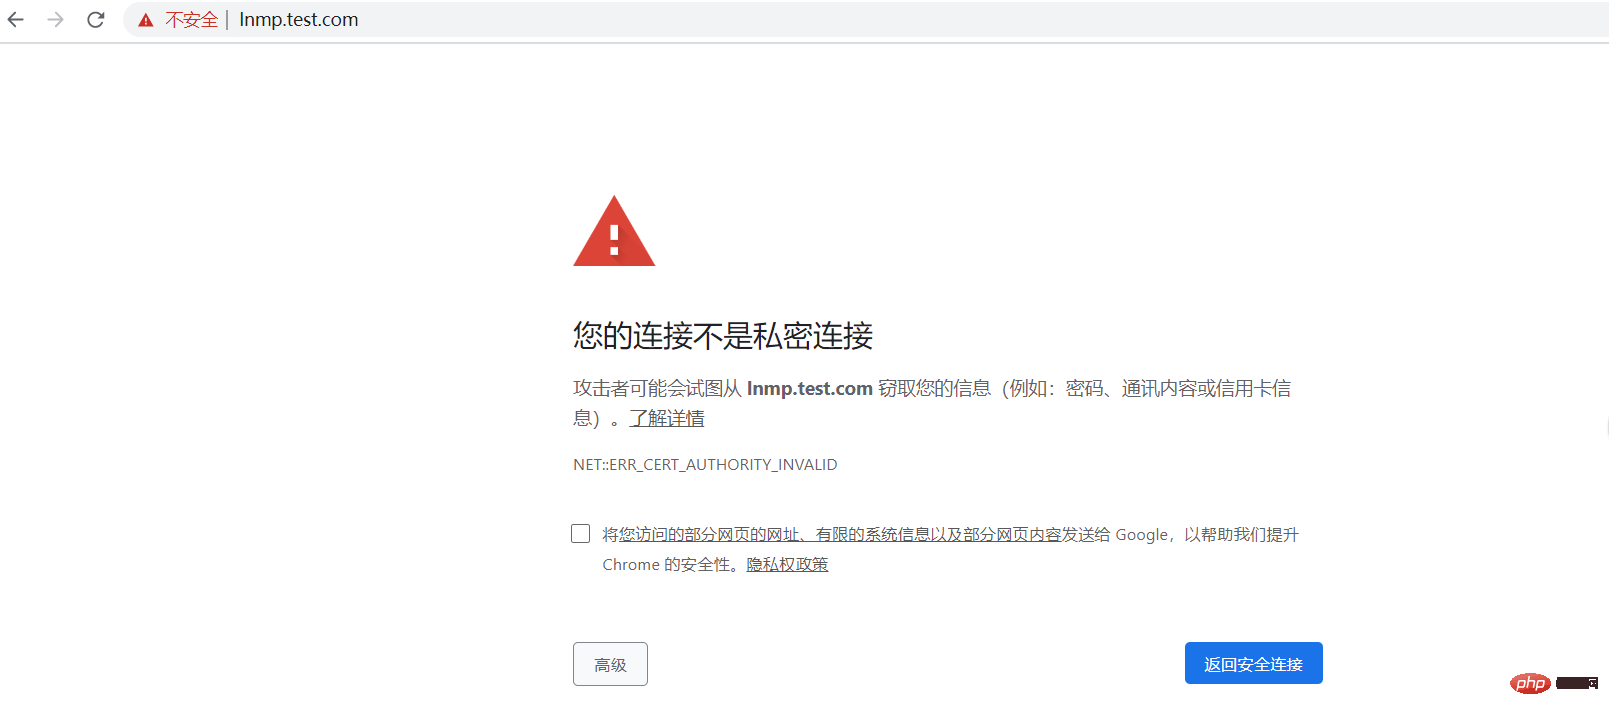

Successfully implemented nginx simple deployment of HTTPS.
If you want to know more about programming learning, please pay attention to thephp trainingcolumn!
The above is the detailed content of Easily implement self-signed certificate for HTTPS. For more information, please follow other related articles on the PHP Chinese website!


![[Web front-end] Node.js quick start](https://img.php.cn/upload/course/000/000/067/662b5d34ba7c0227.png)


