
1. Install Vscode, nodejs, etc. in advance.
2. Install vue-cli globally. vue-cli can help us quickly build Vue projects.
Installation command:
npm install -g vue-cli
Open the terminal of VScode and bring up the command input box. Click Terminal-New Terminal, enter the above command, press Enter, and wait for the installation to complete.

3. Install webpack, which is a tool for packaging js
Installation command:
npm install -g webpack
The installation method is the same as above.
4. After the installation is complete, you can start creating the vue project. First create a folder to store your project, open the corresponding folder with vscode, and cd to the corresponding folder in the terminal. For example, my folder is myvue
Create project command, enter:
vue init webpack myvue
where myvue is the project name, choose it according to your preference.

Then some configuration items will appear, which can be configured as needed, or they can be defaulted and just press Enter.

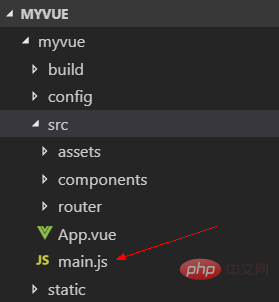
Then continue waiting for the dependencies to be installed. After completion, a basic vue project will be built. After completion, you can see the following directory on the left side of vscode, of which main.js is the entry.

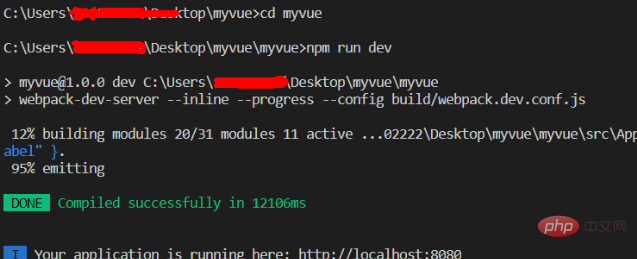
5. Then run the project, first cd to the project folder, cd myvue, and then enter the following command
npm run dev

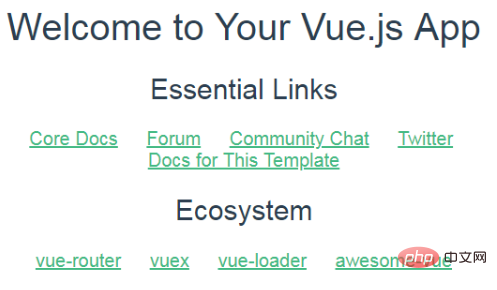
After success, enter:http://localhost:8080in the browser. If you see the following screen, it is successful.

6. Project packaging and release online
Enter the command:
npm run build
After completion, a dist folder will appear in the project folder , which contains the packaged content and can be deployed directly.
Recommended related articles and tutorials:vscode tutorial
The above is the detailed content of How vscode builds a vue project. For more information, please follow other related articles on the PHP Chinese website!


