

This time I will bring you a detailed explanation of Angular CLI construction and Serve usage. What are theprecautionsfor Angular CLI construction and Serve usage? Here are practical cases, let’s take a look.
Build.
Build will mainly do the following actions:
Compile the project file and output it Go to a certain directory
Build targets determine the output result
bundling packaging
Production The build of the environment will also perform uglify and tree-shaking (removing useless code)
ng build.
You can read the help first :
ng build --help
For the development environment, use the command ng build.
By default, its output directory is configured in the ourDir attribute in the .angular-cli.json file, and the default is /dist Directory.
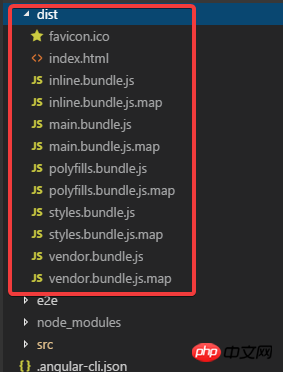
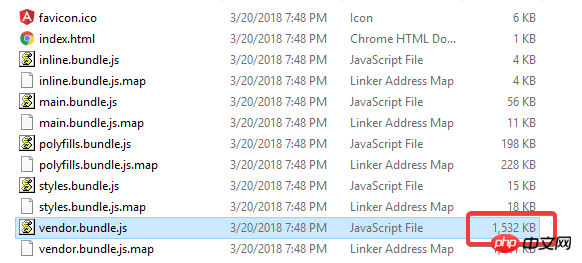
After building, you will see these files in dist:
inline.bundle.js This is the runtime of webpack.
main.bundle.js is the program code.
pollyfills.bundle.js is the browser’s Pollyfills.
styles. bundle.js style
vendor.bundle.js is angular and third-party library
You can use source-map-explorer to analyze dependencies, And check which modules and classes are in the bundle.
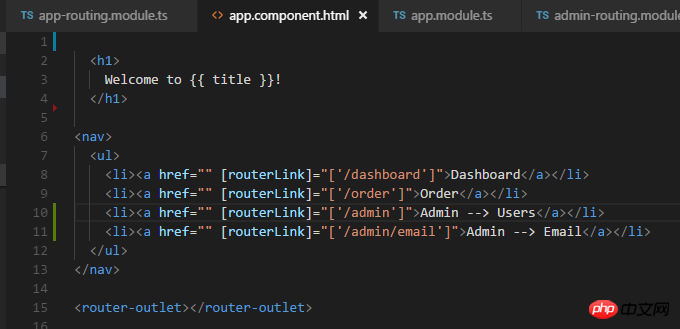
First modify the code in the previous example:
Execute ng build:
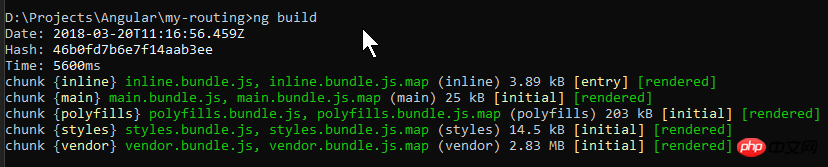
You can see that these files are generated.
Format the index.html in dist and take a look:
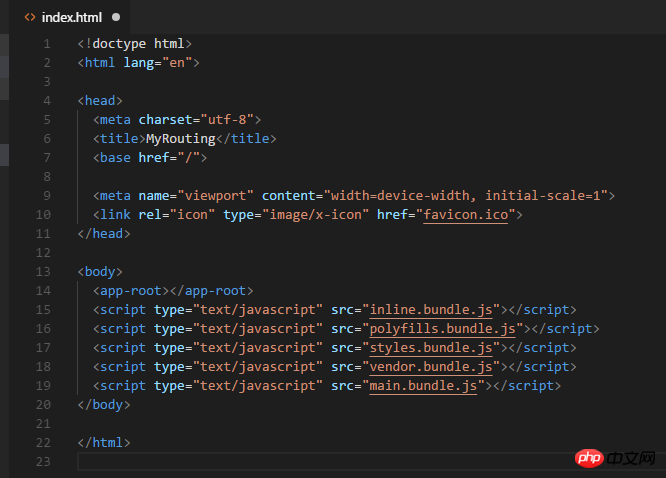
You can see that itreferencesthe 5 generated js files.
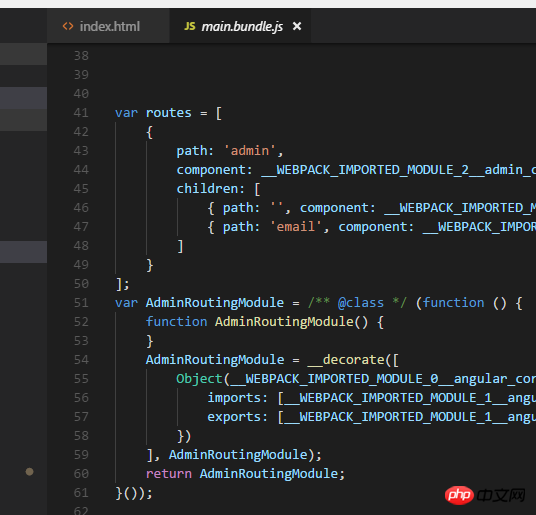
Open main.bundle.js and you can see the code I wrote:
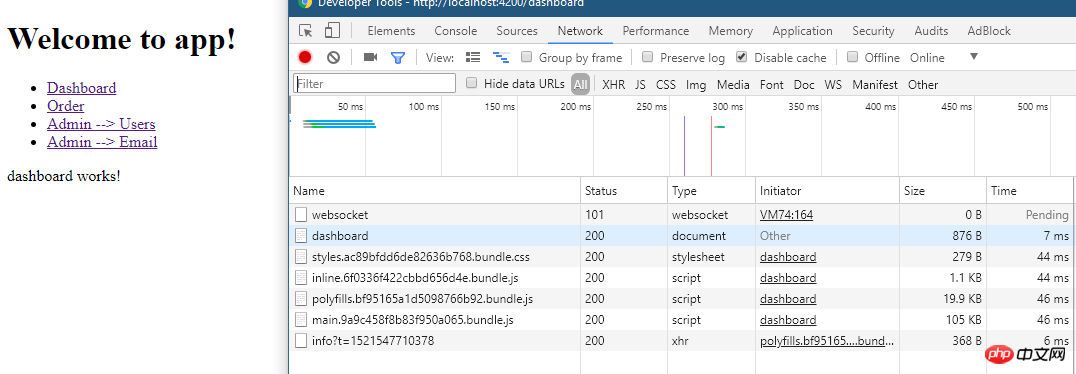
Run the program below: ng serve -o:
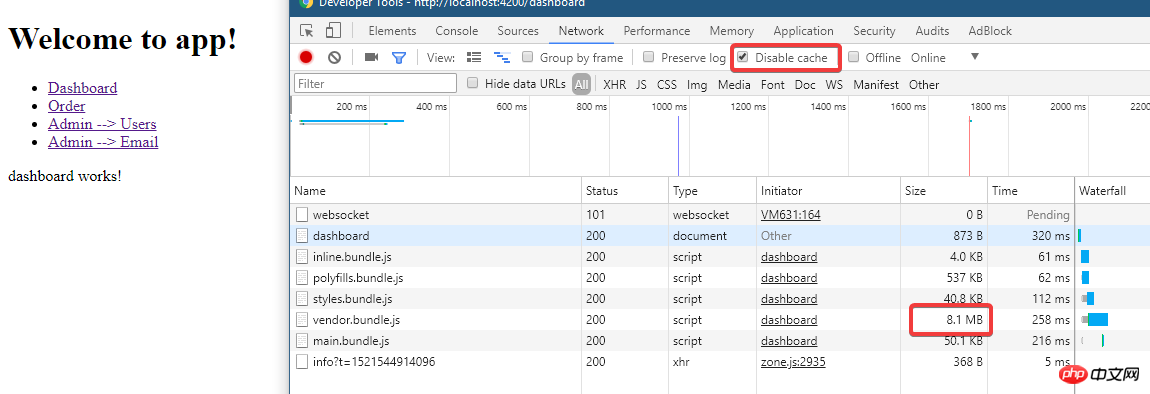
You can see that when ng serve, the above is loaded The file.
Because ng build is a development build, no optimization has been done, and the file is quite large.
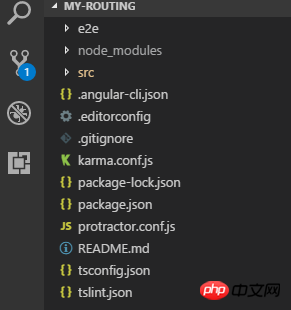
Look at the file directory at this time, there is no dist directory:
So how are these files served?
This is because webpack is being served in memory at this time.
The following is Use source-map-explorer for analysis, firstinstallit:
npm install --save-dev source-map-explorer
Then execute ng build, then execute:
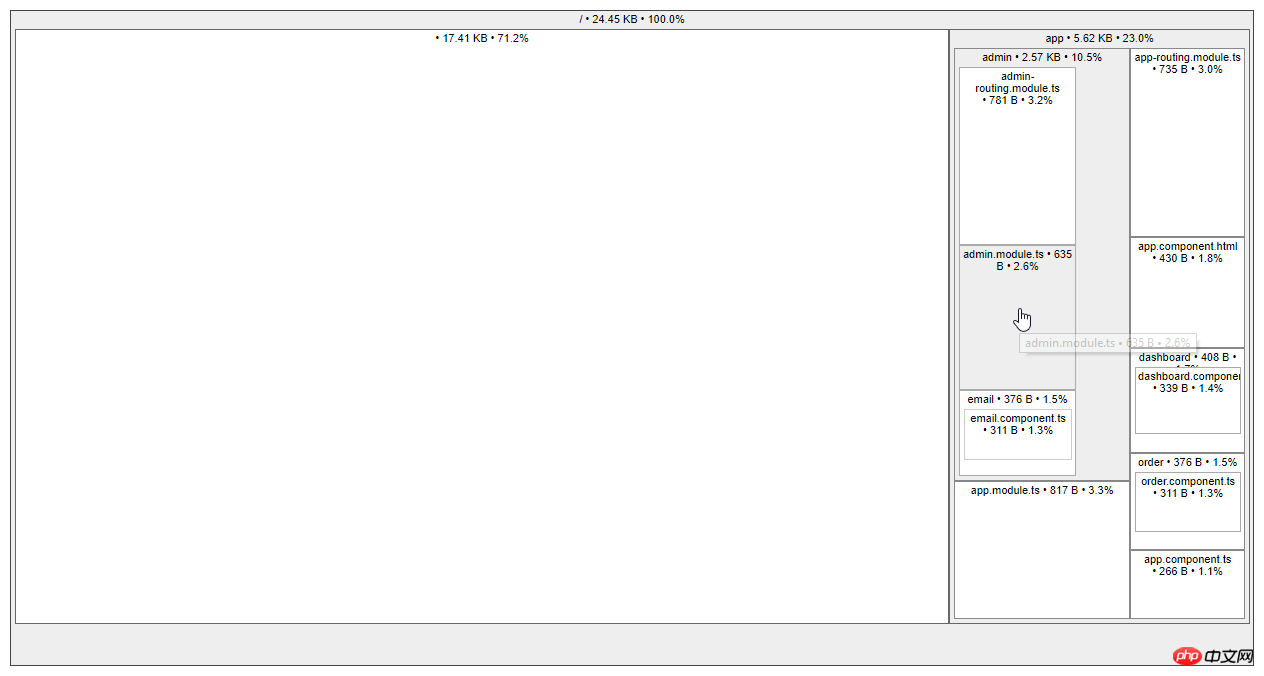
.\node_modules\.bin\source-map-explorer dist\main.bundle.js
The result will generate this graph:
Look at the situation of vendor.bundle:
.\node_modules\.bin\source-map-explorer dist\vendor.bundle.js
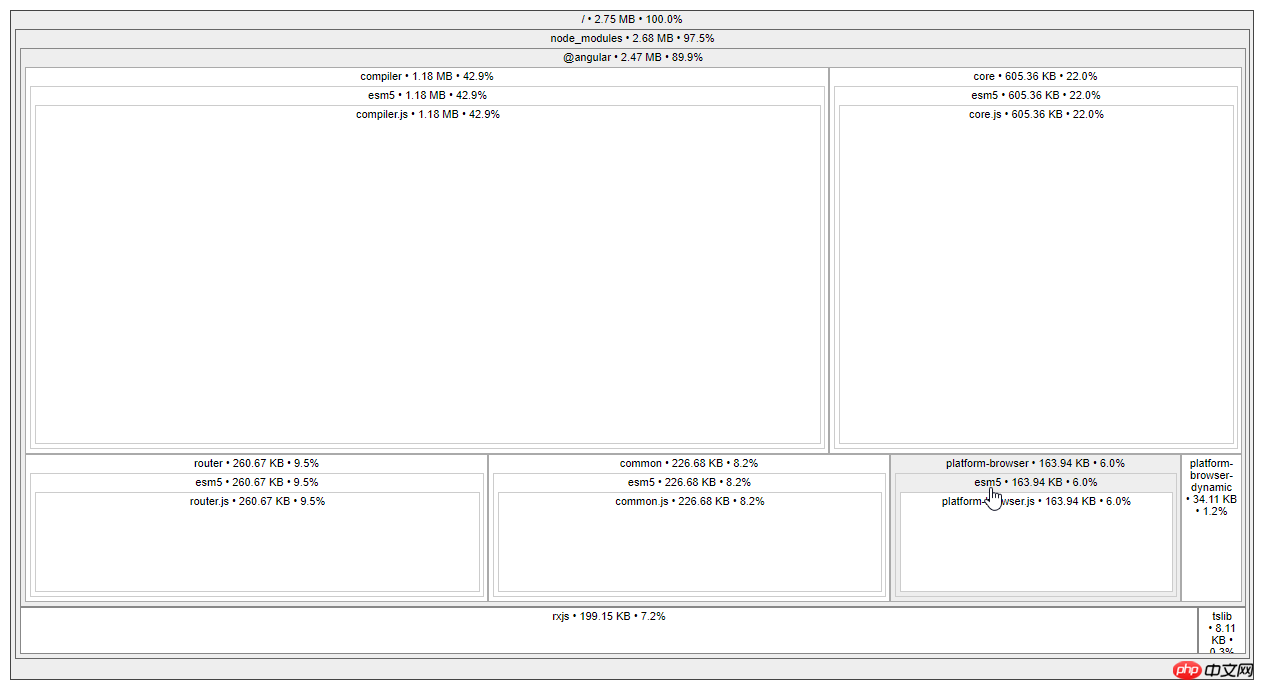
There are more things in it.
Build Targets and Environment.
Environment refers to which environment file to use:
And Targets is used to determine the project How files are optimized.
Look at the comparison between development and production builds.
ng build |
ng build --prod |
|
Environment |
environment.ts |
environment..prod.ts |
Cache |
Only cacheimages referenced in css |
All builds File |
source maps |
generated |
not generated |
How to process css |
Global css output to js file |
The generated css file |
uglify |
is not |
Yes |
Tree-Shaking |
Do not remove useless code |
Remove Useless code |
AOT |
is not |
is |
Bundling Packaging |
is |
is |
--build-optimizer |
No |
Yes (with AOT and Angular5) |
--named-chunks |
Yes |
No |
--output-hashing |
media |
all |
下面命令都是针对开发时的build, 它们的作用是一样的:
ng build ng build --dev ng build --dev -e=dev ng build --target=development --environment=dev
下面则是生产build:
ng build --prod ng build --prod -e=prod ng build --target=production --environment=prod
其它常用的参数还有:
--sourcemap -sm 生成source map
--aot Ahead of Time编译
--watch -w Watch并rebuild
--environment -e Build环境
--target -t Build target
--dev 表示dev env和target
--prod 表示prod env和target
Production Build.
先使用--aot:
ng build --aot
使用aot之后可以看到 vendor.bundle的大小降了很多, 只有1.5m左右了.
执行aot会去掉一些程序执行不需要的代码, 例如angular的compiler这时就不在build输出的文件里了(可以使用source-map-explorer查看).
试试生产环境:
ng build --prod
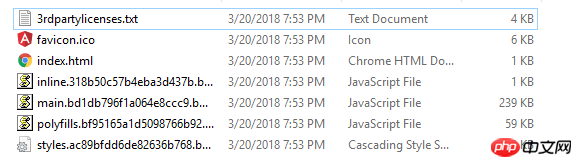
可以看到所有的文件都非常小了, 并且没有vendor了(因为prod下--build-optimizer起作用所以vendor没有了, 但可以使用--vendor-chunk true给弄出来).
Serve.
ng serve. 已经一直在用了, 下面看看它常用的参数:
--open -o 打开默认浏览器
--port -p 端口
--live-reload -lr 发生变化时重新加载网页(默认开启的)
--ssl 使用https
--proxy-config -pc 代理配置
--prod 在内存中serve 生产模式build的文件
试试 --prod:
ng serve --prod
通过文件大小可以看出确实是prod build的.
ng eject.
为项目生成webpack配置和脚本.
执行该命令试试:
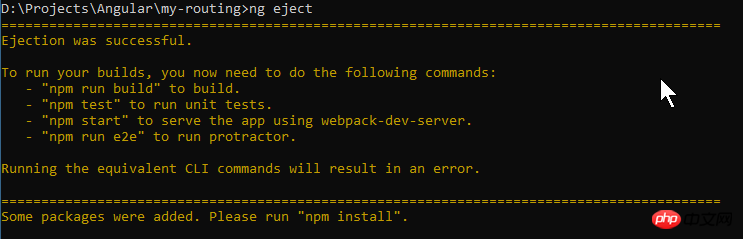
看看有哪些变化:
.angular-cli.json:

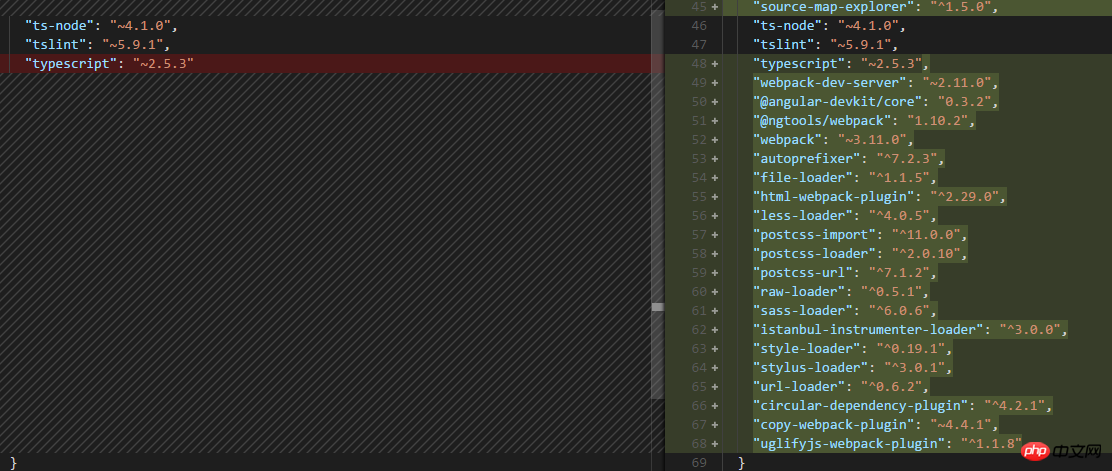
package.json:

命令脚本都变了
还多出来一个webpack.config.js文件:

为什么要这么做呢?
可以对项目更深入的配置....
这时运行程序就是 npm start了.
我还是把reject恢复回去吧, 使用git来恢复吧.
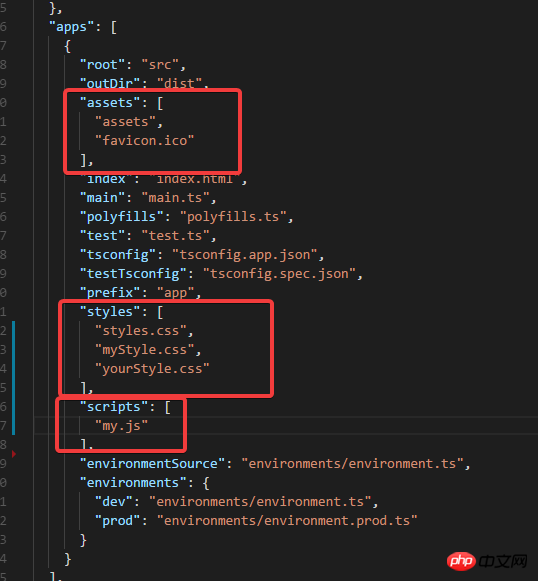
如果需要Serve 其他js/css/assets文件:
相信看了本文案例你已经掌握了方法,更多精彩请关注php中文网其它相关文章!
推荐阅读:
The above is the detailed content of Detailed explanation of Angular CLI construction and Serve usage. For more information, please follow other related articles on the PHP Chinese website!


![[Web front-end] Node.js quick start](https://img.php.cn/upload/course/000/000/067/662b5d34ba7c0227.png)


