The content shared with you in this article is about the OpenCV python implementation of camera calling. It has a certain reference value. Friends in need can refer to it.
Use opencv’s own The VideoCapture() function defines a camera object, and its parameter 0 represents the first camera, which is usually the built-in camera of the notebook.
cap = cv2.VideoCapture(0)
In the while loop, use the read() function of the camera object to read a certain frame of the video and display it, and then wait for 1 unit time. If the keyboard input q is detected during the , then exit, that is, close the window.
while(1):
    # get a frame
    ret, frame = cap.read()
    # show a frame
    cv2.imshow("capture", frame)
    if cv2.waitKey(1) & 0xFF == ord('q'):
breakCall release() to release the camera, and call destroyAllWindows() to close all image windows.
cap.release()
cv2.destroyAllWindows()
Complete code
import cv2
import numpy as np

cap = cv2.VideoCapture(0)
while(1):
    # get a frame
    ret, frame = cap.read()
    # show a frame
    cv2.imshow("capture", frame)
    if cv2.waitKey(1) & 0xFF == ord('q'):
        break
cap.release()
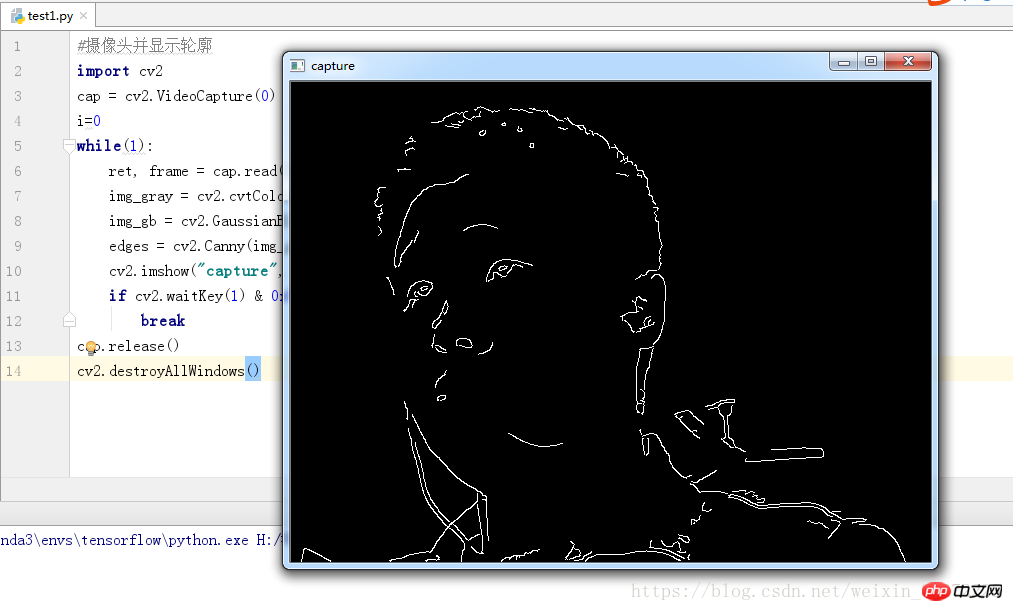
cv2.destroyAllWindows()#摄像头并显示轮廓
import cv2
cap = cv2.VideoCapture(0)
i=0
while(1):
ret, frame = cap.read()
img_gray = cv2.cvtColor(frame, cv2.COLOR_BGR2GRAY)
img_gb = cv2.GaussianBlur(img_gray, (5, 5), 0)
edges = cv2.Canny(img_gb, 100 , 200)
cv2.imshow("capture", edges)
if cv2.waitKey(1) & 0xFF == ord('q'):
break
cap.release()
cv2.destroyAllWindows()
The above is the detailed content of OpenCV+python implements camera calling. For more information, please follow other related articles on the PHP Chinese website!


