This time I will bring you the function of synthesizing js and canvas pictures to make WeChat public account posters, and the function of synthesizing js and canvas pictures to make WeChat public account posters Precautions Yes Which ones, the following are practical cases, let’s take a look.
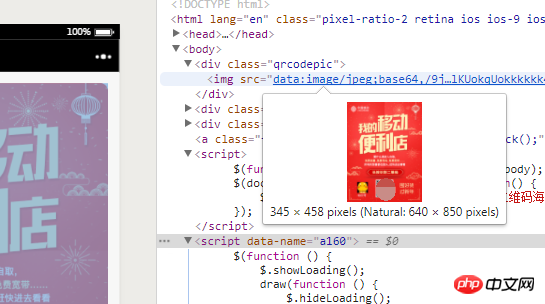
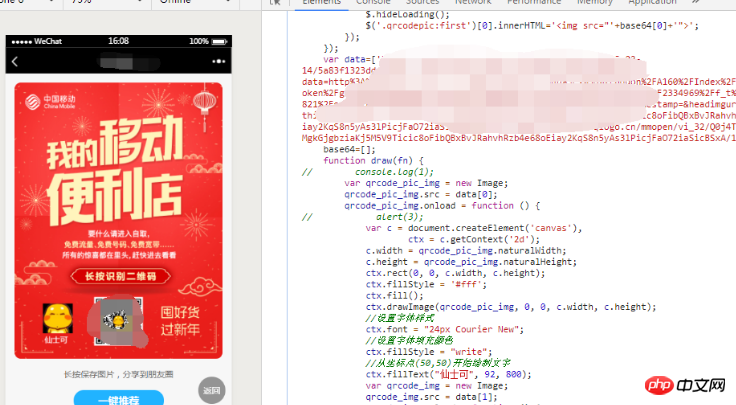
In the development of WeChat public accounts, there is often a need to add a picture, avatar, nickname or other data to generate your own QR code poster or generate a sharing poster
This Requirements, PHP's gd library can be implemented, but using the server for image synthesis will consume a lot of server resources
So we can consider using the following methods to achieve
1: js canvas image Synthesis method
 $(function () {
        draw(function () {//生成之后的回调
            $('#img')[0].innerHTML='<img  alt="js and canvas synthesize pictures to create WeChat public account posters" >';//将base生成图片
        });
    });
    var data=[图片1地址,图片2地址,图片3地址];
    base64=[];//用于保存生成之后的base64
    function draw(fn) {
        var img1= new Image;
        img1.src = data[0];
        img1.onload = function () {//这步必须,因为图片加载是异步的,必须等图片加载完成才开始下面的这些步骤
            var c = document.createElement('canvas'),
                    ctx = c.getContext('2d');
                        c.width = img1.naturalWidth;
                        c.height = img1.naturalHeight;
                        ctx.rect(0, 0, c.width, c.height);
                        ctx.fillStyle = '#fff';
                        ctx.fill();
            //生成一张图片1的底图

            /*下面是为底图增加上文字*/
            ctx.drawImage(img1, 0, 0, c.width, c.height);(绘制图片资源,x坐标,y坐标,宽,高)
            //设置字体样式
            ctx.font = "24px Courier New";
            //设置字体填充颜色
            ctx.fillStyle = "write";
            //从坐标点(92,800)开始绘制文字
            ctx.fillText("这是文字内容", 92, 800);
            /*上面是增加文字,可以无限加*/


            var img2= new Image;
            img2.src = data[1];
            img2.onload = function () {//同理,如果是加载图片的话,需要等图片加载出来再下一步,所以要加onload
                ctx.drawImage(img2, 245, 660, 150, 150);(绘制图片资源,x坐标,y坐标,宽,高)
                    base64.push(c.toDataURL("image/jpeg", 1));//如果绘制完成了,就把base64数据填进数组,然后回调,没完成则继续这步
                fn();//回调
            };
        };
    }
 ///如果是坐标相同,或者觉得代码这样不美观的,可以使用递归方法实现onload的步骤,例如:

    function draw(fn) {

         a(0);

         fn();
    }

 function a(i){
       if (i == 0) {
         var img1= new Image;
        img1.src = data[0];
        img1.onload = function () {
            var c = document.createElement('canvas'),
            ctx = c.getContext('2d');
                        c.width = img1.naturalWidth;
                        c.height = img1.naturalHeight;
                        ctx.rect(0, 0, c.width, c.height);
                        ctx.fillStyle = '#fff';
                        ctx.fill();
            //生成一张图片1的底图

            /*下面是为底图增加上文字*/
            ctx.drawImage(img1, 0, 0, c.width, c.height);(绘制图片资源,x坐标,y坐标,宽,高)
            //设置字体样式
            ctx.font = "24px Courier New";
            //设置字体填充颜色
            ctx.fillStyle = "write";
            //从坐标点(92,800)开始绘制文字
            ctx.fillText("这是文字内容", 92, 800);
            /*上面是增加文字,可以无限加*/
            a(1);//到第2个步骤
        }
        } else if (i == 1) {
           var img2= new Image;
            img2.src = data[1];
            img2.onload = function () {//同理,如果是加载图片的话,需要等图片加载出来再下一步,所以要加onload
                ctx.drawImage(img2, 245, 660, 150, 150);(绘制图片资源,x坐标,y坐标,宽,高)
                    base64.push(c.toDataURL("image/jpeg", 1));//如果绘制完成了,就把base64数据填进数组,然后回调,没完成则a(2)到第三步;
                return;
            };
        }
}2: Use html2canvas to save web pages into images //Need to introduce html2canvas.js
<div>
    <img  alt="js and canvas synthesize pictures to create WeChat public account posters" >
    <img  alt="js and canvas synthesize pictures to create WeChat public account posters" >
    <span><img  alt="js and canvas synthesize pictures to create WeChat public account posters" >文字</span>
    <div></div>
</div>
//使用css进行网页布局
$(window).load(function(){
    var shareContent = $(".qrbg")[0];
    var width = shareContent.offsetWidth;
    var height = shareContent.offsetHeight;
    $(".qrcodepic").height(height);
    var canvas = document.createElement("canvas");
    var scale = 2;
    canvas.width = width * scale;
    canvas.height = height * scale;
    canvas.getContext("2d").scale(scale, scale);
    var rect = shareContent.getBoundingClientRect();
    canvas.getContext("2d").translate(-rect.left,-rect.top);
    var opts = {
        scale: scale,
        canvas: canvas,
        width: width,
        height: height,
        useCORS:true
    };
    html2canvas($(".qrcodepic"), opts).then(function (canvas) {
        dataURL =canvas.toDataURL("image/png");
        $(".qrcodemain").html("<img  alt="js and canvas synthesize pictures to create WeChat public account posters" >");
    });
});

I believe you have mastered the method after reading the case in this article. For more exciting information, please pay attention to other related articles on the PHP Chinese website!
Recommended reading:
How to use JQ to right-click to collect web pages
The API that jQuery must master
How to implement file upload with progress bar animation
jQuery implements form verification after multi-layer verification
The above is the detailed content of js and canvas synthesize pictures to create WeChat public account posters. For more information, please follow other related articles on the PHP Chinese website!


