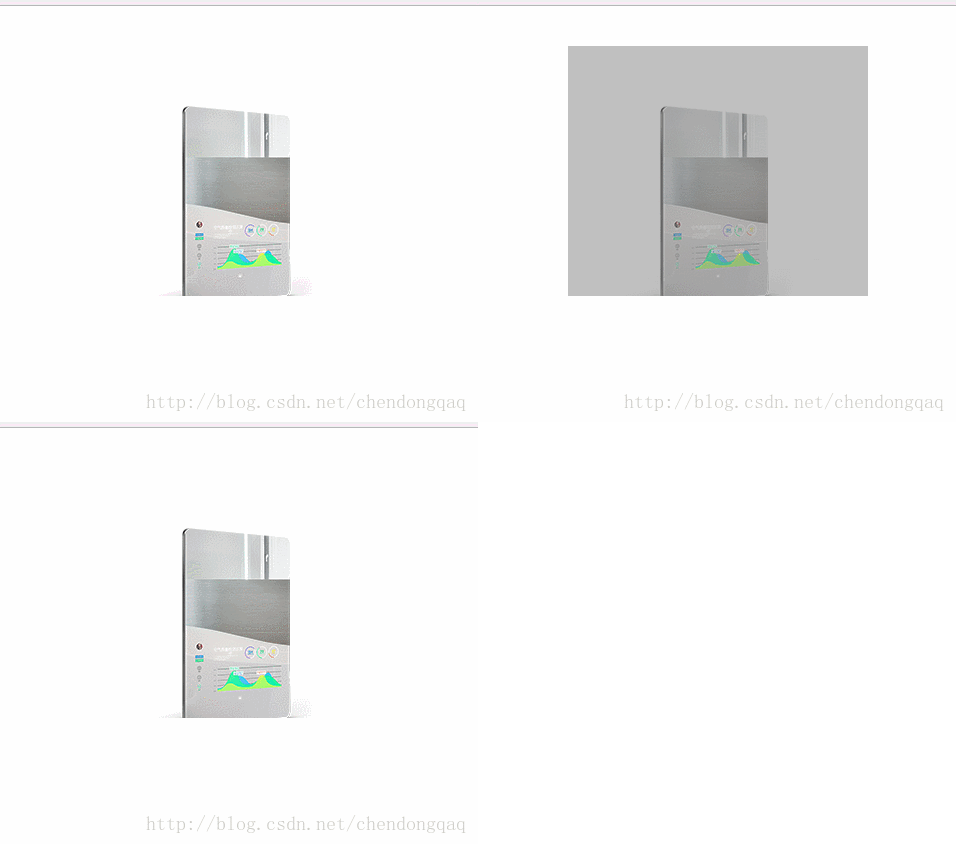
The example of this article shares with you the specific code of js to achieve the masking effect of moving the mouse to the picture for your reference. The specific content is as follows
<!DOCTYPE html>
<html lang="en">
<head>
  <meta charset="UTF-8">
  <title>mask</title>
<style>
  .pic{
    width:300px;
    height:250px;
    background:url(icon/product1.jpg) no-repeat;
    margin:40px auto;
  }
  #mask{
    width:300px;
    height:250px;
    background-color: gray;
    margin:40px auto;
    opacity: 0.5;
    z-index: 1000;
  }
</style>
</head>
<body>
  <p class="pic">
    <!-- <p id="mask"></p> -->
  </p>
</body>
<script>
  var pic=document.getElementsByClassName("pic")[0];
  var d=document.createElement("p");
  pic.onmouseenter=function(){
    // var d=document.createElement("p");
    d.id="mask";
    pic.appendChild(d);
  };
  pic.onmouseleave=function(){
    this.removeChild(d);
  };
</script>
</html>Effect picture:

The above is the detailed content of JS code example to implement the mask effect when the mouse is placed on the picture. For more information, please follow other related articles on the PHP Chinese website!


