

This article mainly introduces you to the relevant information about hello world for getting started with Three.js and how to draw lines. The article introduces it in great detail through sample code. It has certain reference learning value for everyone's study or work. It needs Friends, please follow the editor to learn together.
Preface
This article is an introductory tutorial for learning Three.js. It introduces the implementation of hello world and lines through examples. The following is not Enough said, let’s take a look at the detailed introduction.
hello world
First of all, we use three.js to create a cube hello world type case.
Document
Analysis of the above code case:
(1) First introduce the three.js library file, Just like introducing jq.
(2) Create scene (line 17)
(3) Create camera and set field of view, display aspect ratio, near clipping plane, far clipping plane (Line 19)
(4) Create a renderer, set attributes, and place it in the dom (Lines 21-25)
(5) Create a cube model , and put it into the scene (28-34)
(6) Set the camera position (line 36)
(7) Set an animation function and use The renderer renders the scene and camera at 60 frames per second, displays it, and turns it into an animation.
Use Three.js to draw lines
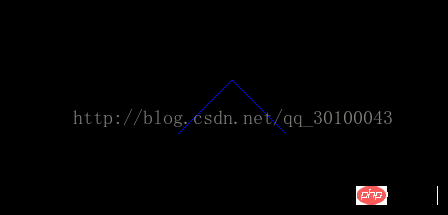
The above is the effect displayed after the drawing is completed.
Document
Compared with the previous section, there is only a difference in the model. Here, we first use the line texture method to set the line texture, and then use geometric objects or buffers. The geometric object generates vertex coordinates, and finally calls the Line method to draw the line.
The above is the detailed content of Introduction to Three.js hello world and how to draw lines. For more information, please follow other related articles on the PHP Chinese website!


![[Web front-end] Node.js quick start](https://img.php.cn/upload/course/000/000/067/662b5d34ba7c0227.png)


