Luma Island: Farming Guide
Like many cozy games and life sims, Luma Island has its own farming system, but with some unique spins on the classic game mechanic. Between plants and trees, you'll have a wide variety of crops to grow and make food and drinks out of, but that's not all. Much like real life, you'll need to deal with pests.
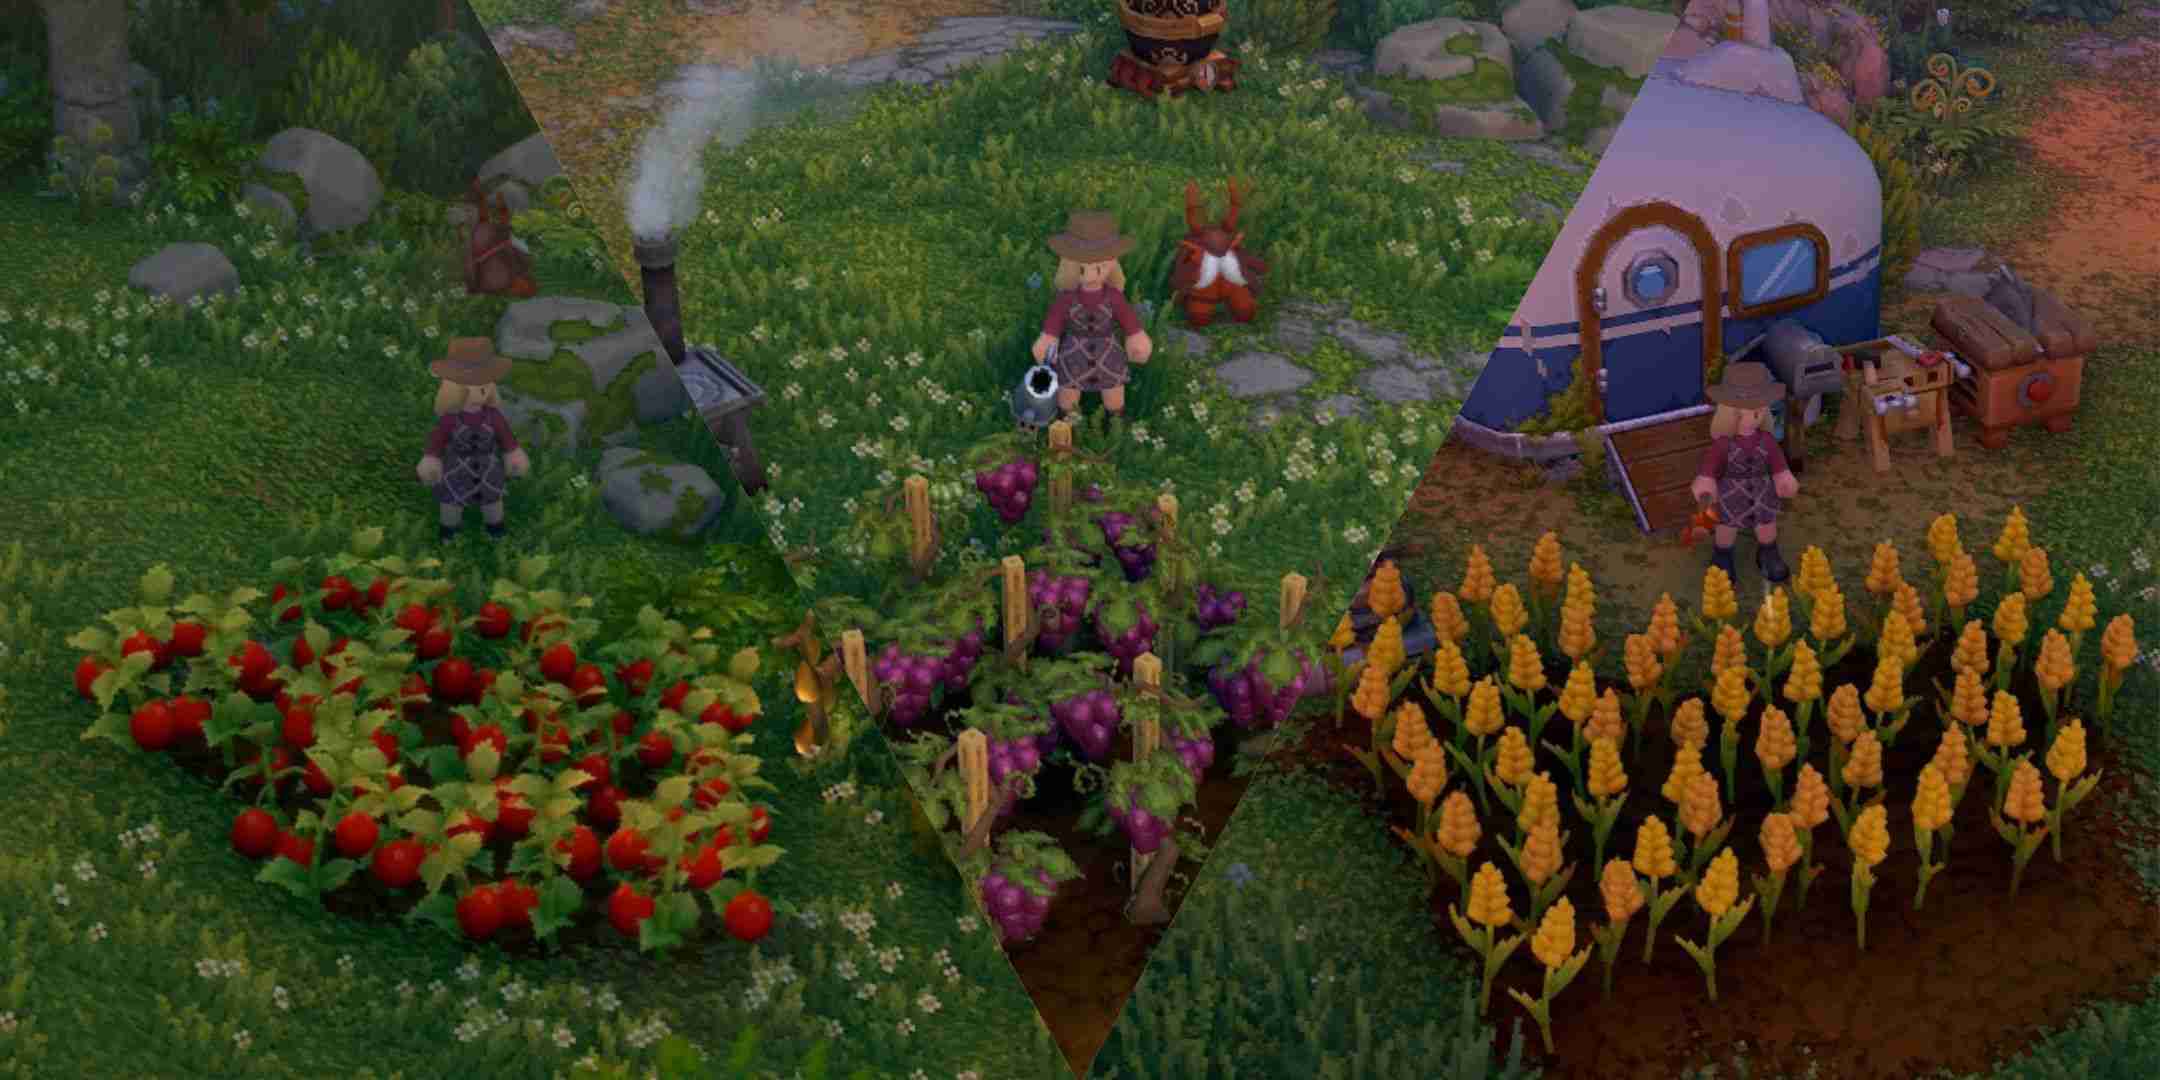
Weeds and insects will impede the growth of your crops, so you'll need small farm animals to help you out, but they'll get preyed upon by foxes if you aren't careful. There's automation that makes things easier, magical Everseeds mean you won't have to replant things after you harvest them, and more to discover if you're willing to live the life of a farmer.
How To Grow Crops
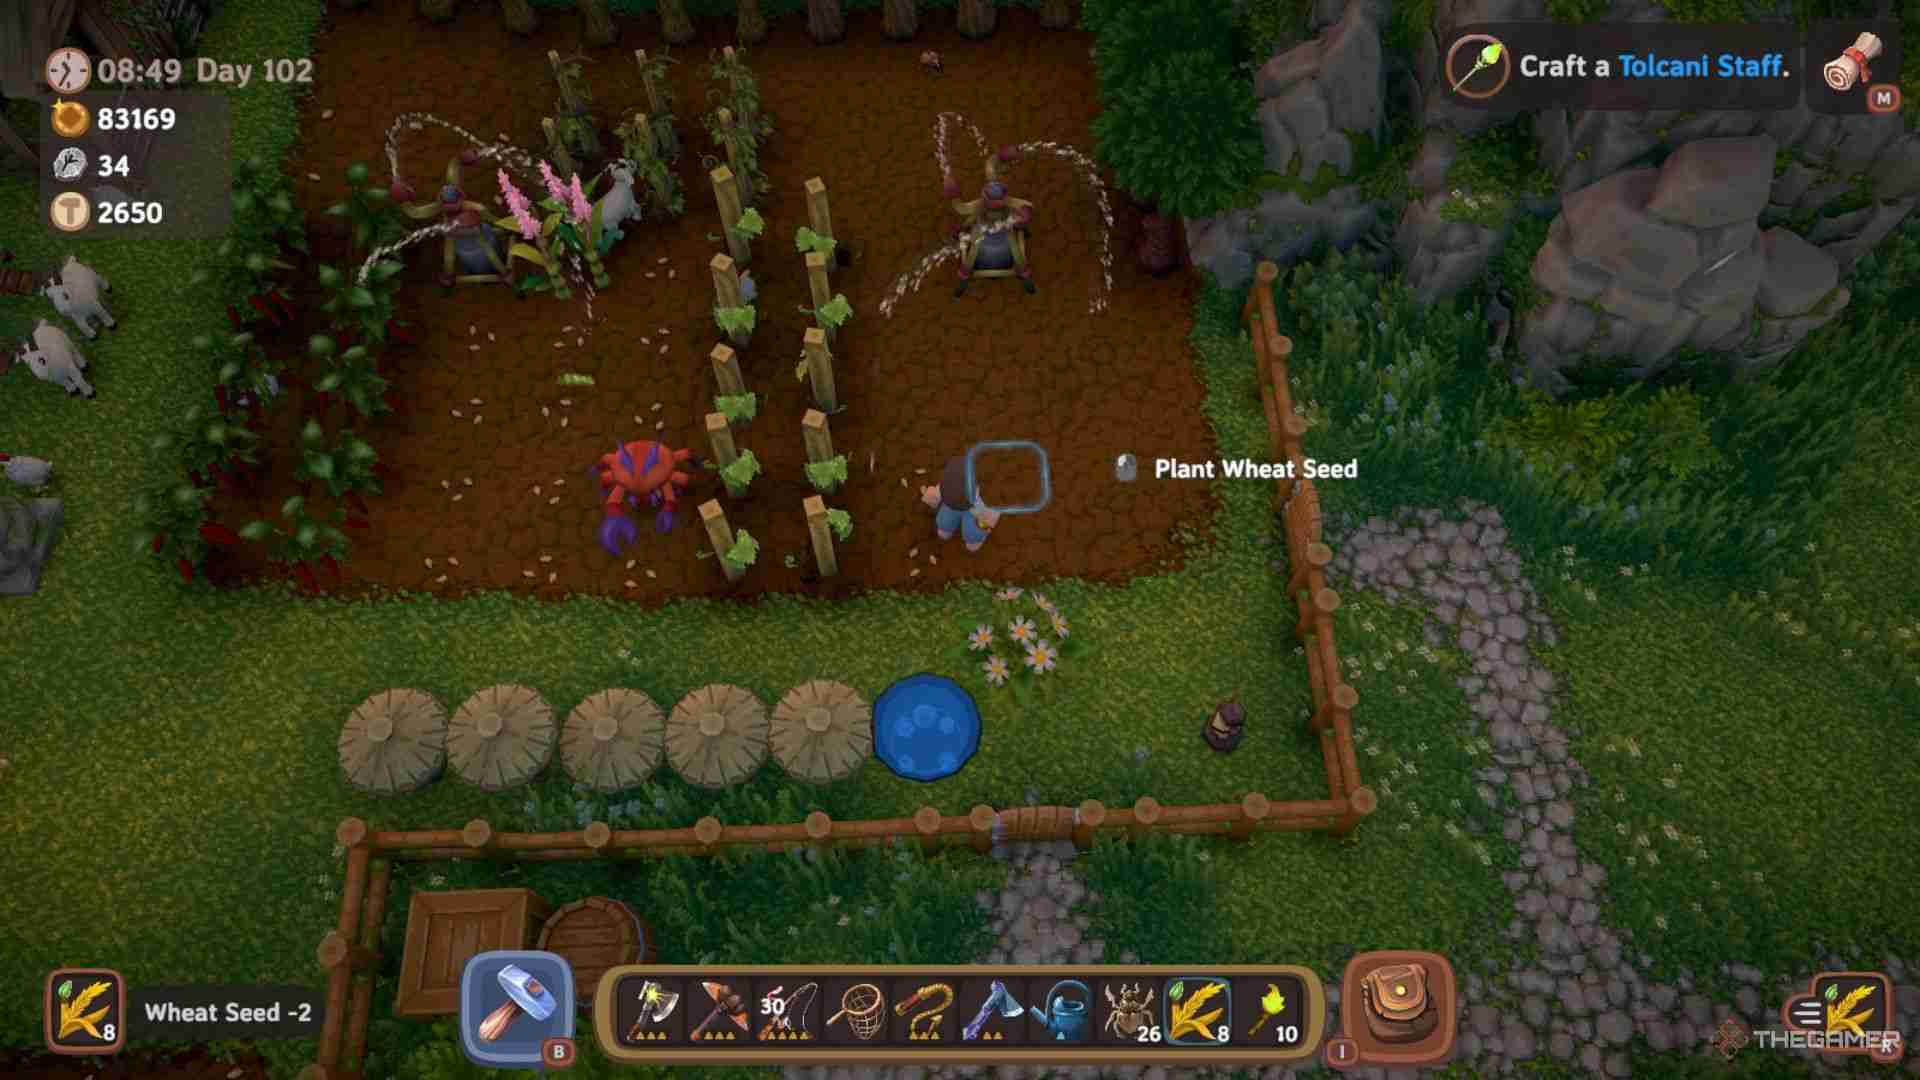
Crops will be the main way to get ingredients for recipes if you've chosen the Cook or Brewer Profession, and to get them growing, you'll need the Hoe and Watering Can obtained at the start of the game, and seeds.
First, remove anything that breaks up the area you want to grow things in, such as Ferns or Trees, then use the Hoe to plow a section of land and turn it into tilled earth.
Plant groups of tree-based crops like Apples and Starfruit in every other row so you can easily walk between and tend to them.
Now you can plant your seeds in the tilled earth. Each plant takes up one tile worth of space, including trees, but only plant-type crops, such as Blueberries and Chili Peppers, can be walked through.
If you want to remove a crop so you can place it somewhere else or change what you're growing, you can approach them with any type of axe and hold down Interact to remove it.
You'll get the seed back, and if it's a tree, you'll get a small amount of Farm Wood, Twigs, and Farm Resin as well.
You can harvest multiple crops at one time with the Hoe by charging it up near at least one harvestable crop, and it won't destroy the plant.
Where To Buy Seeds
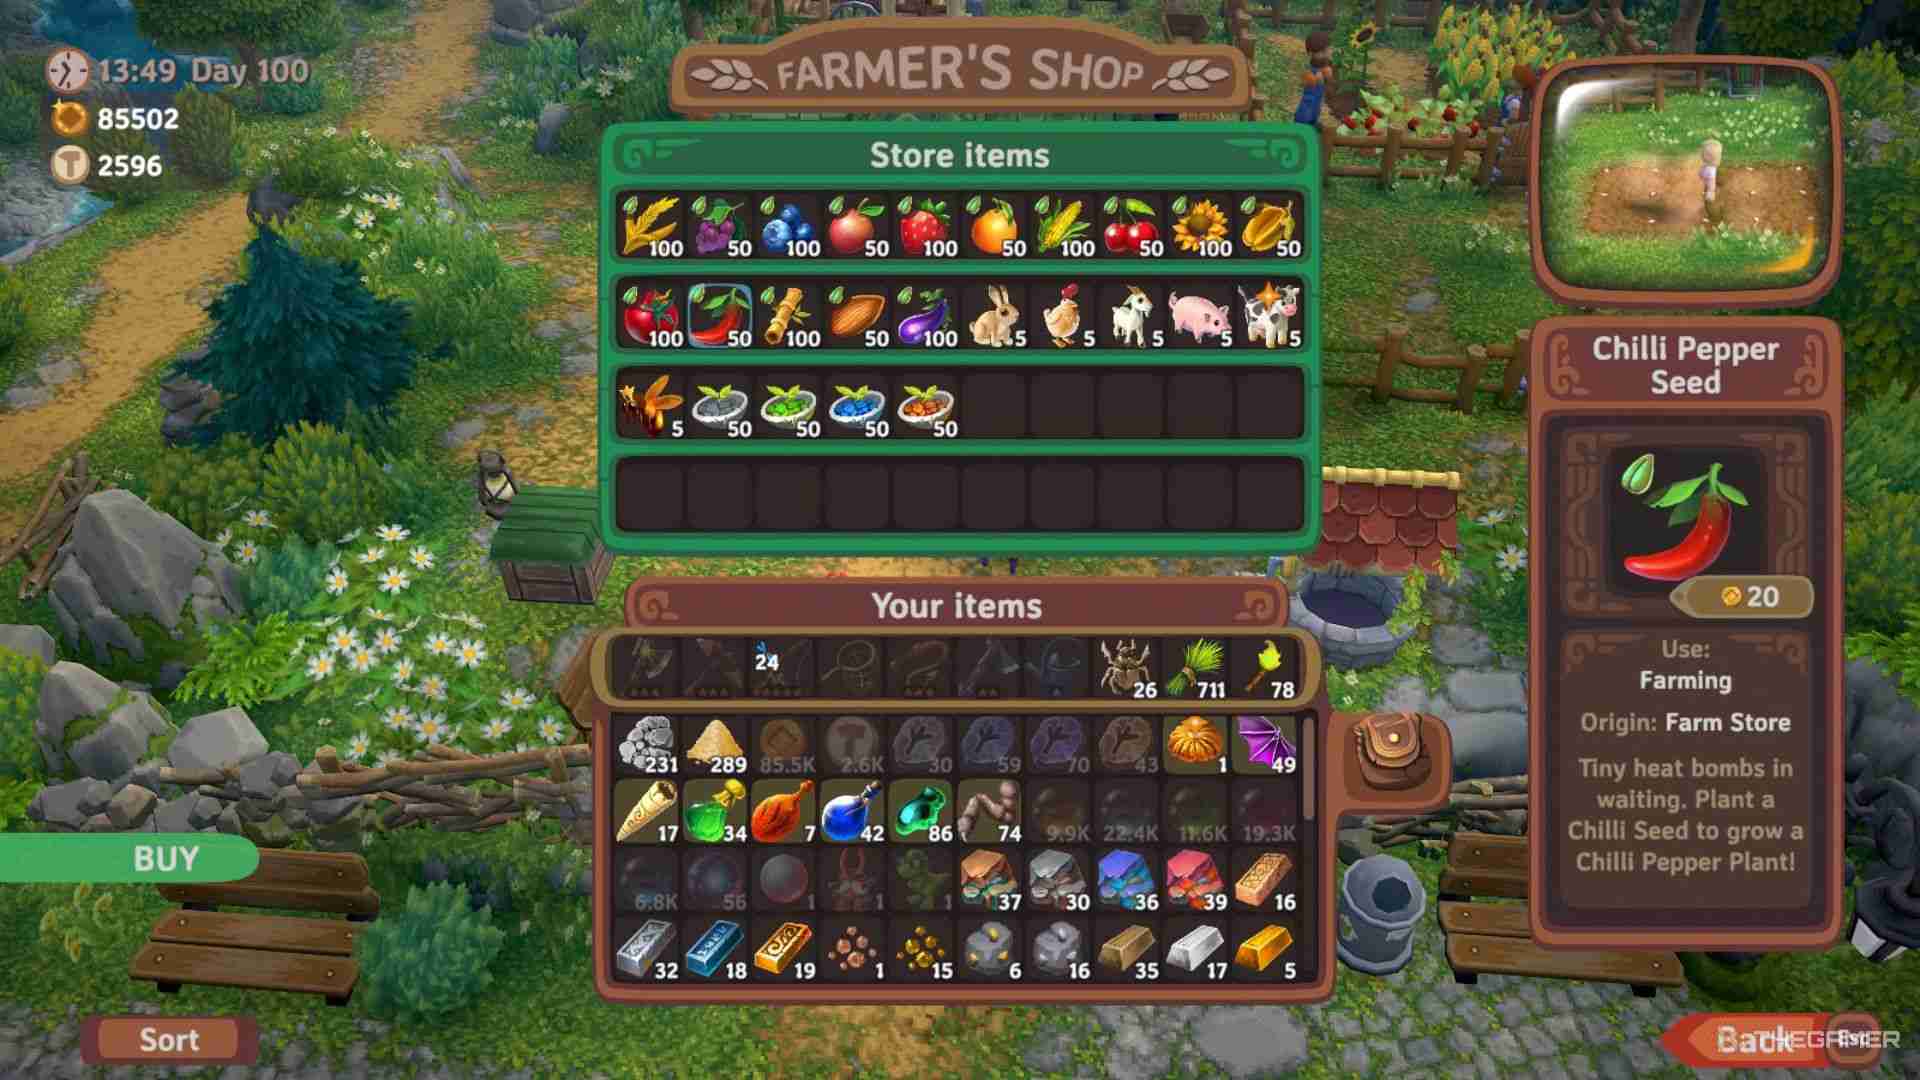
There are two types of seeds you can get: regular and Everseeds. For regular seeds, these can be bought at the Farmer's Shop and new crops will become available as you unlock Cooking and Brewing recipes.
When a crop grown from a regular seed is harvested the maximum number of times, it'll disappear, and you'll need to replant it using another seed, unless it's a tree or one of three naturally regrowing crops: Grapes, Chili Peppers, and Kiwi Fruit.
Trees don't have an Everseed variant, as they'll endlessly produce fruit as long as you keep them healthy and don't cut them down.
With Everseed versions of crops, they'll become infinitely regrowing, as the seed will automatically replant itself after being harvested.
Everseeds can be found in chests of any rarity once you've found the crop once, though they're much more common in Purple or Orange chests, or they can be purchased from the Mushroom Man's shops for their respective Nature currencies.
|
Everseed Type |
Mushroom Man Shop Region |
Cost |
|---|---|---|
|
Wheat Everseed |
Farm |
Farm Nature Token x10 |
|
Blueberry Everseed |
Farm |
Farm Nature Token x10 |
|
Strawberry Everseed |
Farm |
Farm Nature Token x10 |
|
Corn Everseed |
Forest |
Forest Nature Token x10 |
|
Sunflower Everseed |
Forest |
Forest Nature Token x10 |
|
Tomato Everseed |
Forest |
Forest Nature Token x10 |
|
Sugarcane Everseed |
Mountain |
Mountain Nature Token x10 |
|
Eggplant Everseed |
Mountain |
Mountain Nature Token x10 |
|
Pumpkin Everseed |
Mountain |
Mountain Nature Token x10 |
|
Potato Everseed |
Jungle |
Jungle Nature Token x10 |
|
Watermelon Everseed |
Jungle |
Jungle Nature Token x10 |
How To Water Crops
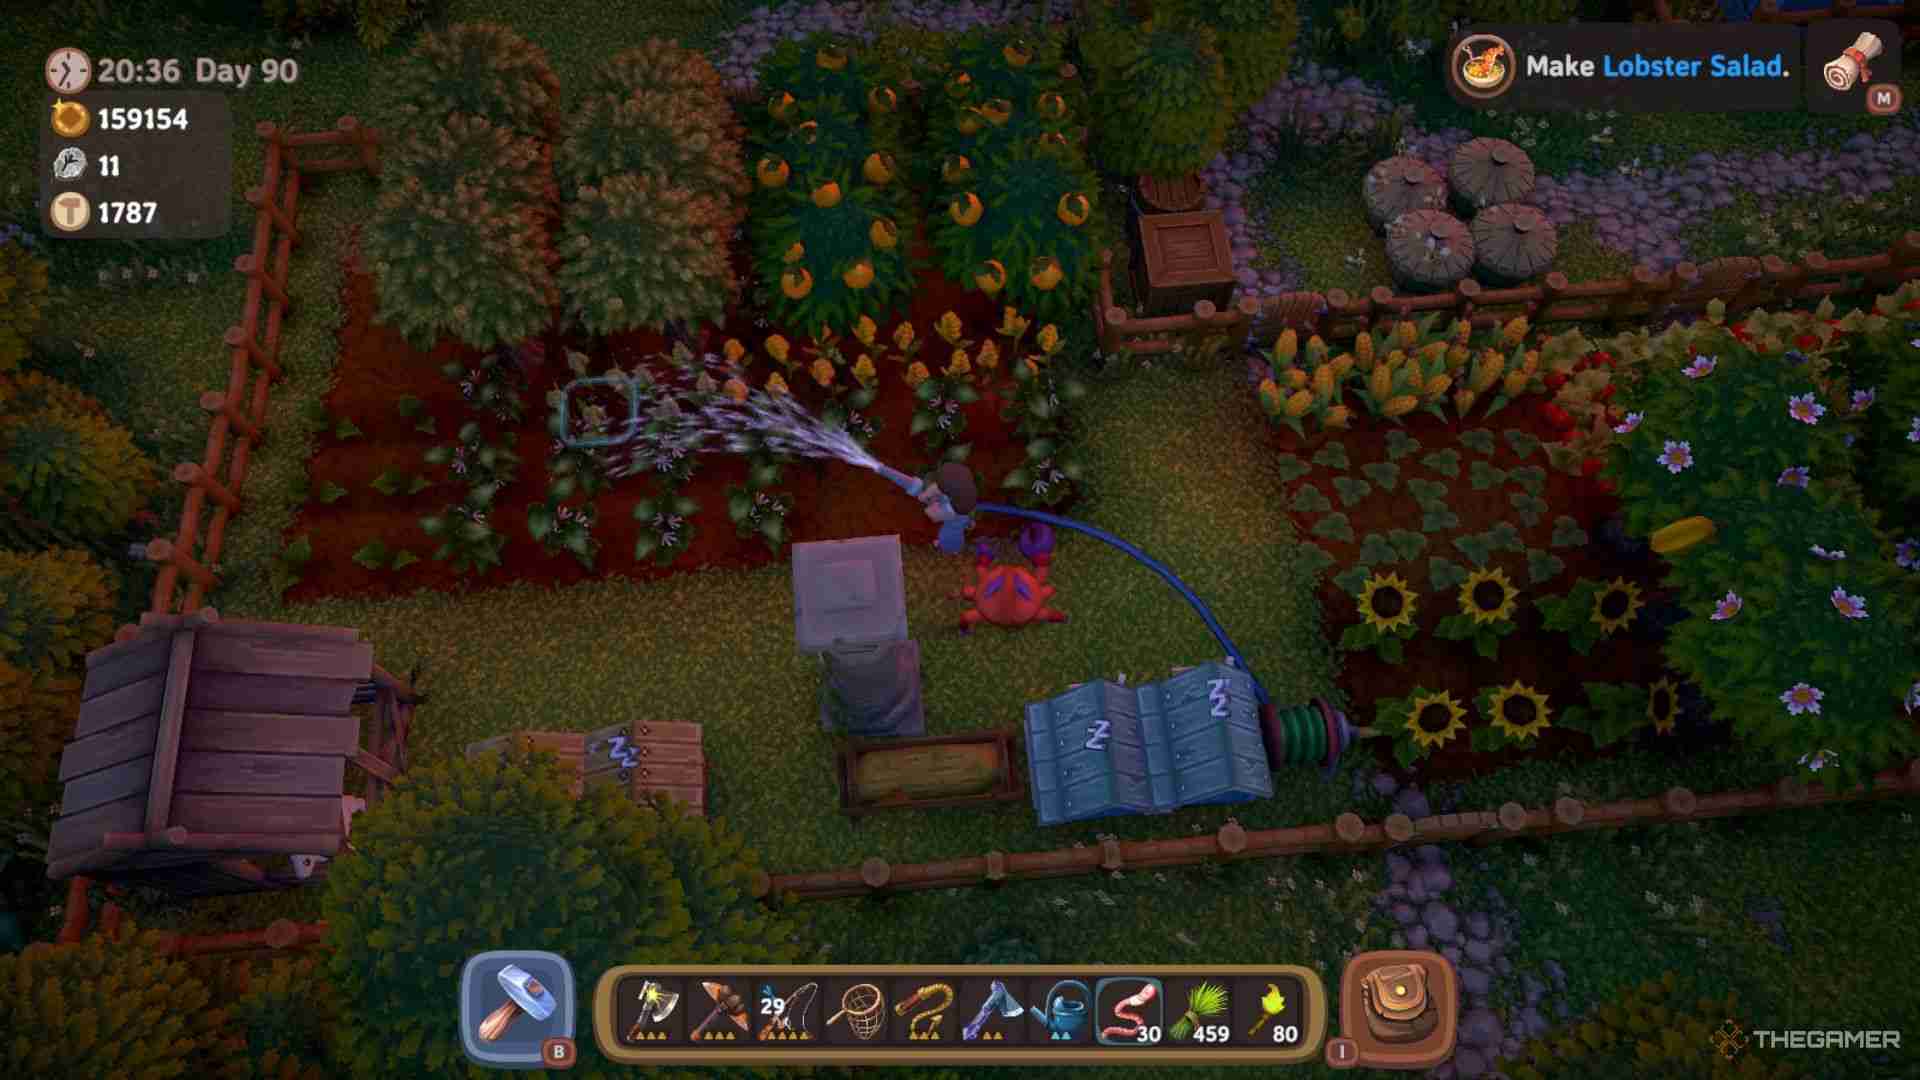
At first, your only way to water crops will be using the Watering Can to do it one tile at a time, but as you progress in the game, you'll unlock ways to do it more efficiently: the early game Gardening Hose and the two mid-to-late-game Sprinklers.
Gardening Hose
The Gardening Hose's drawing costs 2000 Gold and takes five Forest Wood Planks and five Iron Bars to make and takes up a single tile of space. Once placed down, you can interact with it and equip the hose in your hand.
While holding it, you can use it to water multiple plants around you within a nine-by-nine area, though you can walk around with the hose to increase the amount of coverage you can get.
Small And Large Sprinklers
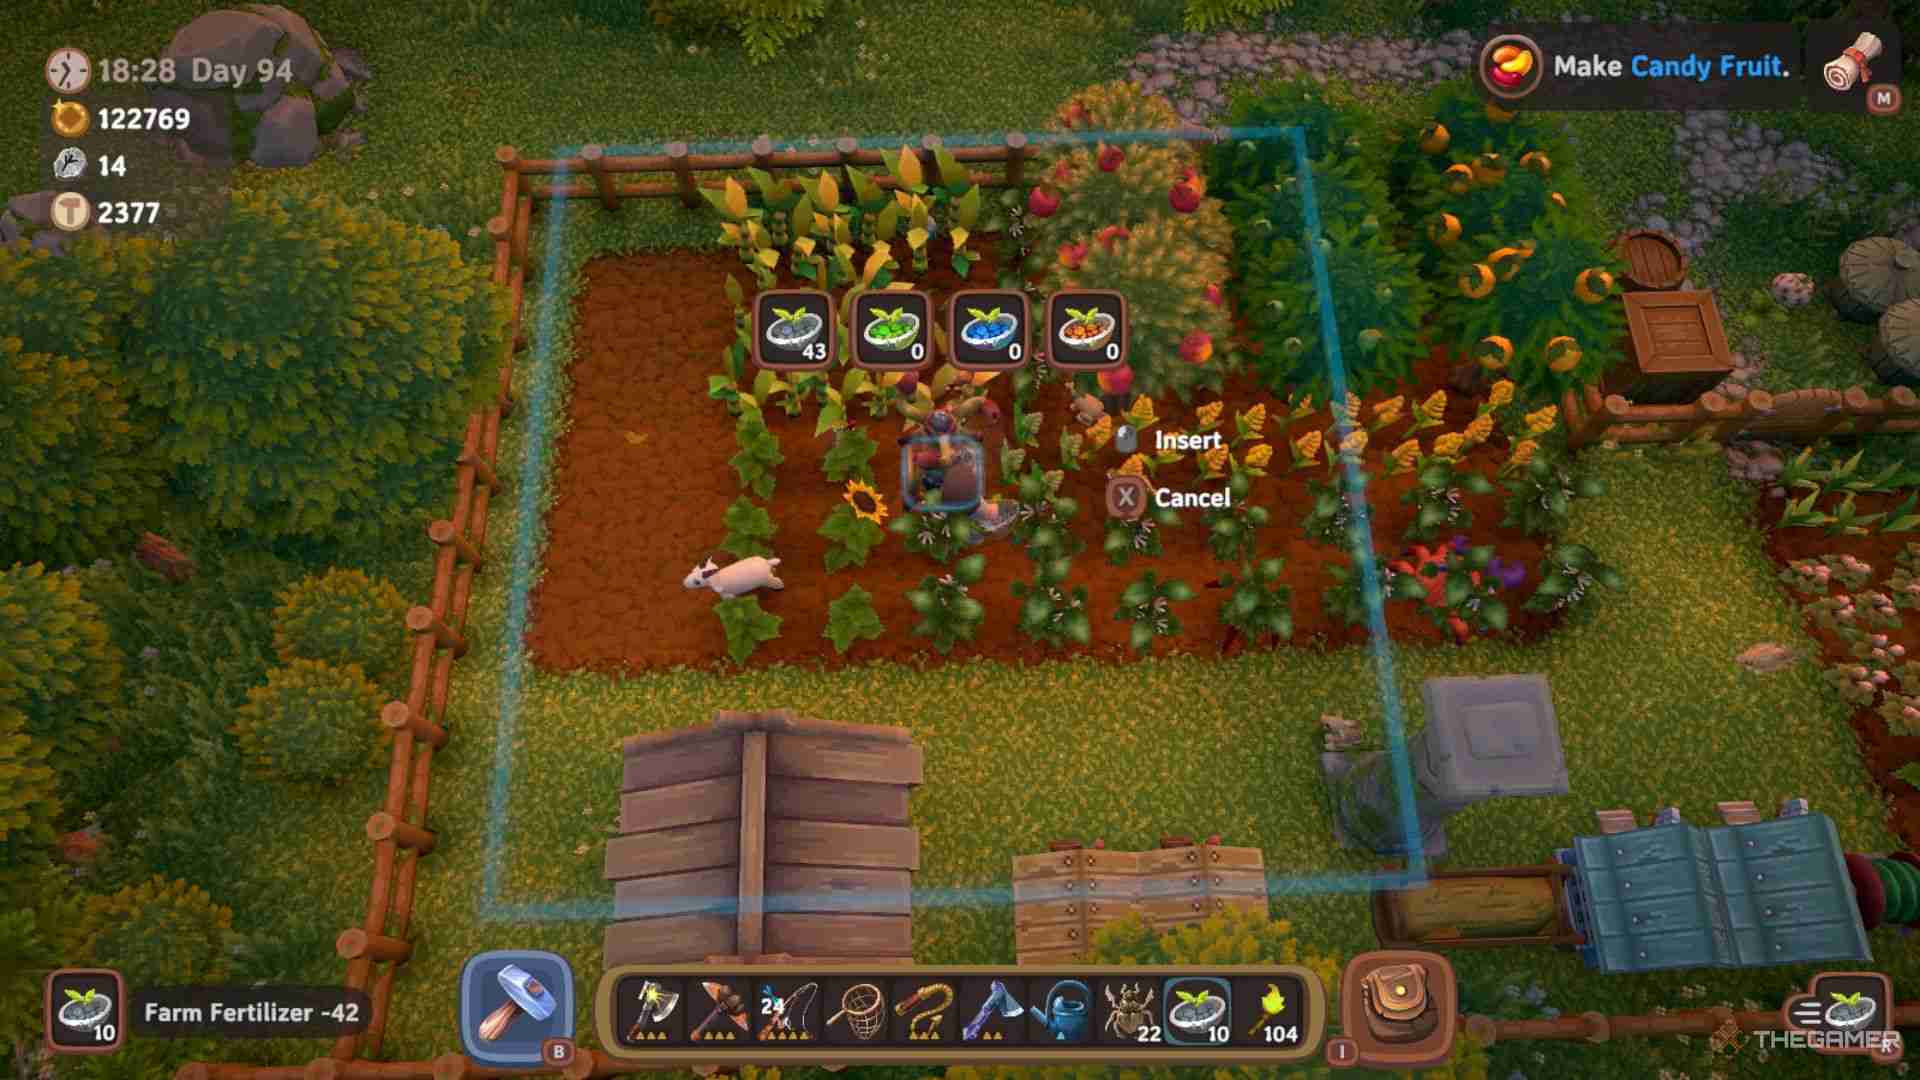
The Small and Large Sprinklers allow you to automatically water and dispense Fertilizer to your crops, but in return, they take more advanced materials and their drawings cost more.
|
Sprinkler Type |
Range |
Drawing Cost |
Materials Needed |
|---|---|---|---|
|
Small Sprinkler |
7x7 Tiles |
15,000 Gold |
Mountain Wood Plank x5 Moonstone Bar x10 |
|
Large Sprinkler |
9x9 Tiles |
30,000 Gold |
Jungle Wood Plank x5 Volcanic Bar x10 |
After being placed, either type of Sprinkler will automatically water any dry crops once per day. You can also interact with them while holding any of the four Fertilizer types to add them to its inventory, and they'll automatically distribute them to crops within their range as needed.
How To Make And Use Fertilizer
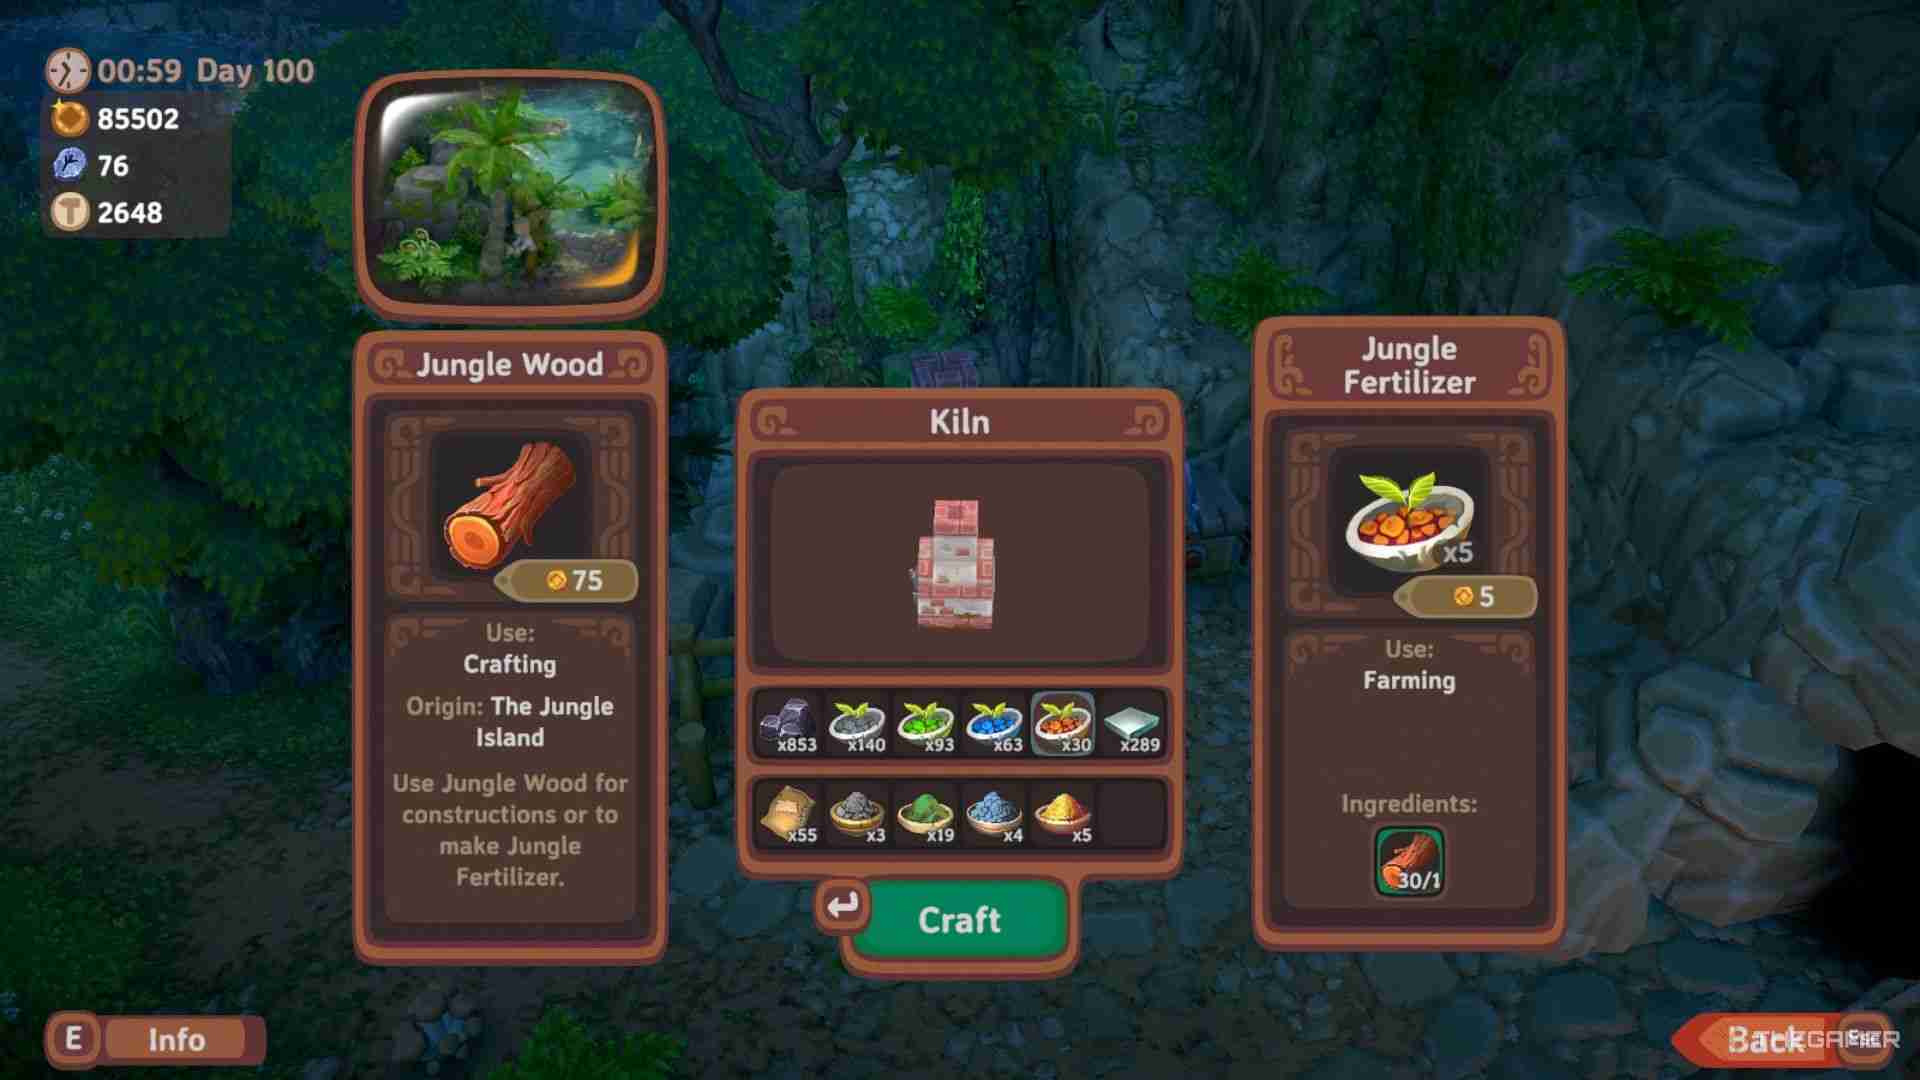
Any type of tree or naturally regrowing crop you plant will always require Fertilizer while it's growing and after being harvested, or else its growth will stall.
When a crop needs fertilizer, it loses its bright color, and you'll get a small symbol indicating the type of fertilizer needed above your head when getting near it.
Fertilizer is made in a Kiln from one of the four wood types – Farm, Forest, Mountain, or Jungle. Each one produces its respective type, and they're used on crops considered to be from that region, such as Orange Trees needing Farm Fertilizer.
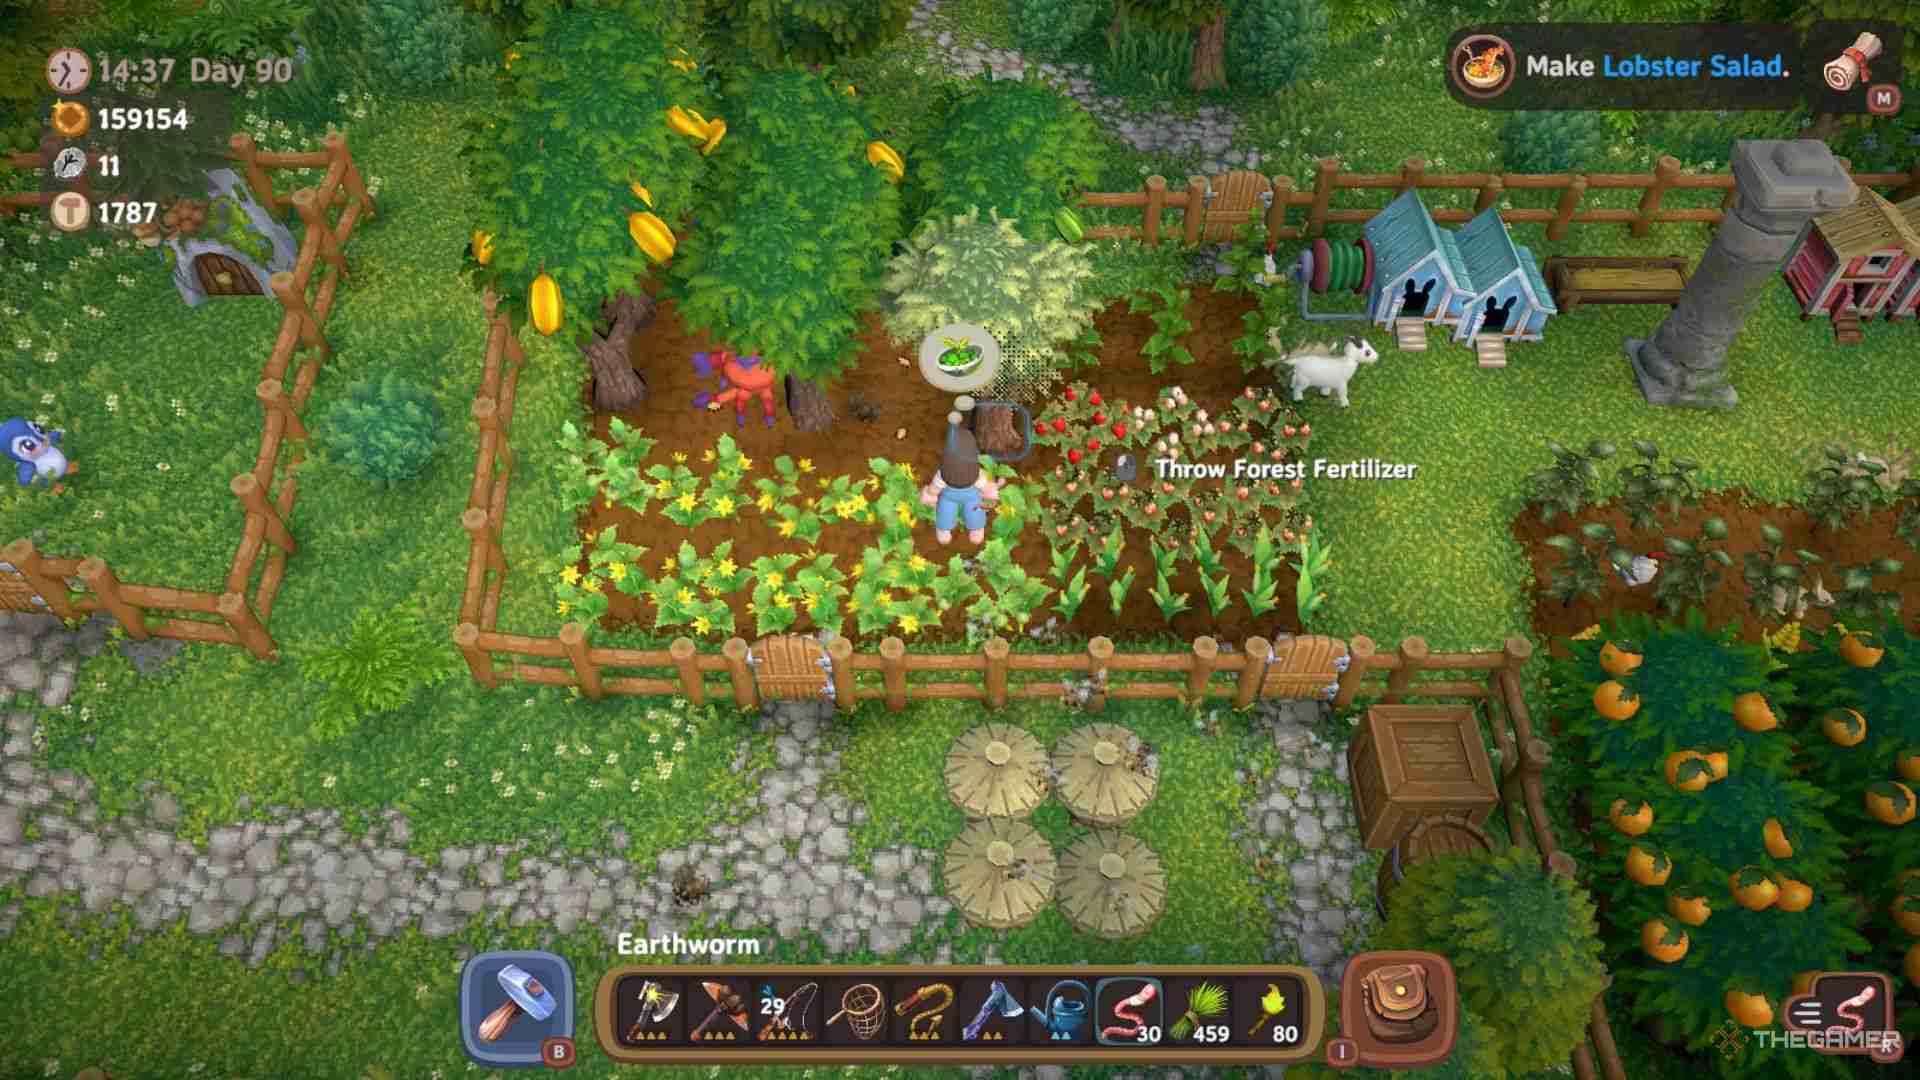
To apply fertilizer to a plant, approach the crop when its coloring is faded while having the correct type of fertilizer in your inventory, and then interact with it. Your character will sprinkle some onto the crop, and it will be rejuvenated, allowing it to continue growing.
You can put Pigs into a Pig Pen and feed them Hay from a Feeding Trough to have them produce a few pieces of random Fertilizer each day, as well as Ginger.
|
Crop Type |
Fertilizer Needed |
|---|---|
|
Grape |
Farm Fertilizer |
|
Apple Tree |
Farm Fertilizer |
|
Orange Tree |
Farm Fertilizer |
|
Cherry Tree |
Forest Fertilizer |
|
Starfruit Tree |
Forest Fertilizer |
|
Chili Pepper |
Forest Fertilizer |
|
Almond Tree |
Mountain Fertilizer |
|
Kiwi Fruit Tree |
Mountain Fertilizer |
|
Cocoa Bean Tree |
Mountain Fertilizer |
|
Coffee Bean Tree |
Jungle Fertilizer |
|
Mango Tree |
Jungle Fertilizer |
How To Remove Beetles And Weeds
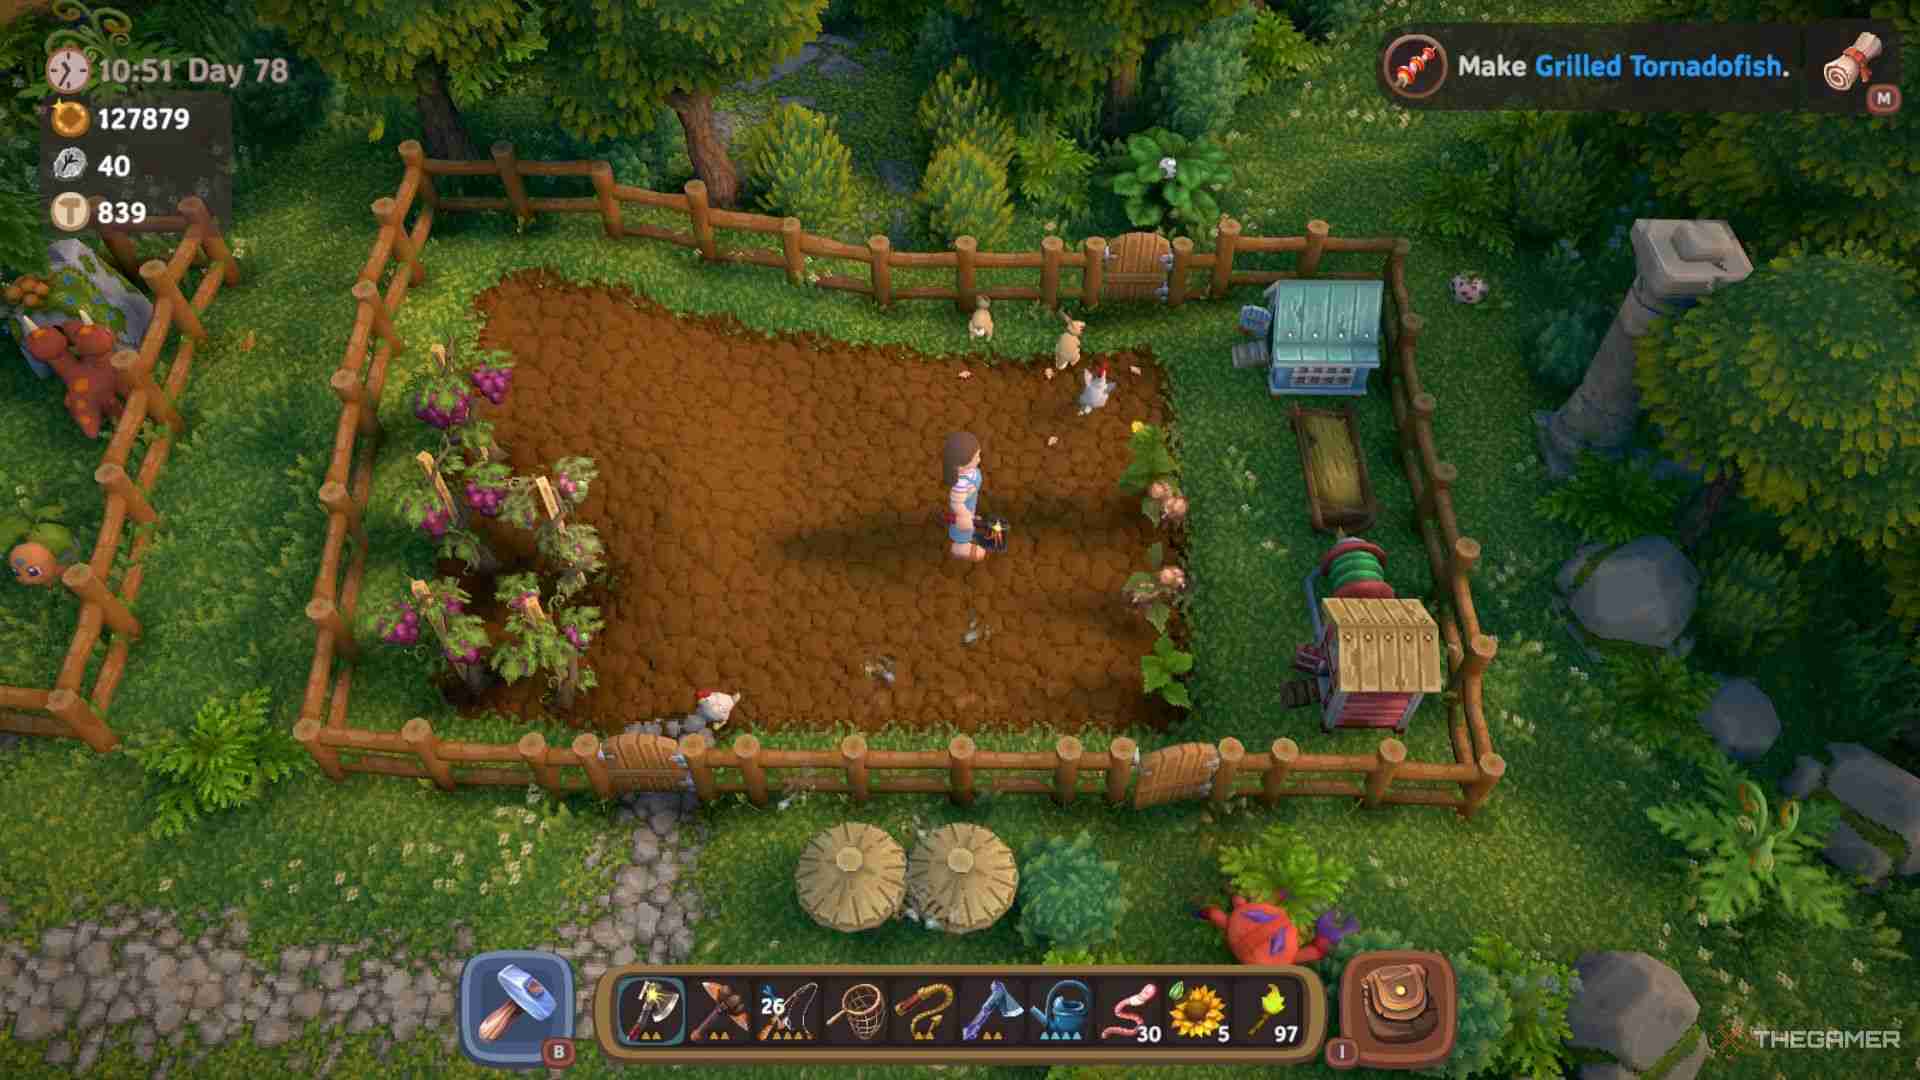
Each day, all your crops have a chance to grow weeds on them or attract beetles, both of which will stop the crop's growth, and in the case of weeds, will also begin to ruin your tilled soil.
When this happens, go over and interact with the affected plant. This will either remove the weeds from it or squash the beetles, and return the plant to its healthy state so it can continue growing.
You can also catch Beetles with your Bug Net and use them as a food source for Chickens or as Bait for catching Farm fish.
How To Automate Weed And Beetle Removal
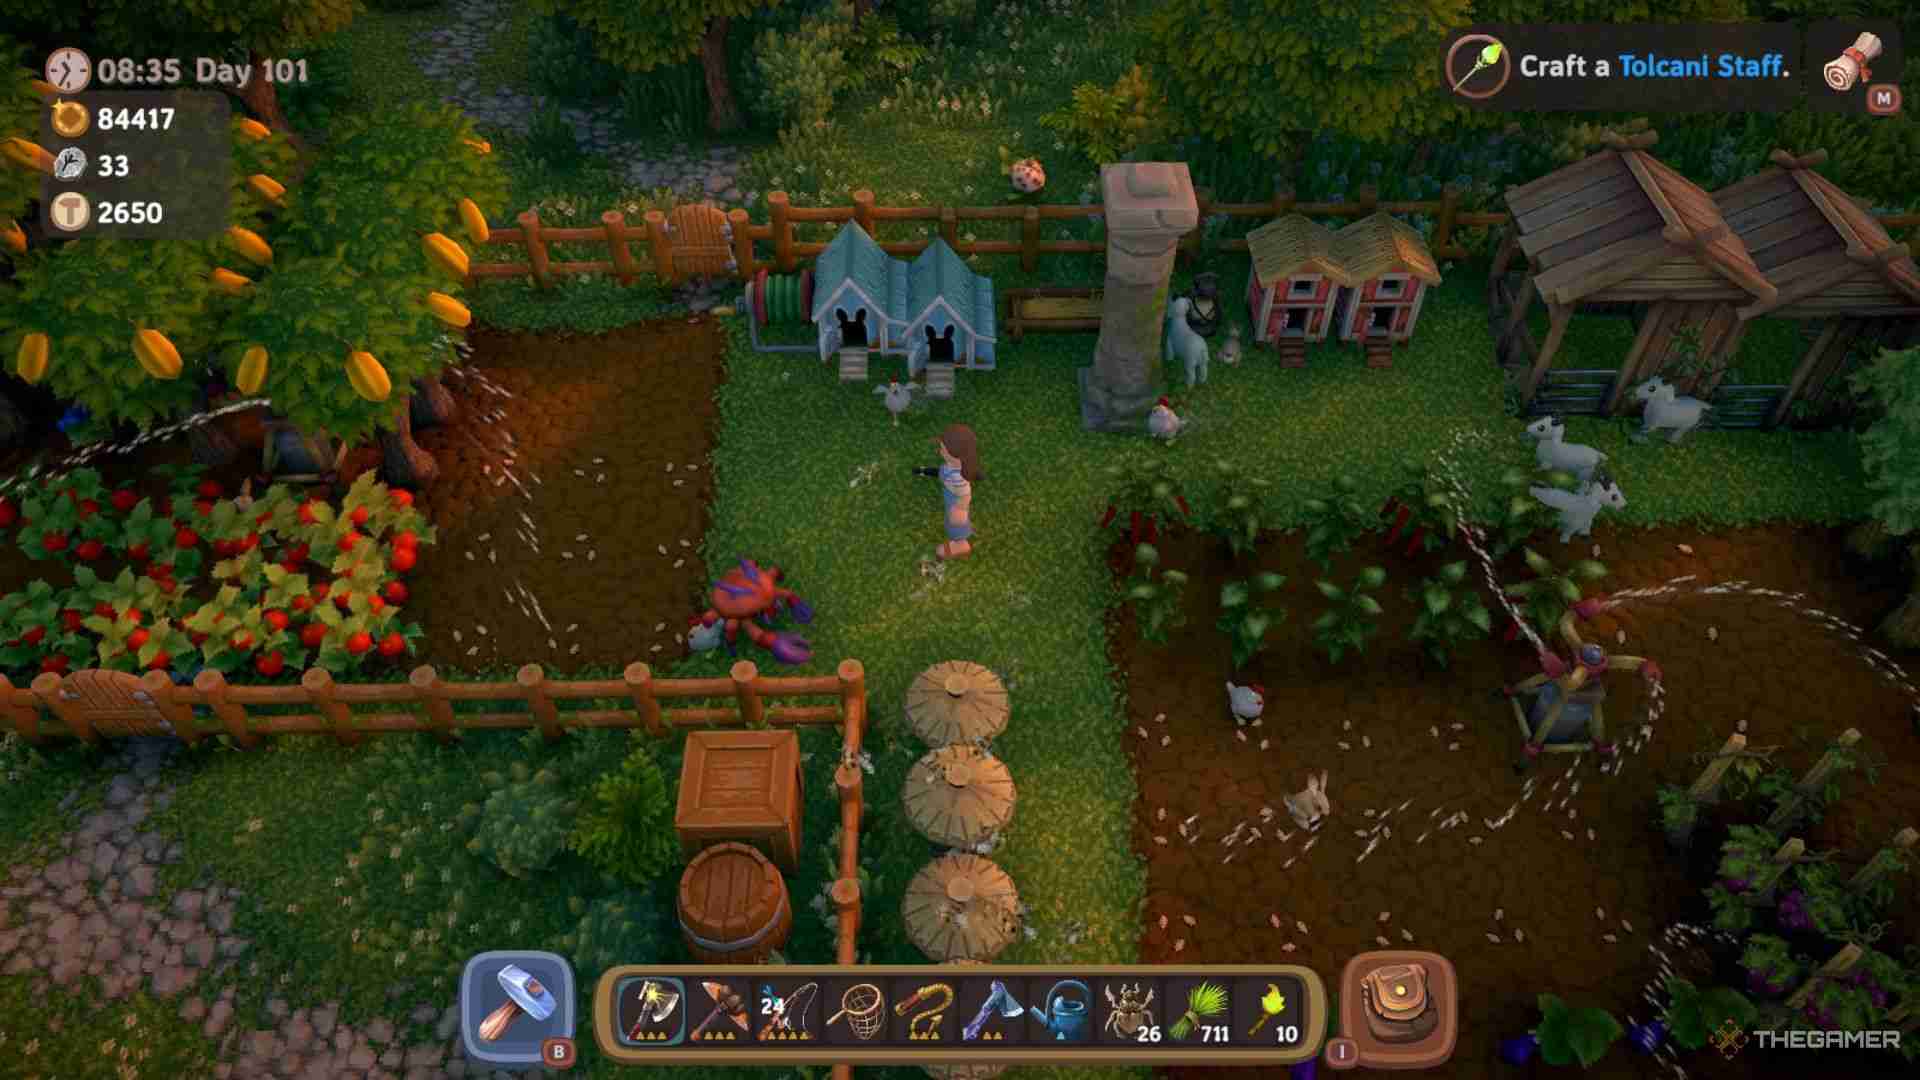
If you want to automatically remove weeds or beetles, you'll need to have Rabbits and Chickens, along with either a Rabbit Hutch or a Chicken Coop, near or inside the area where you're growing crops.
When around any crops, Rabbits eat any weeds that grow on them, while Chickens feed on beetles that arrive, and you won't need to feed them Hay to make them do it, as feeding them only makes them produce their respective material.
|
Pen Type |
Drawing Cost |
Pen Size |
Animals Held |
Product Produced |
Materials Needed |
|---|---|---|---|---|---|
|
Rabbit Hutch |
500 Gold |
1x1 Tiles |
2 Rabbits Per Hutch |
N/A |
Farm Wood Planks x10 |
|
Fern Leaf x25 |
|||||
|
Hay x25 |
|||||
|
Chicken Coop |
750 Gold |
2x2 Tiles |
2 Chickens Per Coop |
Chicken Eggs |
Iron Bar x3 |
|
Forest Wood Plank x10 |
|||||
|
Farm Leather x10 |
|||||
|
Fern Leaf x25 |
|||||
|
Hay x25 |
Having at least two of each around your crops means they'll constantly tend to your field as long as they aren't asleep, and you won't need to manually remove them anymore.
You can pick up any type of farm animal with your Bug Net to relocate them without breaking down their pen.
Both Rabbits and Chickens don't need to be enClosed in a field of crops to tend to them, but putting them into an enclosure makes them stay Close to their home pen and navigate to nearby crops on their own. If you don't keep them properly fenced in, they'll be exposed to danger in the form of wild foxes.
How To Protect Chickens And Rabbits
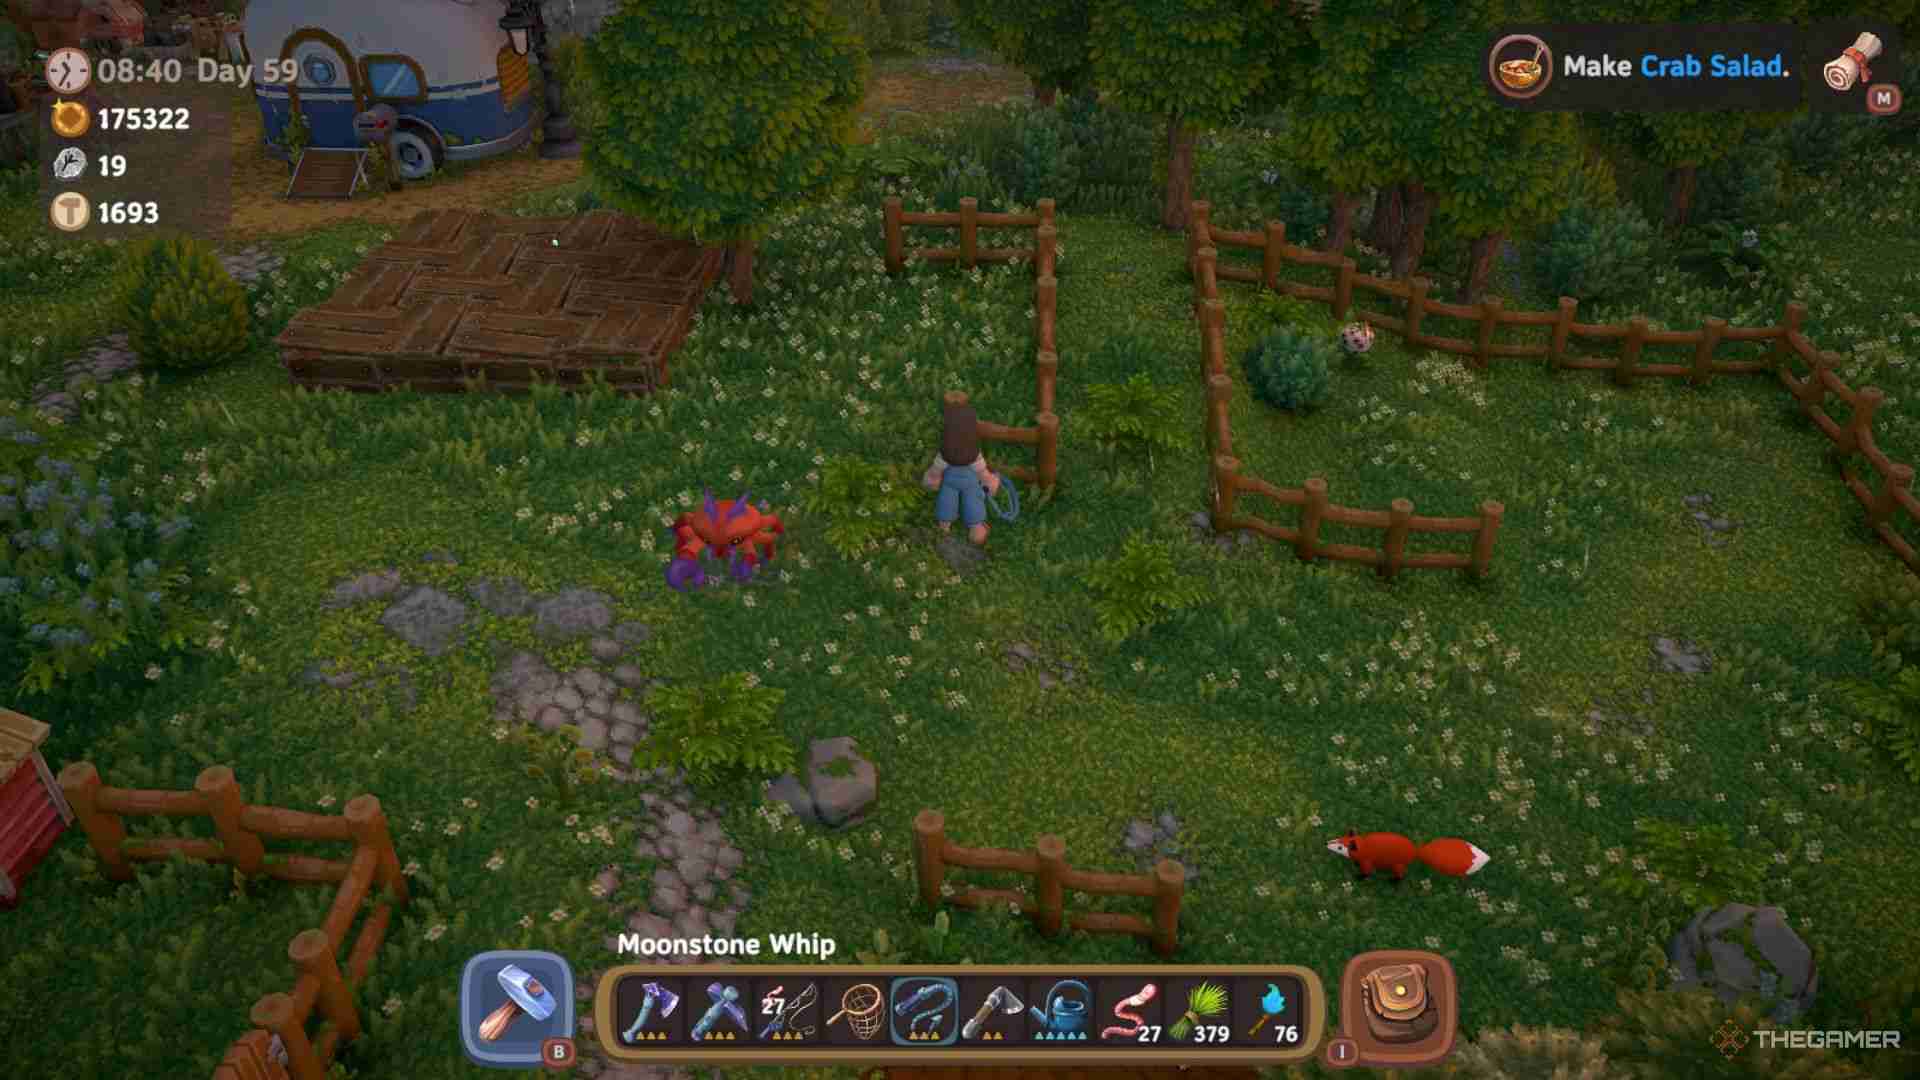
Wild Foxes periodically appear and will attempt to hunt down your Rabbits and Chickens, even if they're protected by a fence, and will frighten them, disrupting their ability to tend crops, and they'll stay inside their pen until the fox is chased away.
Foxes will circle a Rabbit Hutch or Chicken Coop surrounded by fences, but they won't be able to get in unless there's a gap in the fence.
To permanently keep Wild Foxes away from them, you'll need to have a pen with Goats near your enClosed Rabbits and Chickens, or just keep all three types of animals in the same enclosure.
|
Pen Type |
Drawing Cost |
Pen Size |
Animals Held |
Product Produced |
Materials Needed |
|---|---|---|---|---|---|
|
Goat Shed |
2,000 Gold |
2x3 Tiles |
2 Goats Per Shed |
Goat Milk |
Mountain Wood Plank x20 Fern Leaf x25 Copper Bar x5 Moonstone Bar x10 |
The Goats will prevent any Wild Foxes from spawning or approaching the Chickens and Rabbits as long as they're within a 15-tile radius of each other, preventing them from scaring and interrupting your smaller farm animals.
How To Pollinate Crops
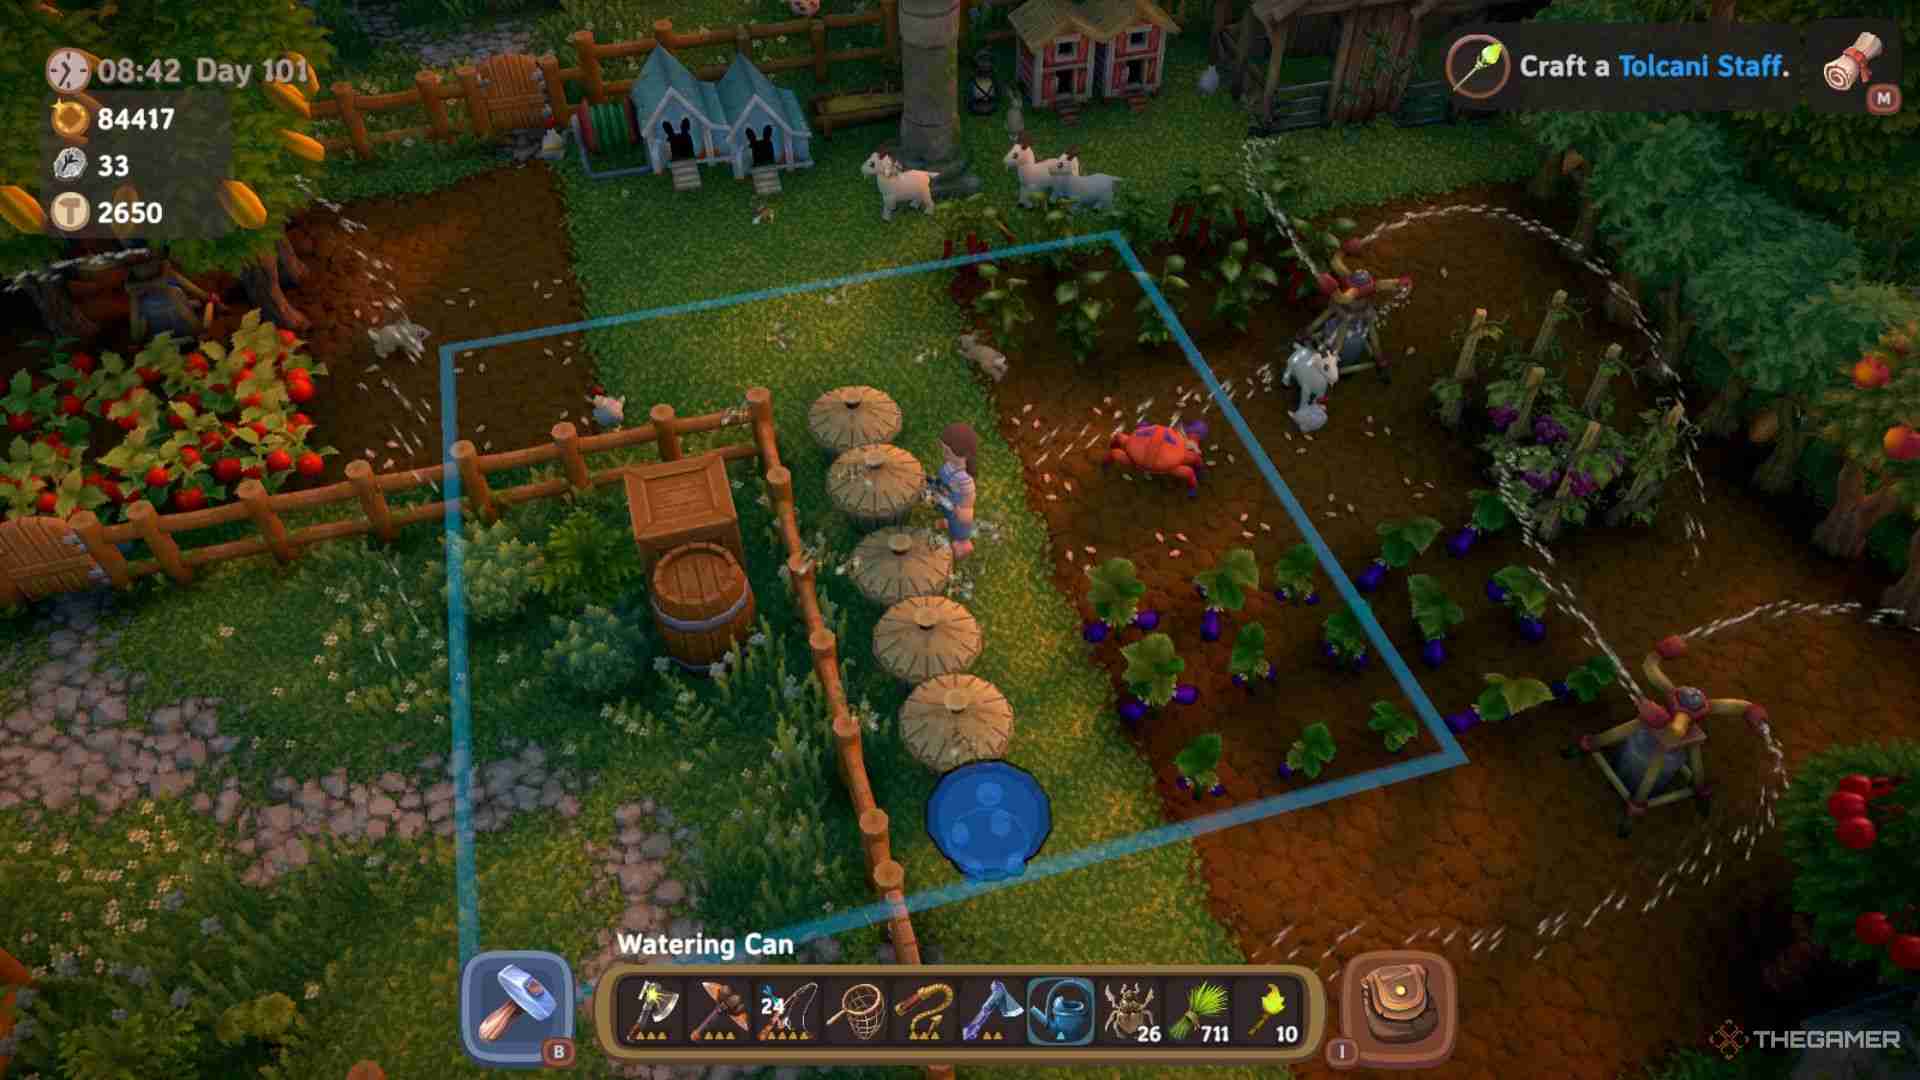
Certain late-game crops, such as Pumpkins and Mango Trees, require an additional mechanic to grow even if they also need Fertilizer, and that's being pollinated by bees. Crops that need pollination include:
- Pumpkins.
- Cocoa Bean Trees.
- Potatoes.
- Coffee Bean Trees.
- Watermelons.
- Mango Trees.
To get them or any crop pollinated, you'll need to have them within range of a Beehive. Each Beehive covers a nine-by-nine tile area, and each day they'll automatically pollinate any crops within that range and keep them growing if they require it.
As long as the bees have at least one crop near them, they'll also produce one Honey per day per Hive, and these can be sold for 250 Gold each at any shop in town, giving you an additional source of income regardless of profession.
|
Build |
Drawing Cost |
Size |
Materials Needed |
|---|---|---|---|
|
Beehive |
5,000 Gold |
1x1 Tiles |
Mountain Resin x10 Mountain Wood Plank x10 Mountain Flower x10 Queen Bee x1 |
How To Find Queen Bees
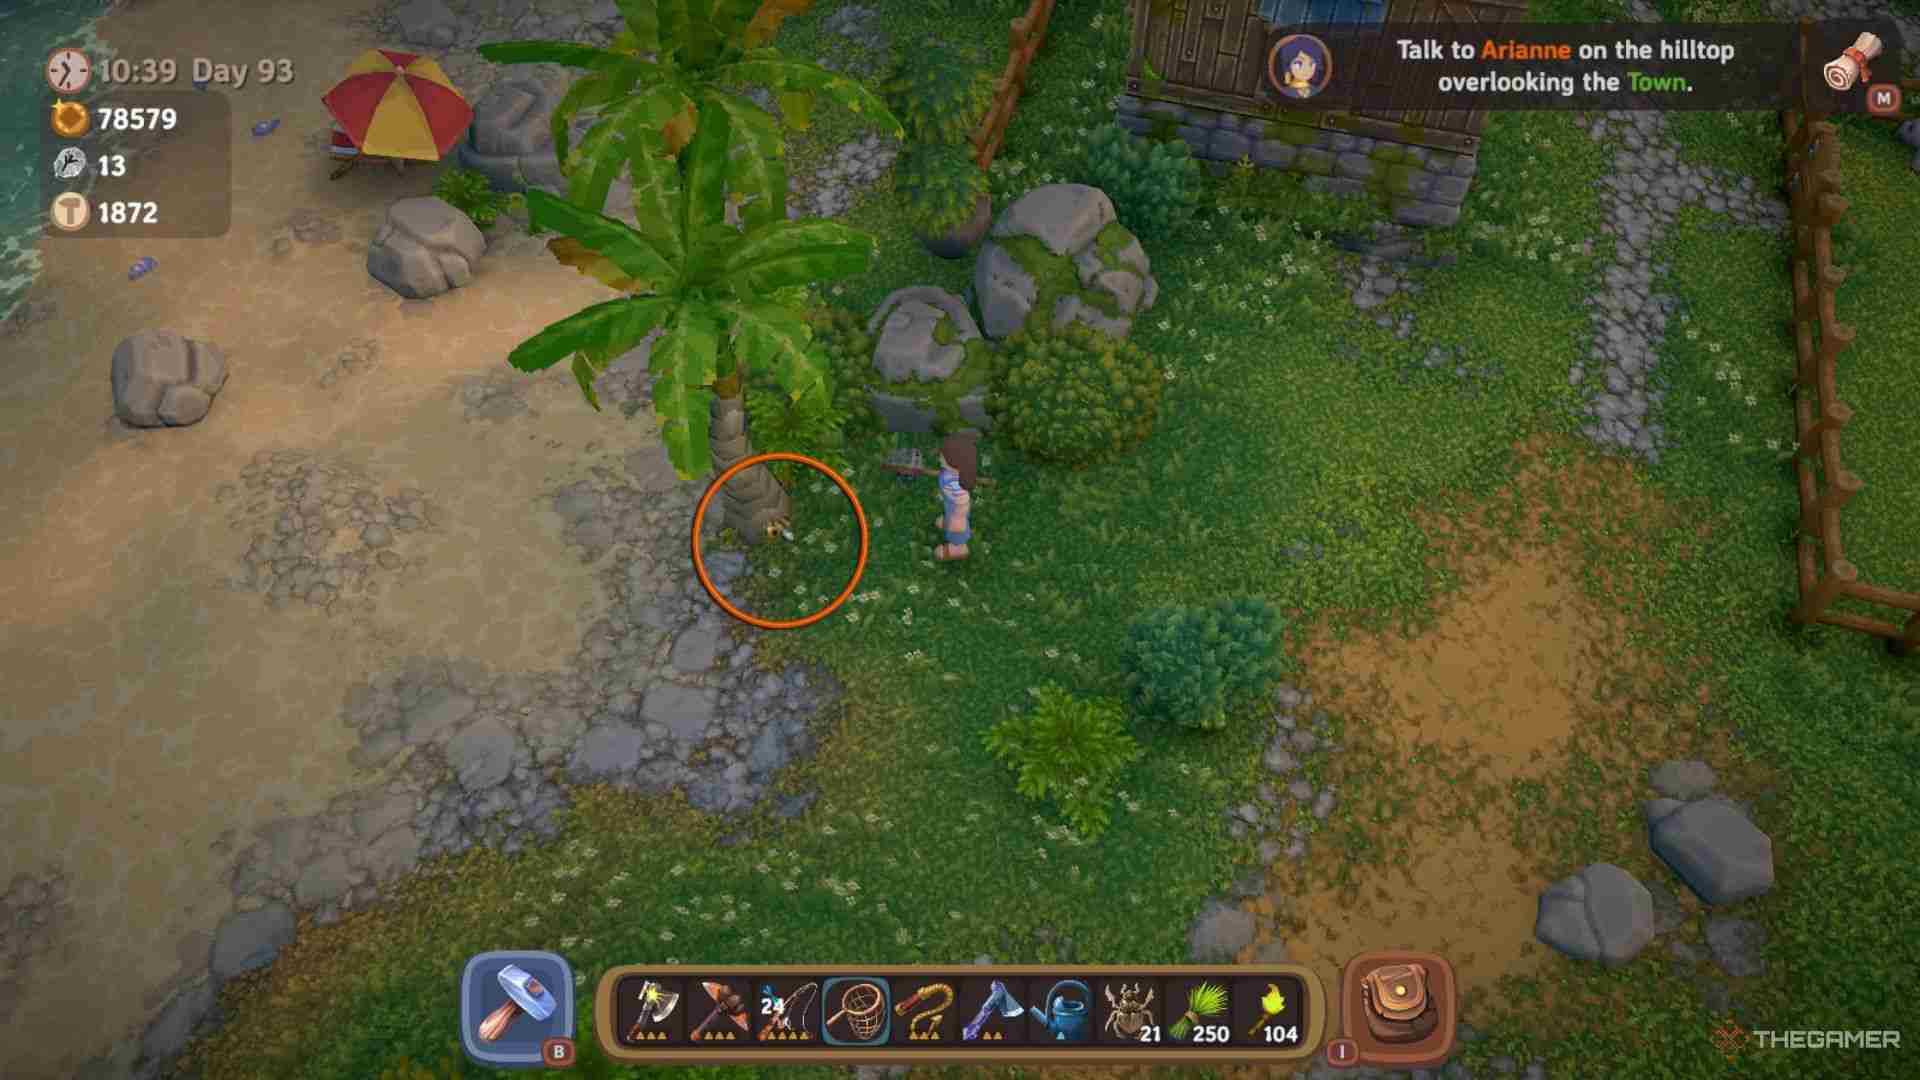
Queen Bees are found randomly while exploring forested areas in any region, or after chopping down a large number of trees around you.
Once you find a single Queen Bee, more can be purchased from the Farmer's Shop for 7,000 Gold each, and you can buy five per day.
They make a loud buzzing noise as long as you're near them, and unlike other Critters, they don't disappear unless you go into a cave or exit a region completely.
Use your Bug Net to catch them, and each one is used to make a single Beehive, which generates a full hive to pollinate any nearby flowers without needing to be fed or given a type of fuel.
All Cook Profession Recipes
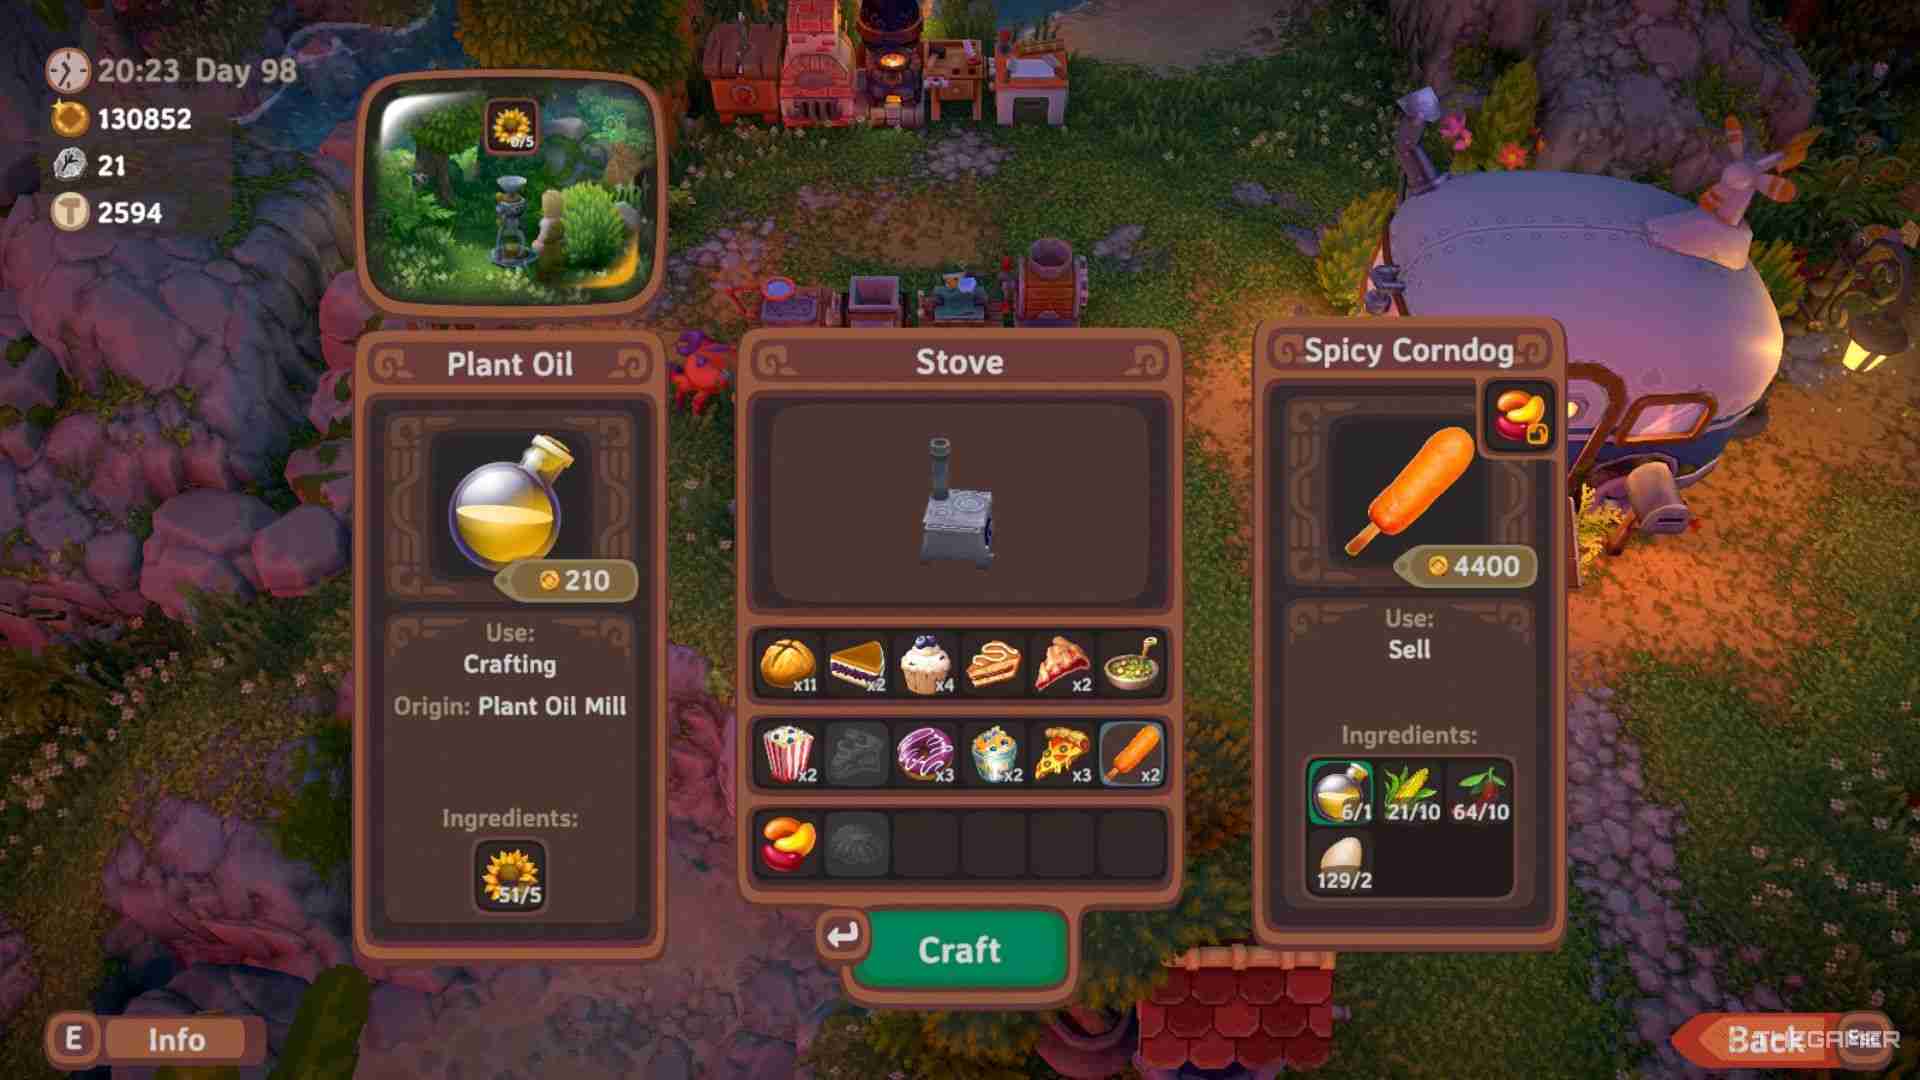
For the Cook Profession, your mentor NPC is Enzo and your main crafter is the Stove. All the main food recipes will be made there except for base ingredients like Flour, each of which has their own crafter.
All Cook recipes need a certain amount of Luma Energy to be crafted for the first time, but after that, the recipe no longer needs it.
|
Crafter |
Product |
Ingredients Needed |
Materials To Make |
Minimum Profession Tier Needed To Craft |
|---|---|---|---|---|
|
Stove |
All Cooking Recipes |
N/A |
Farm Wood Plank x5 Glass x5 Copper Bar x1 |
N/A |
|
Flour Mill |
Flour |
Wheat x5 |
Farm Wood Plank x3 Copper Bar x1 |
Novice Cook |
|
Plant Oil Mill |
Plant Oil |
Sunflower x5 |
Forest Wood Plank x3 Iron Bar x1 |
Skilled Cook |
|
Sugar Mill |
Sugar |
Sugarcane x5 |
Mountain Wood Plank x5 Moonstone Bar x1 |
Expert Cook |
|
Chocolate Mill |
Chocolate |
Cocoa Bean x5 |
Mountain Wood Plank x5 Moonstone Bar x1 |
Expert Cook |
Once a basic ingredient has been crafted, you can buy them at the Bakery in town, but you're limited to five of each type per day.
|
Dish |
Ingredients Needed |
Selling Price |
Profession Tier |
|---|---|---|---|
|
Bread |
Flour x2 |
600 Gold |
Novice |
|
Grape Pie |
Flour x1 Grape x10 |
1,200 Gold |
|
|
Blueberry Muffin |
Flour x1 Blueberry x10 |
1,400 Gold |
|
|
Apple Pie |
Flour x1 Apple x10 |
1,600 Gold |
|
|
Strawberry Pie |
Flour x1 Strawberry x10 |
1,800 Gold |
|
|
Fruit Salad |
Orange x10 Apple x10 |
2,000 Gold |
|
|
Fruit Popcorn |
Corn x10 Blueberry x10 |
3,000 Gold |
Skilled |
|
Cherry Pie |
Flour x2 Cherry x10 Chicken Egg x2 |
3,300 Gold |
|
|
Blueberry Donut |
Flour x1 Plant Oil x2 Blueberry x10 |
3,700 Gold |
|
|
Starfruit Salad |
Starfruit x10 Strawberry x10 Chicken Egg x1 |
4,000 Gold |
|
|
Pizza |
Flour x1 Plant Oil x1 Tomato x10 Chicken Egg x2 |
4,100 Gold |
|
|
Spicy Corndog |
Plant Oil x1 Corn x10 Chili Pepper x10 Chicken Egg x2 |
4,400 Gold |
|
|
Candy Fruit |
Flour x2 Apple x10 Starfruit x10 Grape x10 |
6,000 Gold |
Expert |
|
Almond Cookie |
Flour x4 Plant Oil x3 Almond x10 Goat Milk x2 |
6,600 Gold |
|
|
Ratatouille |
Plant Oil x2 Eggplant x10 Tomato x10 |
6,800 Gold |
|
|
Kiwi Tart |
Flour x1 Sugar x2 Kiwifruit x10 Cherry x10 |
7,200 Gold |
|
|
Gingerbread |
Flour x2 Plant Oil x4 Pumpkin x10 Ginger x2 |
7,600 Gold |
|
|
Chocolate-Dipped Fruit |
Chocolate x2 Sugar x2 Strawberry x10 Cherry x10 |
8,000 Gold |
|
|
Spicy Fries With Ketchup |
Plant Oil x1 Potato x10 Chili Pepper x10 Tomato x10 |
10,000 |
Master |
|
Tiramisu |
Flour x4 Chocolate x2 Coffee Bean x10 Cow Milk x2 |
11,000 Gold |
|
|
Watermelon Kiwifruit Icecream |
Sugar x1 Watermelon x10 Kiwi Fruit x10 Cow Milk x2 |
12,000 Gold |
|
|
Chocolate And Mango Mousse |
Chocolate x2 Sugar x1 Mango x10 Goat Milk x2 |
13,000 Gold |
|
|
Wedding Cake |
Flour x2 Sugar x4 Blueberry x10 Cow Milk x2 |
14,000 Gold |
|
|
Royal Cake |
Flour x2 Mango x100 Chocolate x5 Strawberry x500 |
100,000 Gold |
The above is the detailed content of Luma Island: Farming Guide. For more information, please follow other related articles on the PHP Chinese website!

Hot AI Tools

Undress AI Tool
Undress images for free

Undresser.AI Undress
AI-powered app for creating realistic nude photos

AI Clothes Remover
Online AI tool for removing clothes from photos.

Clothoff.io
AI clothes remover

Video Face Swap
Swap faces in any video effortlessly with our completely free AI face swap tool!

Hot Article

Hot Tools

Notepad++7.3.1
Easy-to-use and free code editor

SublimeText3 Chinese version
Chinese version, very easy to use

Zend Studio 13.0.1
Powerful PHP integrated development environment

Dreamweaver CS6
Visual web development tools

SublimeText3 Mac version
God-level code editing software (SublimeText3)

Hot Topics
 Oguri Cap Build Guide | A Pretty Derby Musume
Jun 30, 2025 am 09:05 AM
Written by Priya KapoorBrowse All Uma Musume: Pretty Derby Oguri Cap is a long-distance runner with strong stamina scaling and solid speed growth. She’s dependable in various race formats if you develop her according to her strengths and carefully pl
 Agnes Tachyon Build Guide | A Pretty Derby Musume
Jul 03, 2025 am 12:13 AM
Written by Priya Kapoor Browse All Uma Musume: Pretty Derby In Umamusume: Pretty Derby, Agnes Tachyon works best as a Leader with boosted Speed and Wit. She starts off a bit slow but becomes strong onc
 Grass Wonder Build Guide | Uma Musume Pretty Derby
Jul 08, 2025 am 01:30 AM
Written by Priya KapoorBrowse All Uma Musume: Pretty Derby Grass Wonder is a difficult Runner to train due to her shifting between Mile, Medium, and Long races in Umamusume: Pretty Derby. Trying to prepare for everything will result in poor stats ove
 PEAK How to Emote
Jun 24, 2025 am 09:33 AM
Written by Jason B.Browse All PEAK Guides Emotes in the game PEAK are straightforward and only require a single button input to activate during gameplay.How to EmoteActivate an emote – RSimply press R at any point during a run, and your character wil
 Own a Fish Pond codes June 2025
Jun 27, 2025 am 10:31 AM
Own a Fish Pond is a Roblox tycoon game where you can manage your very own pond. You purchase fish eggs, place them in the pond, wait for them to grow (and potentially mutate), and then sell them to earn Bubloons, which you can use to buy more eggs.W
 PEAK How to Fix Voice Chat Not Working Audio Issue
Jun 26, 2025 am 10:46 AM
Written by Jason B.Browse All PEAK Guides If in-game voice chat isn’t working in PEAK it seems to be a common, but fixable, problem. Players have reported mic movement showing in mirrors but no sound being heard, even when settings look fine.Here are
 DAIWA Scarlet Build Guide | Uma Musume Pretty Derby
Jul 01, 2025 am 09:05 AM
Written by Priya KapoorBrowse All Uma Musume: Pretty Derby This DAIWA Scarlet build in Uma Musume Pretty Derby centers around getting her into 1st place early and maintaining that position throughout the race. You don’t need fully maxed stats to win,
 Roblox: 99 Nights In The Forest - All Badges And How To Unlock Them
Jul 09, 2025 am 01:19 AM
In Roblox: 99 Nights in the Forest, between the cursed deer and roaming Cultists, just making it to sunrise feels like an achievement. But for those chasing true completion, there’s a whole system of badges waiting to test your skills.


