
On this occasion, I will share how to deploy a django application to shared hosting. To make things easier, I use the DirectAdmin panel. If you use cpanel or another panel, I don't think it will be much different. Make sure you already have a domain and buy a shared hosting service anywhere, I will not limit you to using certain services.
Before entering the deployment method, make sure the shared hosting service is running as it should.
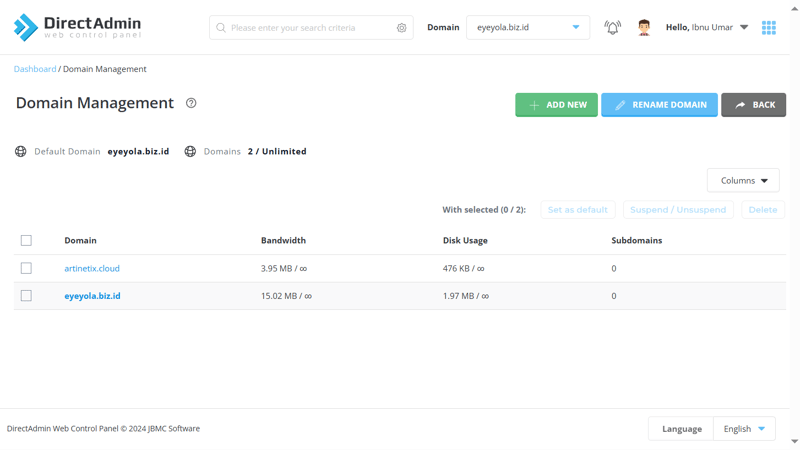
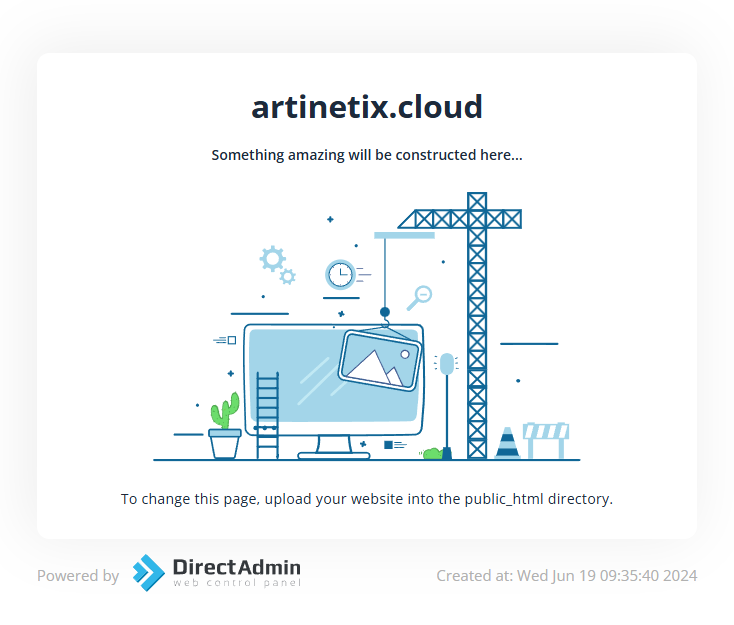
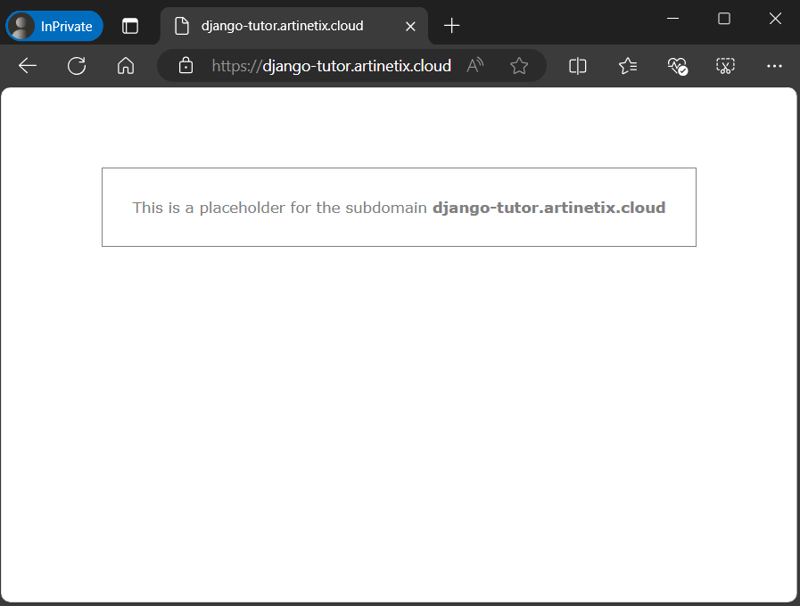
In practice this time, I will use the domain artinetix.cloud (adjust to your domain name), to ensure the service runs normally, if we access the domain URL a page will appear like the following.
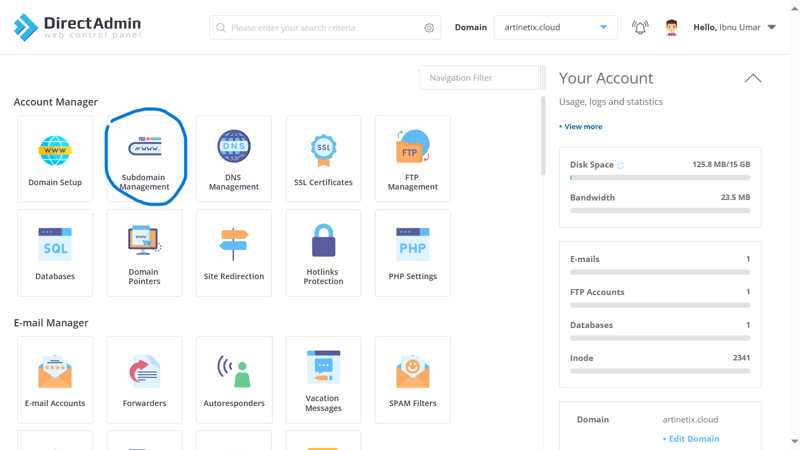
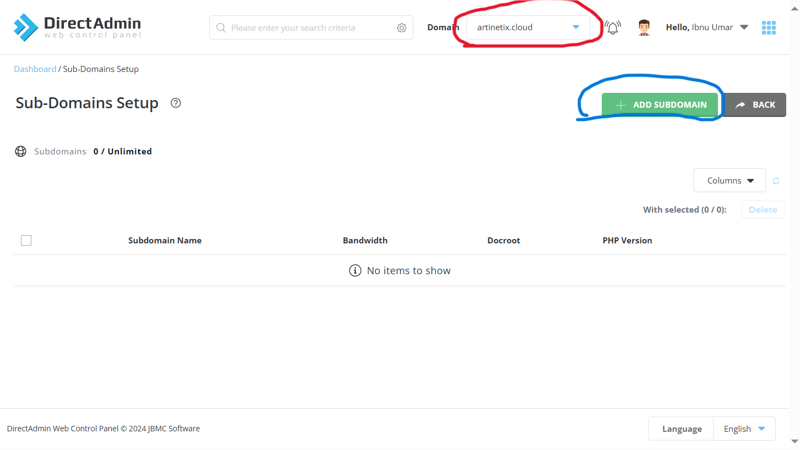
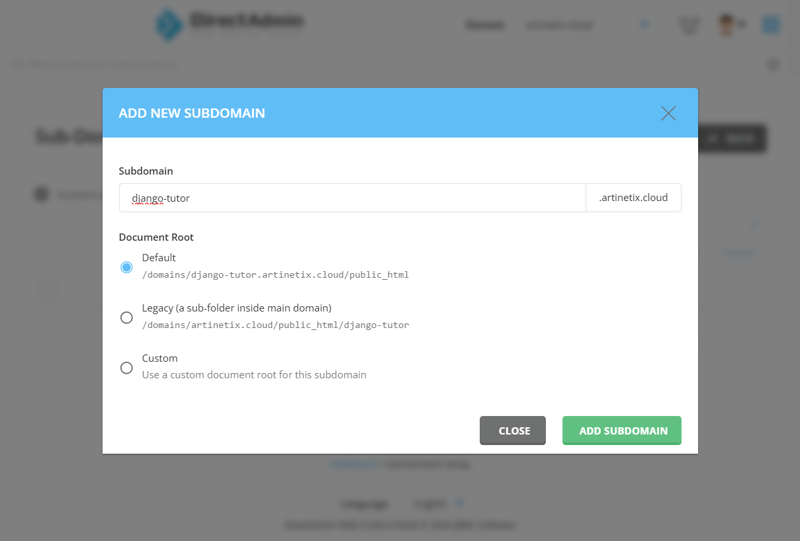
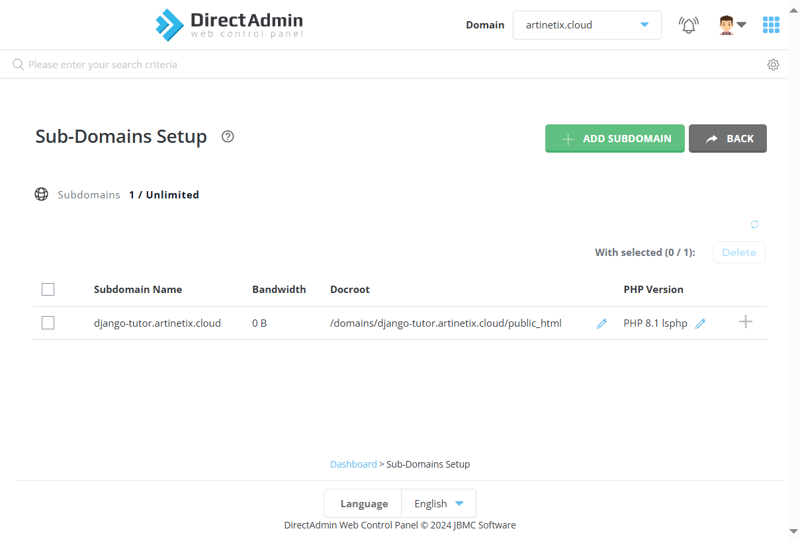
Create a sub-domain to differentiate one application URL from another, one domain can be used for many sub-domains. For example, if the domain used is artinetix.cloud then the sub-domain that will be created will be something like django_tutor.artinetix.cloud. You can read more about sub-domains on internet sources to better understand sub-domains.
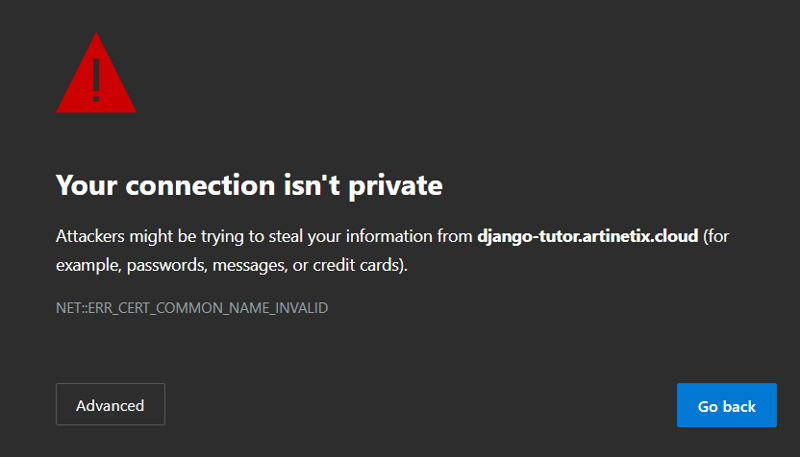
Don't worry, because we haven't setup SSL so we can access using the https protocol, not just http. You can click advance and continue to the address to see if the url works.
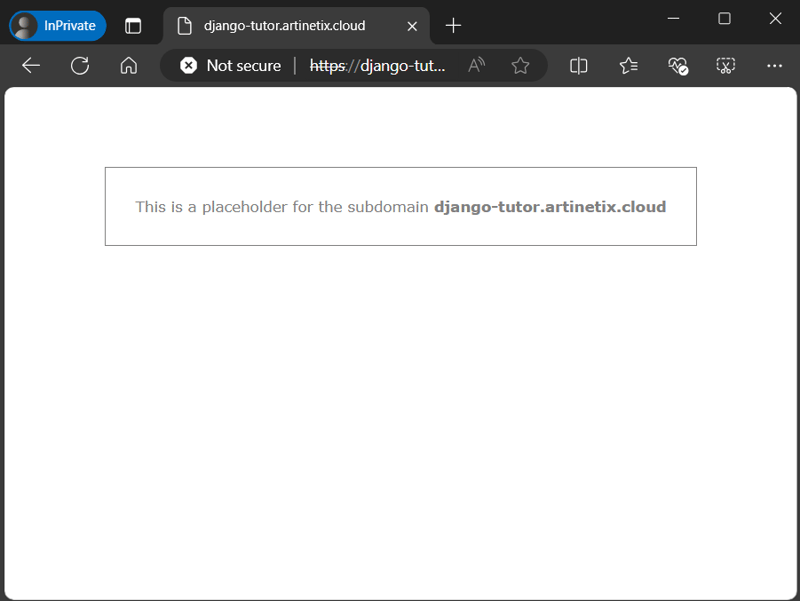
The image above indicates that the URL is now accessible. The next step is SSL setup, so that the web is safer from attacks from outside parties.
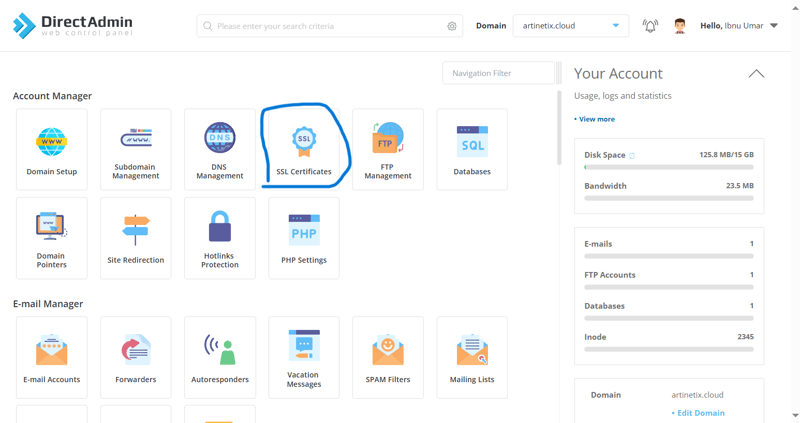
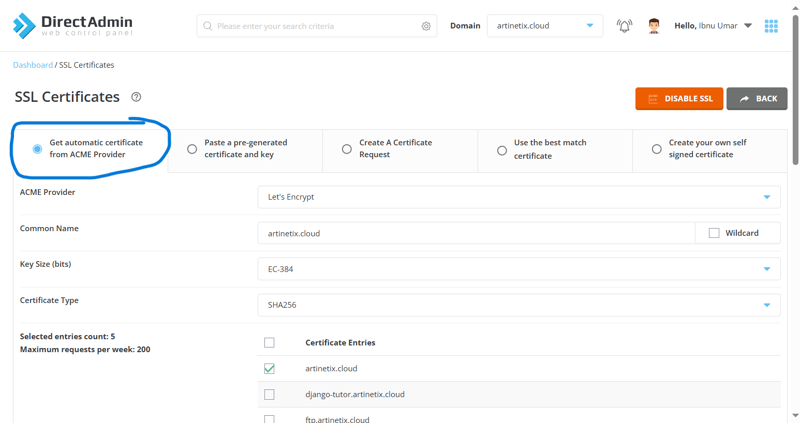
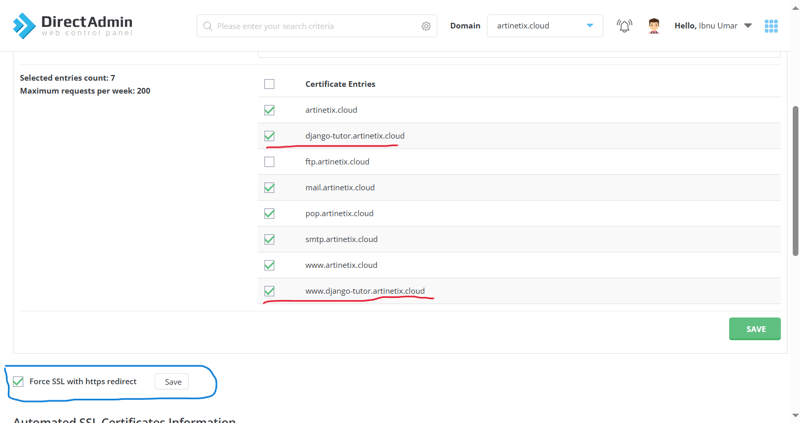
At the top of the web page, a loading animation line will appear indicating that the process is running. If the process is successful, a notification will appear as follows.
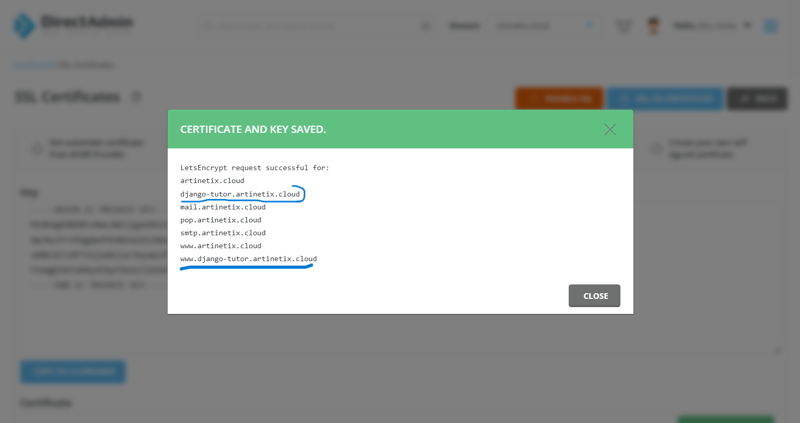
There are SSL generated subdomain names (with and without www) circled in blue.
I won't focus on how to setup the djangoenvironmentfrom scratch to shorten the article. Prepare a django app that has been developed and can run normally in the localenvironment.
In practice this time I will use the default django first (still in the initial settingsgenerate) using django 4.2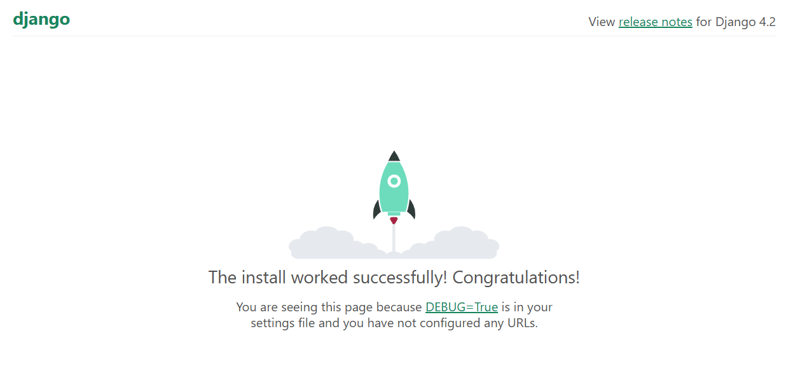
When you run a django project and a page like the one in the image above appears, that means django is running normally.
file treeof the project used in the article (in the sense that this file will go to the server, not the file that has been included in the .gitignore list) is as follows.
Create a zip containing yourdjangoproject files before placing them on the server.
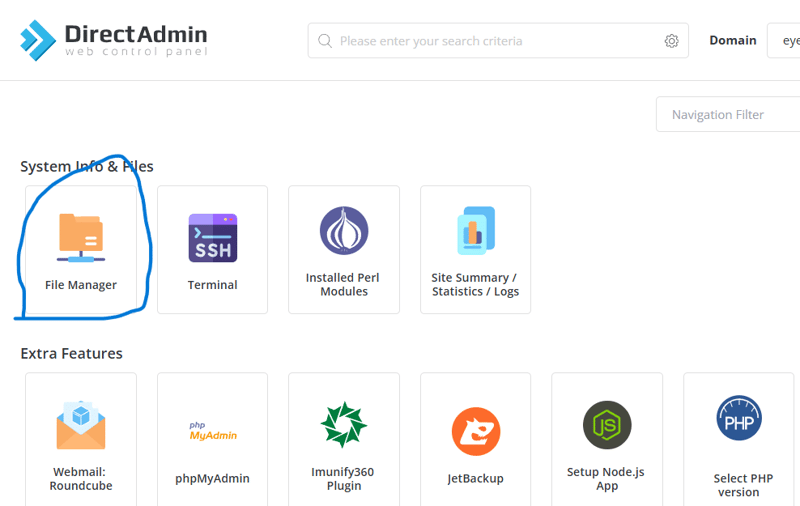
Navigate to domains folder > (url of your subdomain) > public html, in the public html folder contains the index.html file. That file is the file that was displayed when we created the subdomain earlier.
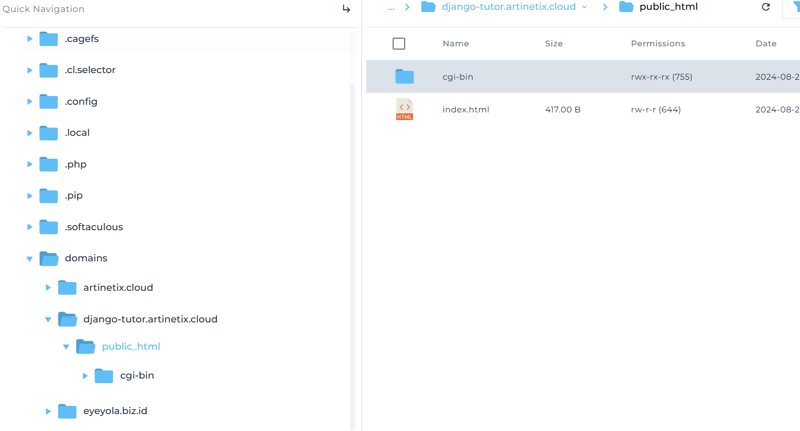
Delete the cgi-bin folder and index.html file, upload the zip project we created earlier and don't forget to extract it. For now, the steps in thissectionare enough, let's move on to creating a django environment.
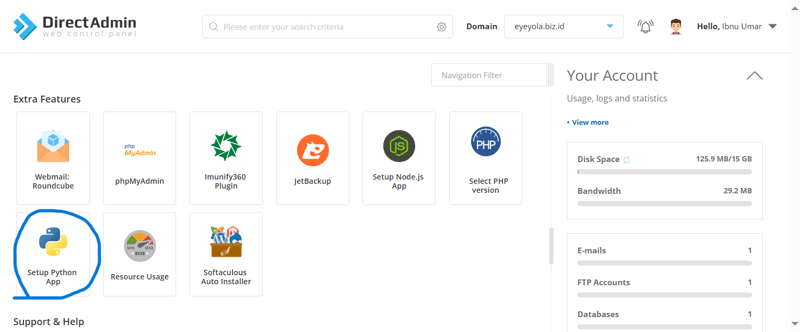
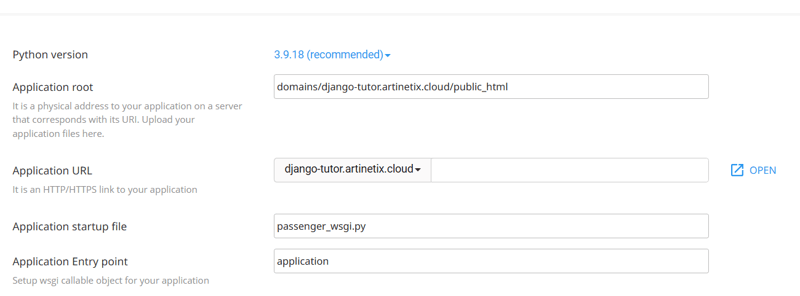
select create python app and enter the configuration as follows, for the application root it can be adjusted because when placing the file we have placed the python app in the public_html folder so that the configuration is like in the image below. If it is appropriate, clickcreateto create an environment on the server.
After successfullysetup python appand visiting the URL above, it will only display python it works. This happens because we haven'timportedthe django project and the environment doesn't have django installed.

enter the terminal

In the terminal, paste the previous code by right clicking and pasting.
If it is successful, please follow the following steps.
Installing django on theenvirontmentis complete, we will move on to the file manager to edit the passenger_wsgi file.
passenger.py
note: django_tutor adjusts to the project name of the respective django app
[ダッシュボード] パネル > [Django] に移動して、Django アプリを再起動します。 Python アプリのセットアップ >アクション列の「再起動」をクリックします。

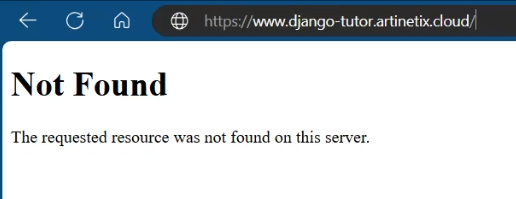
URL にアクセスしてみると、次のようなページが表示されますか?
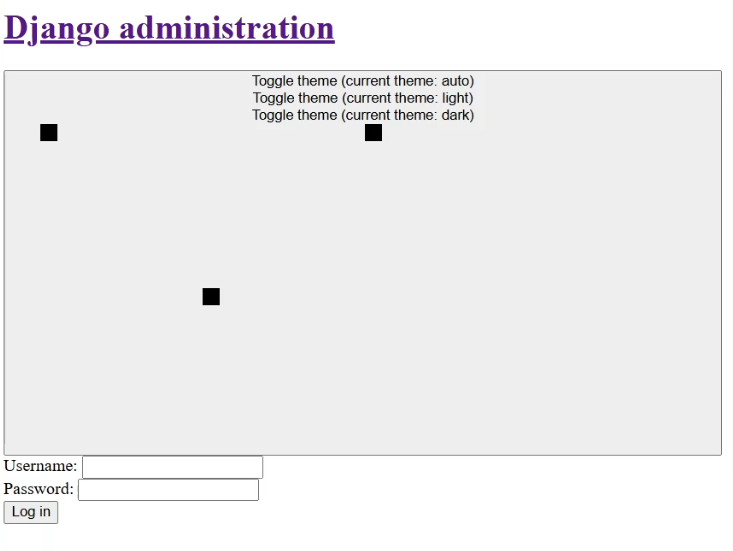
URL の末尾に admin をドメイン名/管理者として追加して、管理セクションにアクセスしてみてください。そうすると、多かれ少なかれ以下のようなページが表示されます。
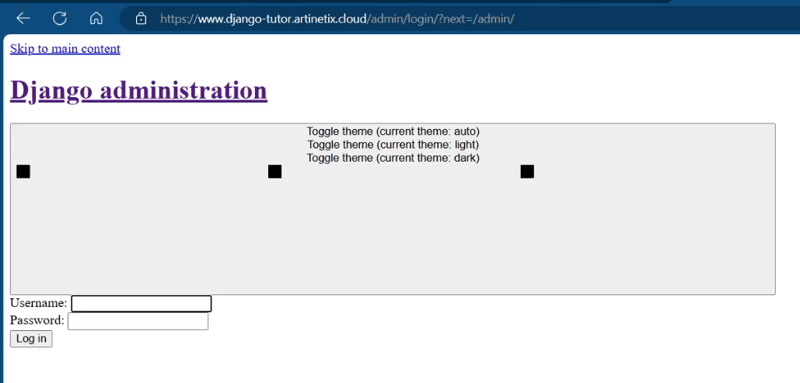
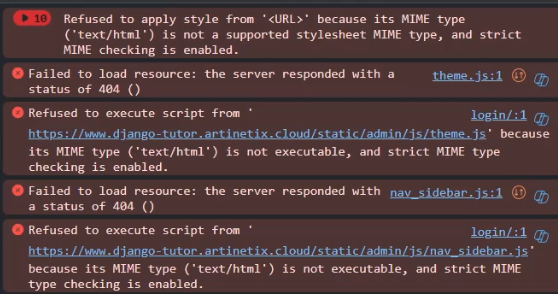
注意してみると冗談のように見えます。これは、CSS、JS、およびその他の静的ファイルが Django プロジェクトにコピーされていないためです。これを行うには、次の手順に注意してください。

 MIME タイプ エラーです。
共有ホスティングに Django アプリをデプロイする方法です。実際には、デプロイ以外にも、データベースのセットアップと環境変数の追加など、やるべきことがまだたくさんあります。また、この方法は私が通常行っている手動の方法なので、複雑に見えることにも注意する必要があります。デプロイメントプロセスを簡単にするために、通常は github アクション経由で ci と cd を使用できます。私からはこれで十分です。提案や建設的な批判など、何か伝えたいことがあれば、コメント欄にコメントしてください。以上です、ありがとうございます
The above is the detailed content of Deploy Django App Shared Hosting.. For more information, please follow other related articles on the PHP Chinese website!


