Unfortunately, Apple doesn't offer a "Reset" button just for Siri. However, you can use a simple toggle in the iOS/iPadOS Settings app to reset Siri when needed. Follow these steps:
Open the Settings app on your iPhone or iPad. Scroll down and select Siri & Search. Tap the Listen for setting at the top and select the Off option. Now, wait for a few seconds and select either the "Hey Siri" or "Siri" or "Hey Siri" option according to your preference. When you do so, you'll be prompted to set up Siri from scratch. Tap Continue and repeat the phrases that appear on your screen one by one.You'll have to repeat five phrases to retrain Siri to recognize your voice. Once you've repeated the last phrase, you'll see a "Siri Is Ready" screen. Tap Done and continue using Siri as you normally would.
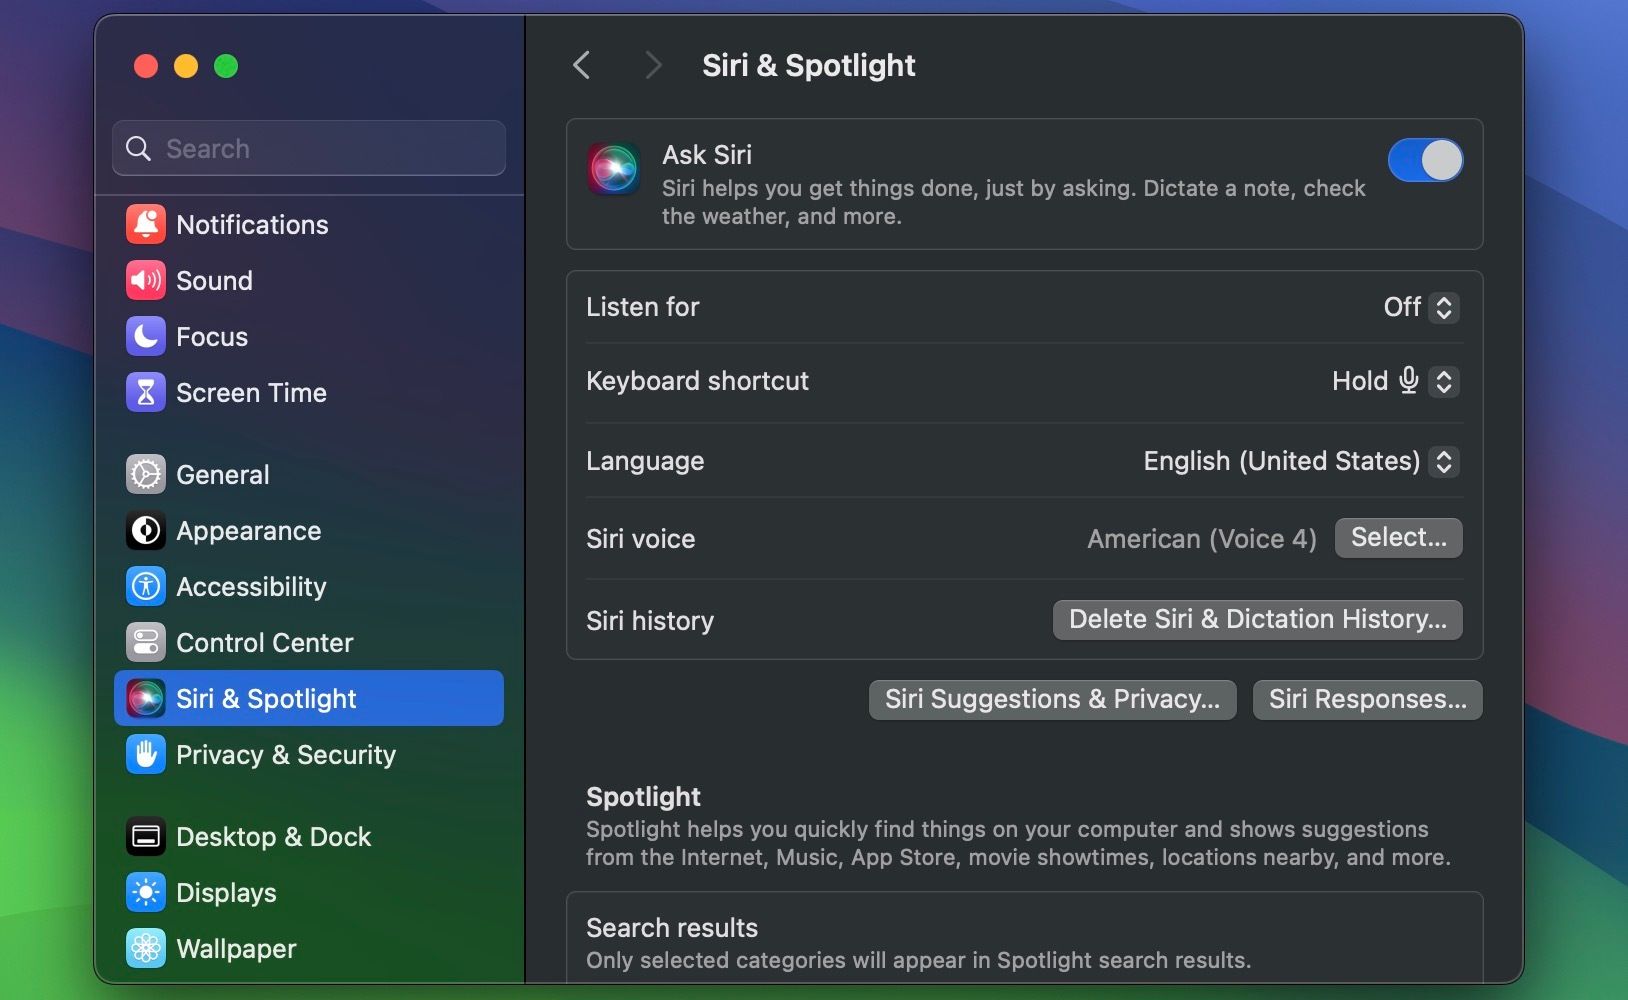
You can reset Siri on your Mac just as easily. The process is fairly similar, as you'll use the System Settings app in macOS. Here's what you need to do:
Click the Apple logo in the menu bar and choose System Settings from the dropdown. Or, use any other way to open System Settings on your Mac. Scroll down and select Siri & Spotlight from the left sidebar. Toggle off the Ask Siri setting at the top on the right side and choose Turn Off when you get a confirmation pop-up. Wait a few seconds and toggle Ask Siri back on. Now, set the Listen for setting right below to "Siri" or "Siri" or "Hey Siri". You'll get a pop-up prompting you to set up Siri from scratch. Click Continue and repeat the five phrases that appear one by one.
That's it! You've successfully reset Siri on your Mac.
This is one of the many troubleshooting steps to follow when Siri isn't working on your Apple device. You can use this as a last-resort step when tweaking other Siri settings doesn't fix the issue.
Once you reset and train Siri to recognize your voice again, you should have no trouble invoking Apple's virtual assistant using the "Siri" or "Hey Siri" trigger phrase.
The above is the detailed content of How to Reset Siri on Your iPhone, iPad, or Mac. For more information, please follow other related articles on the PHP Chinese website!


